|
|
Post by Boots on Jun 15, 2019 14:02:57 GMT
Lots of great work indeed Mark and some really unusual stuff as well.....as and when ya can matey  |
|
|
|
Post by dukemaddog on Jun 15, 2019 17:12:50 GMT
Thanks Steve! I do have a lot of different things going on. It keeps things fresh for me. I just got word that my cross is in for my church; I hope to get it soon. Thanks for looking in and catching up. I'll probably not get much done for awhile as I have multiple jobs stacked up for the next few weeks.
|
|
|
|
Post by dukemaddog on Jul 14, 2019 22:43:47 GMT
Well, here it is more than a month later and I finally had time to actually work on something; thanks to Hobby Day Weekend. Here's my latest. I tried getting further along on several models, starting with the Russian glider. I managed to get it sanded down now, eliminating a lot of seams and issues: 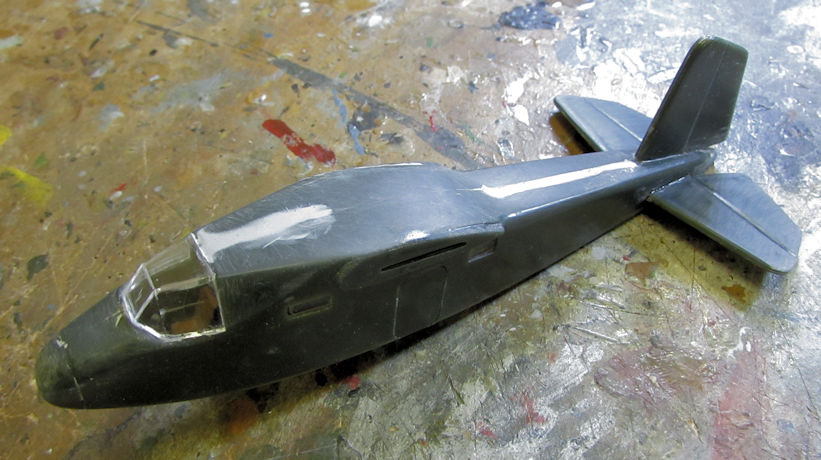 I got the wings and wheels on this bird now: 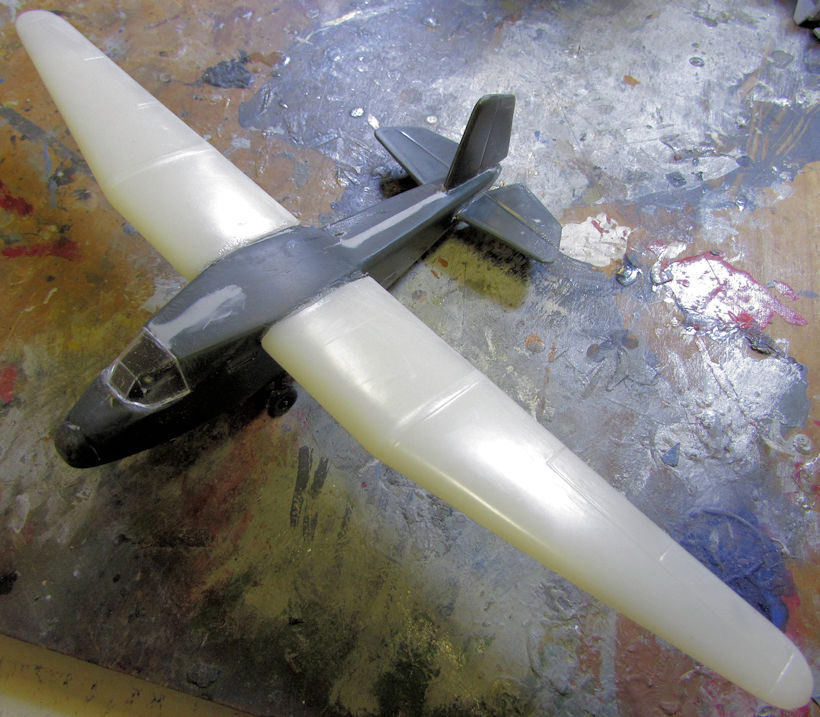 Later I added more Mr. Surfacer to the wing roots and sanded it down. This bird is ready for paint now. After that, I decided to get caught up on some armor. The MAN Pershing tractor-trailer was advanced a bit when I got the missile cradle done on the trailer: 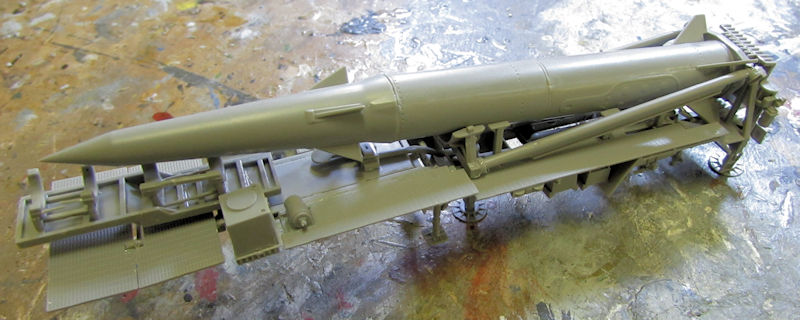 The missile is removable for painting. I also completed all the assembly on the tractor. This is now ready for paint: 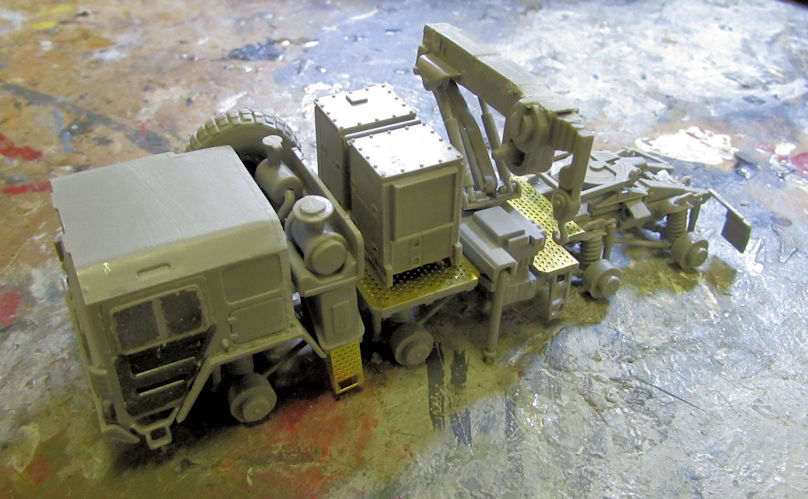 This is looking good so far: 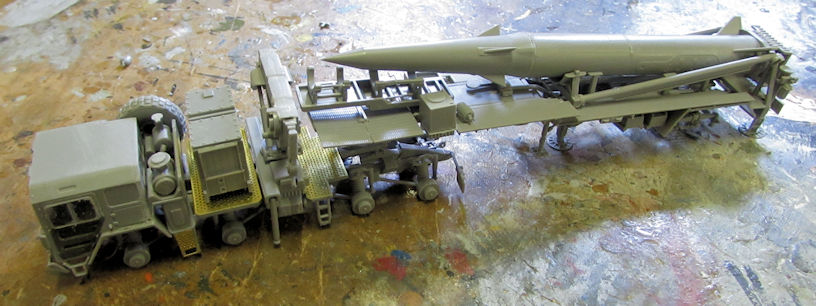 Now I wanted to advance my BMP-3 Early a little more. I finished up the wheels, sprockets and tracks as well as the interior: 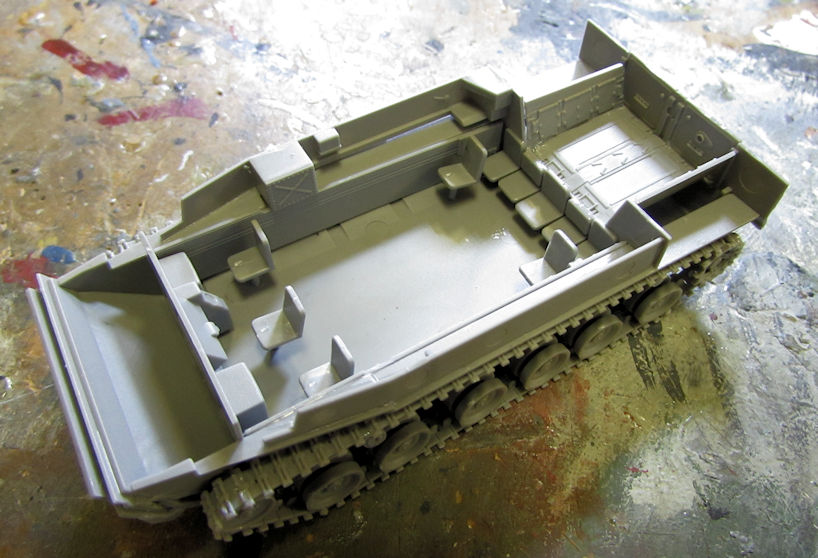 Then I completed most of the upper hull and snapped it down on top, then added the turret to see how it looks: 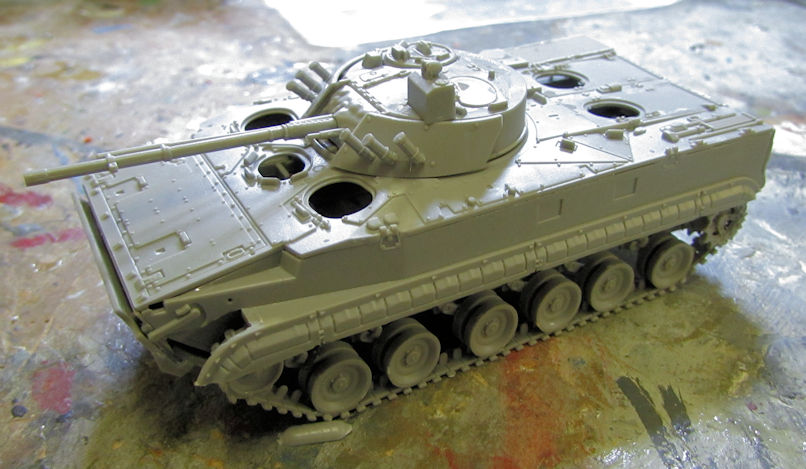 Almost there... After this, I decided the M-1114 Humvee languished long enough. I pushed ahead on this one, finishing the main body and part of the roof: 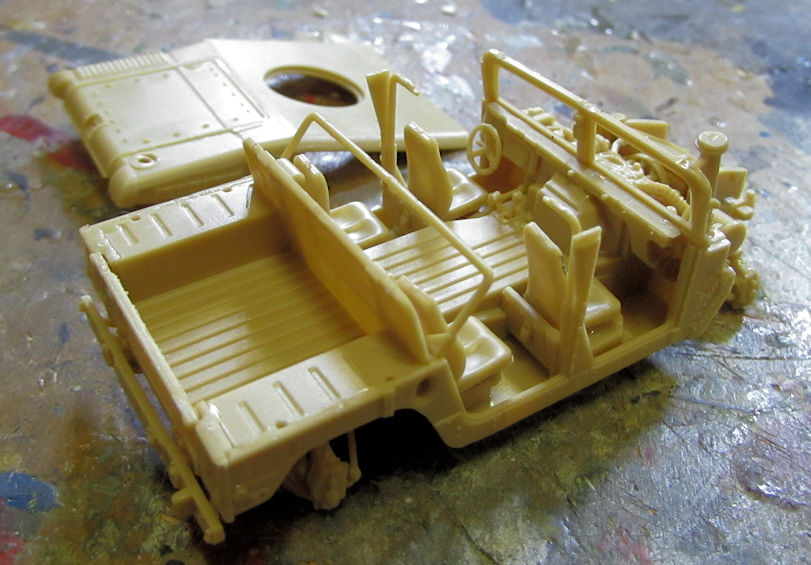 After dry fitting the roof, I saw where other issues were going to happen: 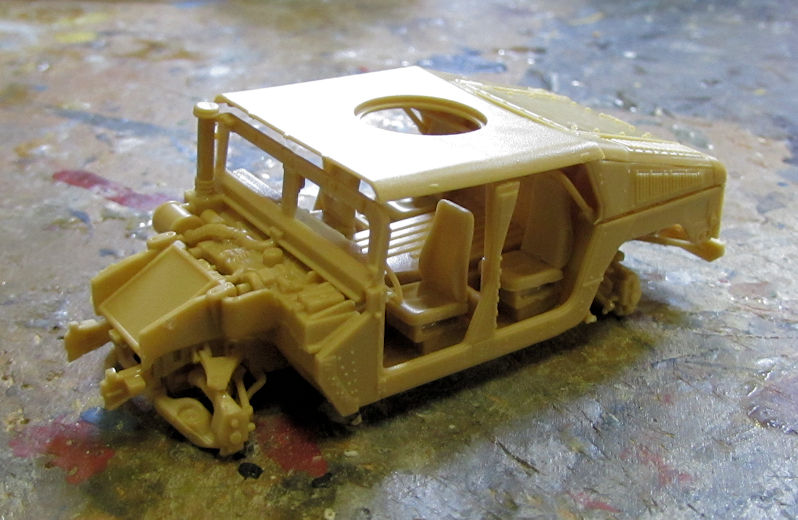 Yeah, that's back on the box for now... Moving on, I got the wheels and sprockets on the Nagmachon in preparation for the tracks: 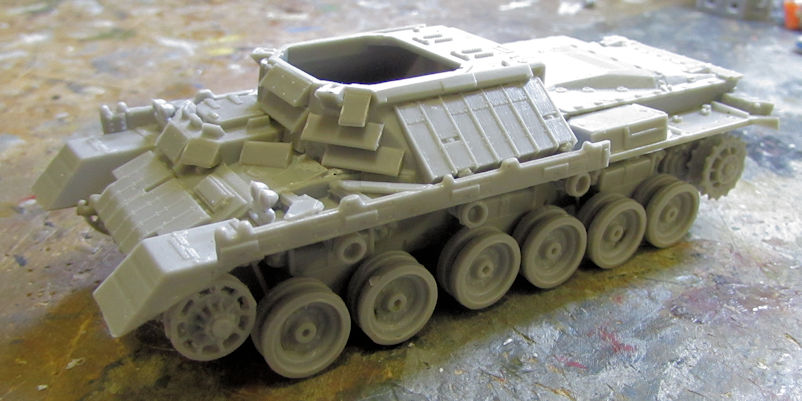 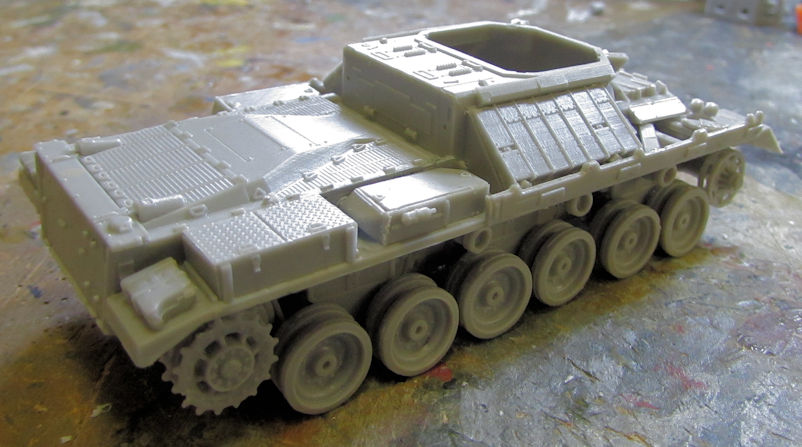 Afterward, I added the doghouse after installing the armored glass to it. I also 'primered' the wheels in preparation for the vinyl tracks as recommended so the vinyl doesn't melt the wheels: 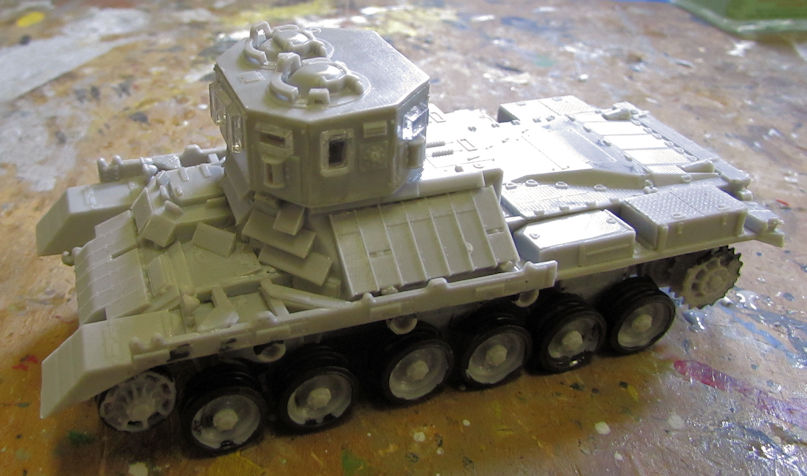 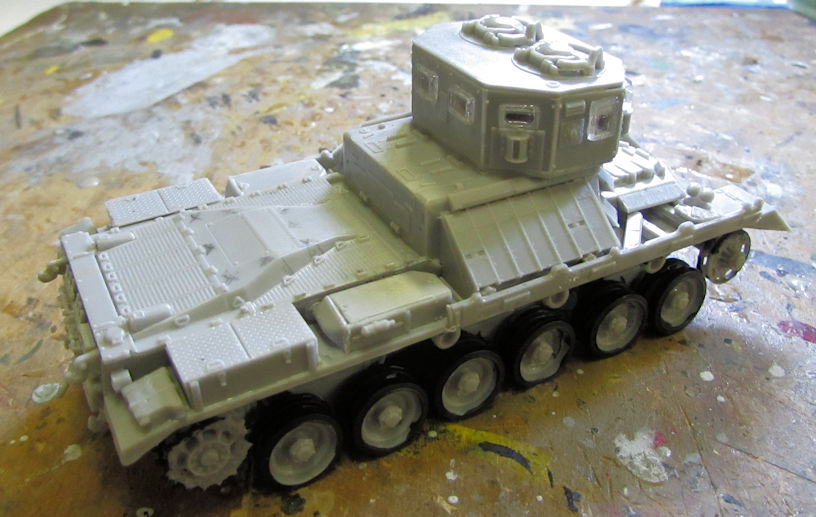 After this is gonna be a bunch of photo-etch and then some paint, some weathering, and then more photo-etch screens all over this. Fun times ahead! For a little break, I decided to work more on my 1/24 scale Coke truck. First, I had some ejector pin marks to fill: 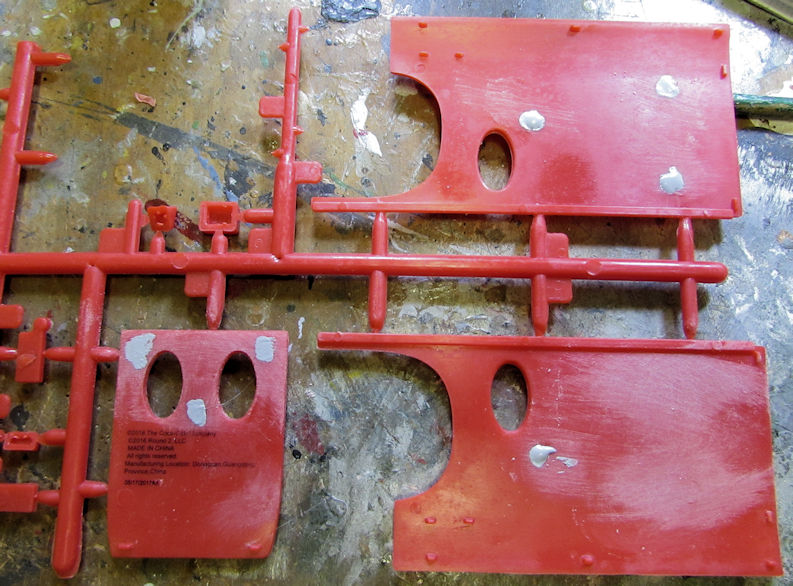 I don't know how much of that will be able to be seen, but I still want it looking good enough. Later I added the fenders to the main floor of this truck. The hood piece is only dry-fit to this: 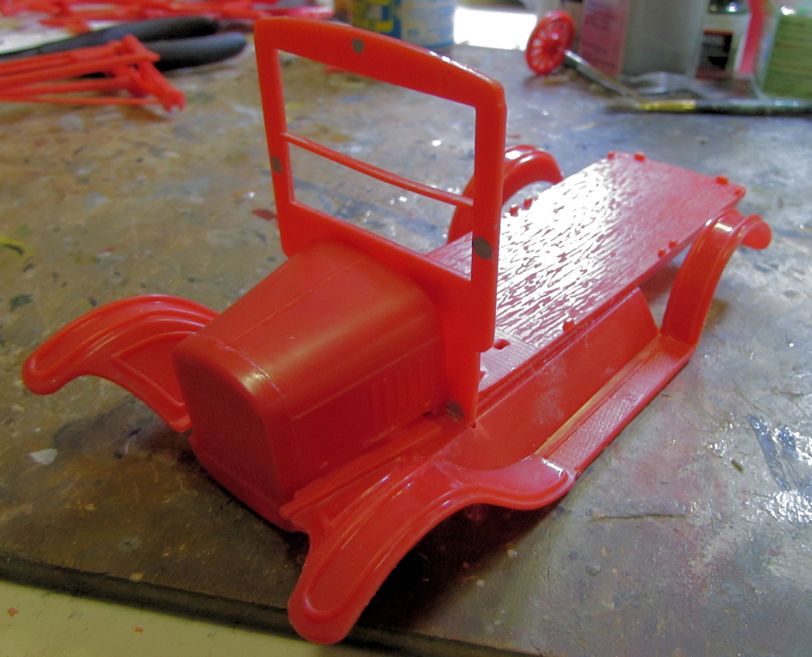 Time to wait on that again.... After this, I wanted something simple, easy and fun. So, remember that Bobcat kit of the airfield support vehicles I got? I pulled that out and got the vehicles all built. They are snap together so I can disassemble them as needed to paint details. For now though, I just played! Here's the Fire Truck: 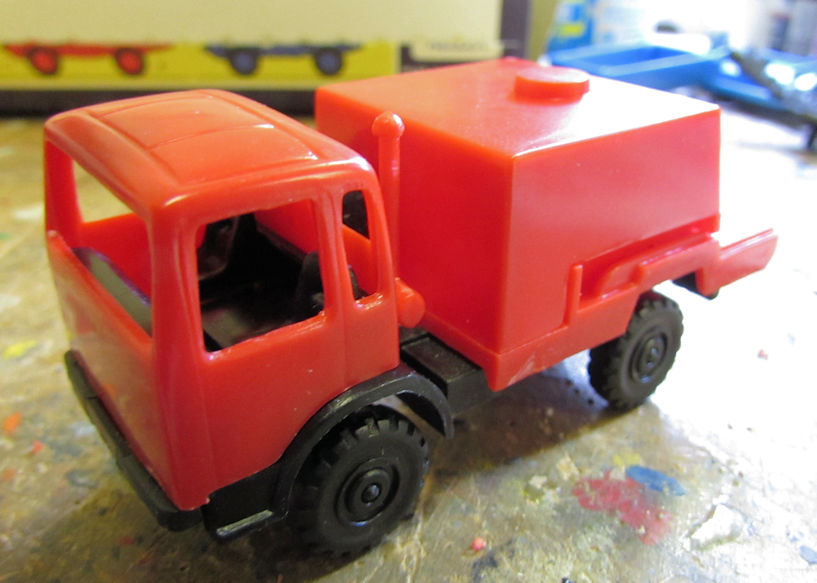 Later I realized that the hose nozzle was not attached to the roof so I drilled the hole and added it. Here's the Fuel truck: 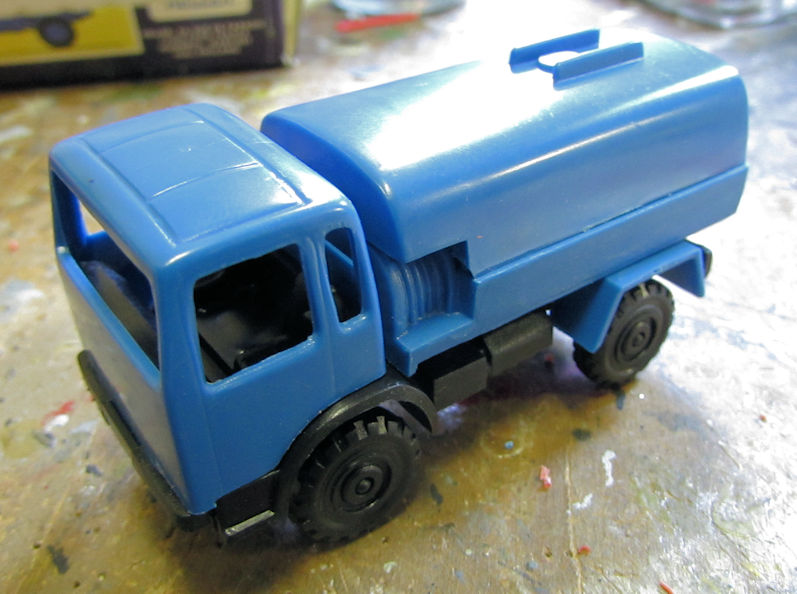 Yes, there is glass for the windows; I just left it off for painting purposes. Here are the two together, you can see the nozzle on the roof of the fire truck now: 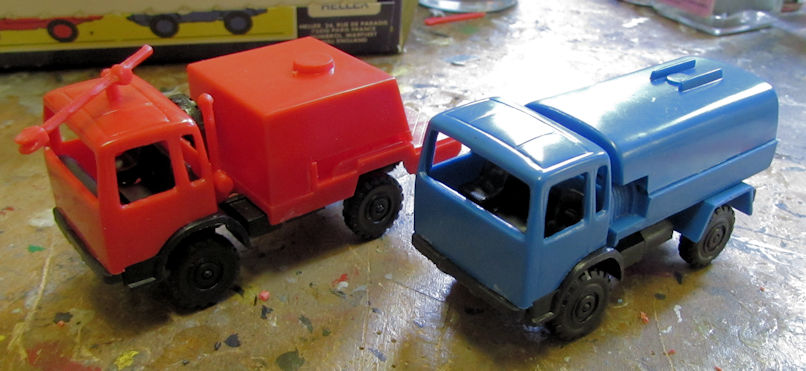 After that was the baggage handling tractor and trailer with the generator trailer: 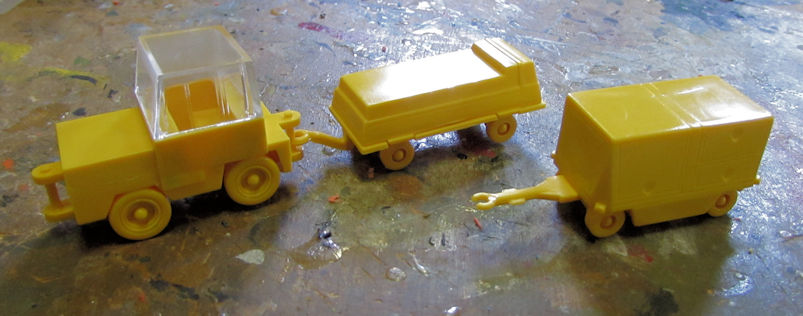 Here's the full set all together: 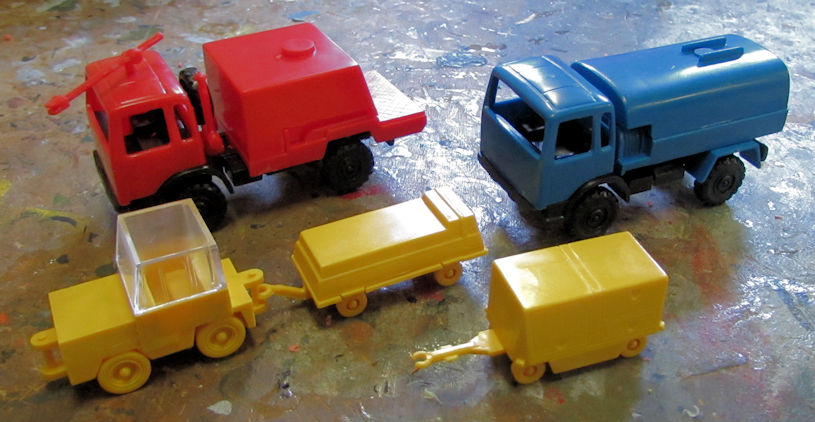 BTW, there's figures with this set too.... After all this, I decided it was time to move on and get my church built. Remember the cross I bought for this? Well, I decided to cement it directly to the original tiny cross so I could use the support for the new cross: 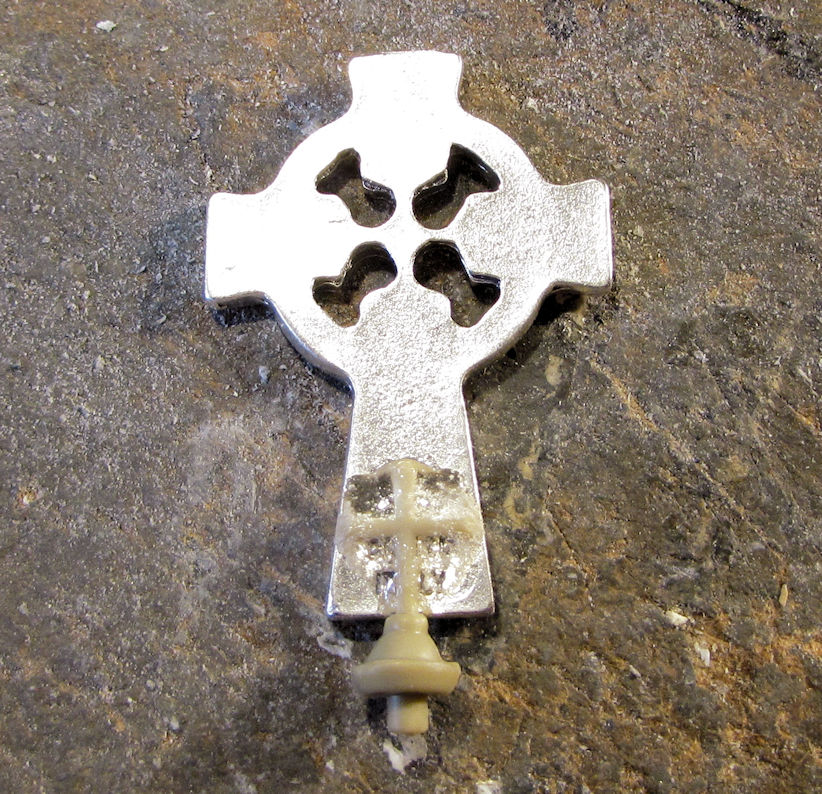 Now this will fit well on the church:  And it does look good! I like this very much: 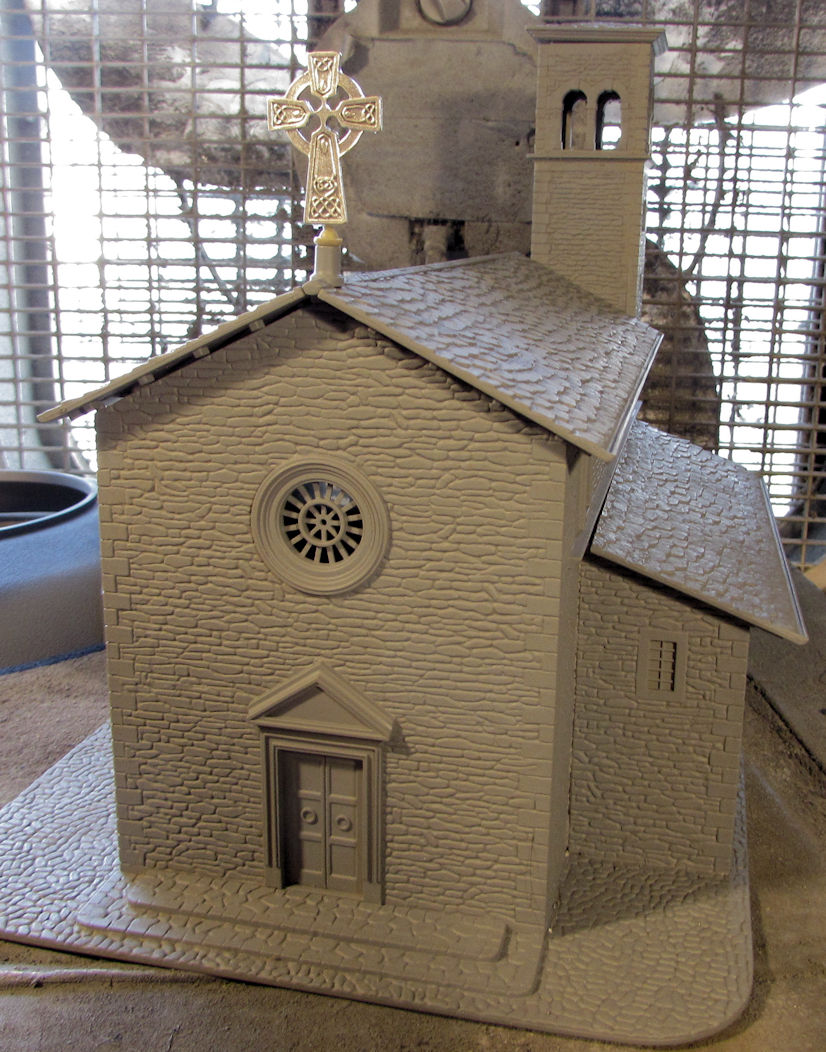 Later on I painted all the white trim around the windows, doors and ledges: 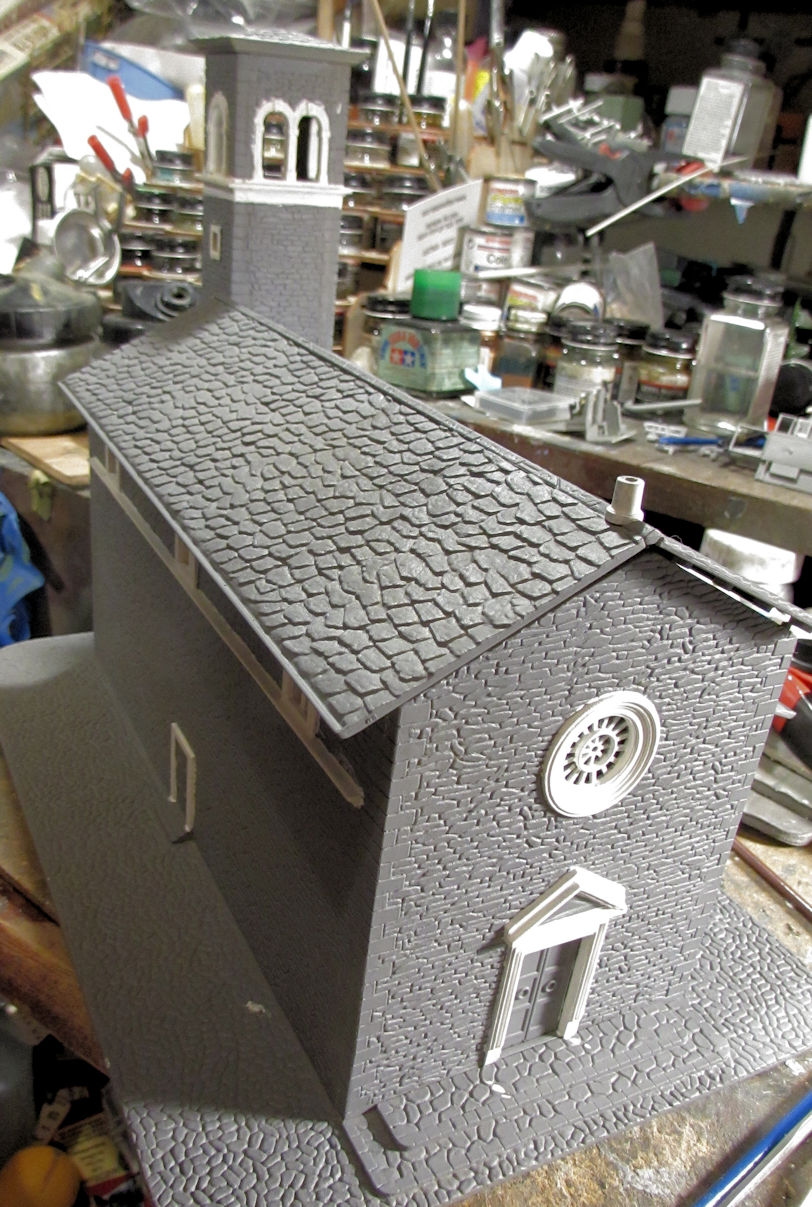 Later I'll get the cornerstones and then try to figure out how to do the stone walls and roof. Well, that completes this small update. Maybe I'll be able to get more done later, but I'm thinking it might be another month! Regardless, enjoy the tour and thanks for looking in! |
|
|
|
Post by SteveM on Jul 15, 2019 7:00:48 GMT
Yet more eclectic plastic in the hands of the Duke , all moving forward fella B)
|
|
|
|
Post by Boots on Jul 15, 2019 19:09:50 GMT
Fabulous progress on all these Mark  |
|
|
|
Post by Armorguy on Jul 16, 2019 16:54:39 GMT
Rolling like crazy, unstoppable !
|
|
|
|
Post by Paul B on Jul 17, 2019 14:11:54 GMT
Lovely Duke  , you're certainly on a grand role here ole chap  |
|
|
|
Post by Ian H. on Jul 17, 2019 14:37:53 GMT
Great work! I especially like the Pershing missile.
Best wishes,
Ian
|
|
|
|
Post by Snipersmudge on Jul 17, 2019 19:13:31 GMT
Busy as ever & all rather smashing  |
|
|
|
Post by dukemaddog on Jul 25, 2019 13:32:59 GMT
Thank you ever so much guys, I appreciate it. I apologize for not responding sooner; I've been out at the San Diego Comicon working the event and just got back into town and got caught up.
|
|
|
|
Post by Marco on Jul 25, 2019 16:27:04 GMT
Awesome production my friend!
|
|
|
|
Post by dukemaddog on Jul 30, 2019 18:33:32 GMT
Thanks Marco! I would say "stay tuned" but I don't think I'll be adding any progress here for another month and a half!
|
|
|
|
Post by dukemaddog on Sept 7, 2019 0:40:49 GMT
Well, it has been quite some time since I got this updated so it's time to throw open the doors and get the minions going again on some more models here at the Manufacturing Plant. Here is my latest small update on what little I was able to get done within the past few days. I'll start with the Austratt turret base. I just did a dry-brush on this to see if I could get a better appearance on the cement base. Later I hope to try a green and brown dot filter to add some streaking and weathering to this. I want to wait till the weather cools down more outside before I start airbrushing the turret and other models again. Until then, I'll just be working on the base:  I'm not that thrilled with it, but hopefully the filter will work to make it look better. Next I worked on the one railroad flat car that I started in Ohio. This was my work in Ohio here working on the first truck. Basic assembly was here: 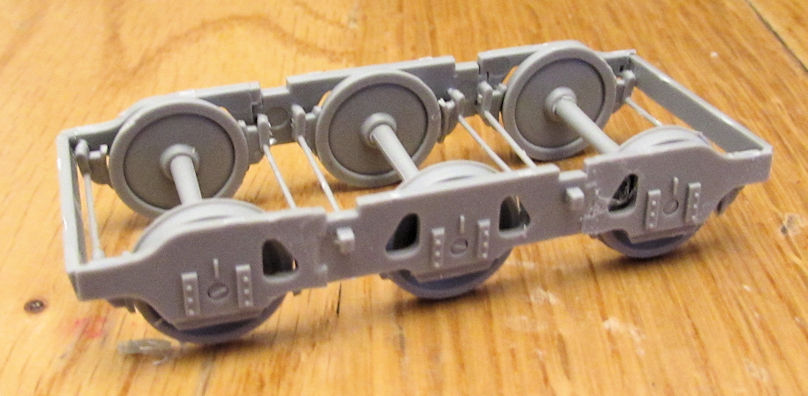 Talk about fiddly! Man that was a challenging thing to do. Later I tried a different sequence to assemble the second one to try and make it easier. It worked to a small degree... Meanwhile, this one still had some final parts to add: 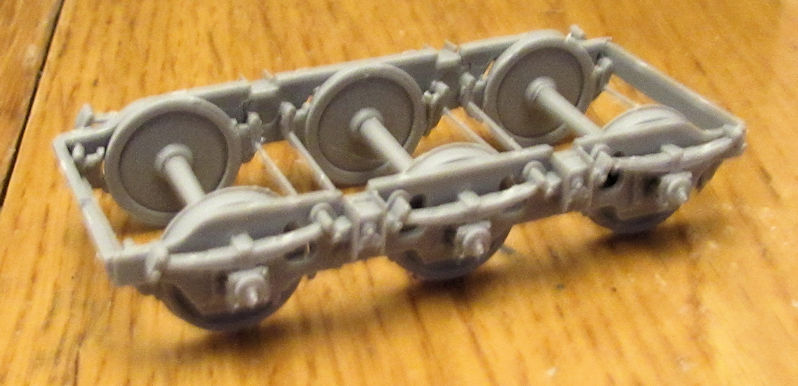 My apologies for the fuzziness. My camera was having a tough time focusing here. After I got home I pulled this out again and decided that I was going to build the main part of this rail car. I assembled the whole upper deck. Here it is next to the original bogie I built in Ohio:  After finishing the second bogie, I installed them underneath the main deck: 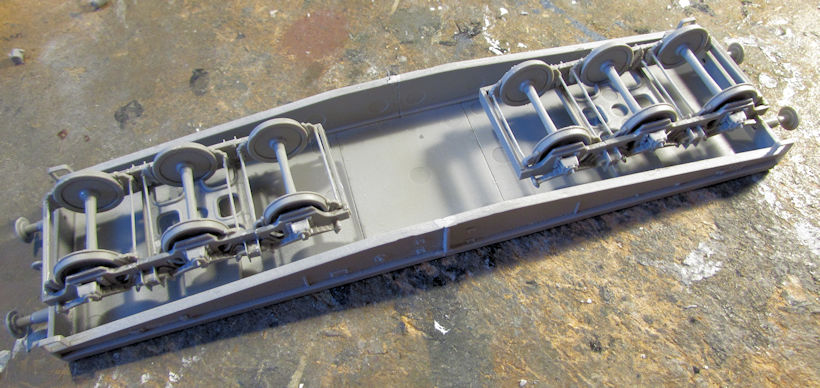 They are actually designed to turn so that this can be displayed on a curved track.Later I finished up almost all the detail parts. This is now ready for paint: 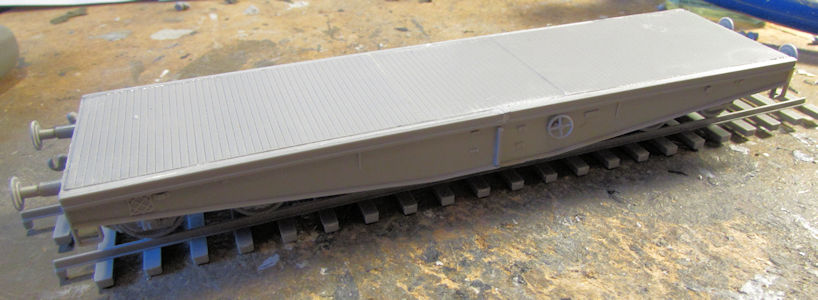 Since I was already working in a railroad subject, I decided to pull out this next one. This was a 1/72 scale Trumpeter Leopold Rail Gun that a friend had started. He had so much difficulty getting the main trucks to assemble correctly that he gave up and offered the model to me. I took it. The issues he had were that the parts for the main trucks were not seated in place properly so the wheels were all wonky and in a couple cases, falling out. I had to disassemble the forward truck in order to re-cement the pieces in place the way they are supposed to sit: 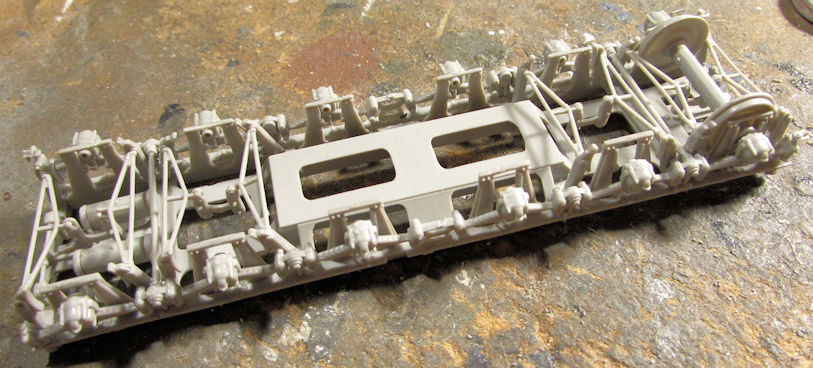 It took a lot of clamps on this; here is the first attachment I started on; before slowly gluing down the rest as I went: 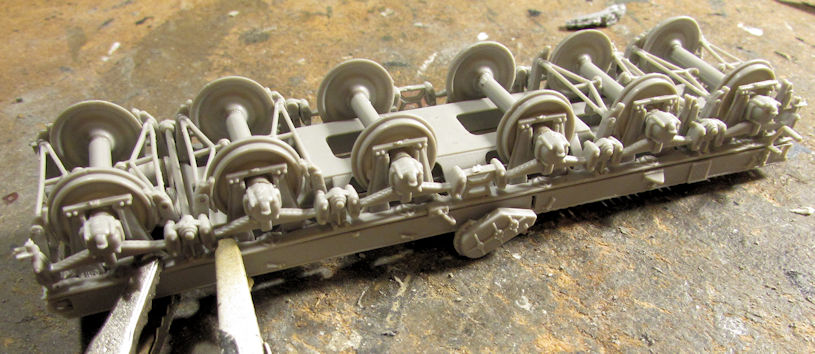 Here it is all clamped up on the one side. Later I had to glue the other side. Meanwhile as this was drying, I rebuilt the rear truck which hadn't been assembled as much as the forward truck was: 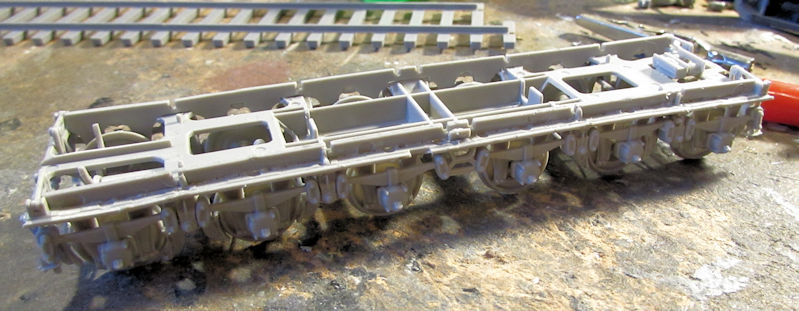 You can see that one in the background sitting on the track testing it for alignment: 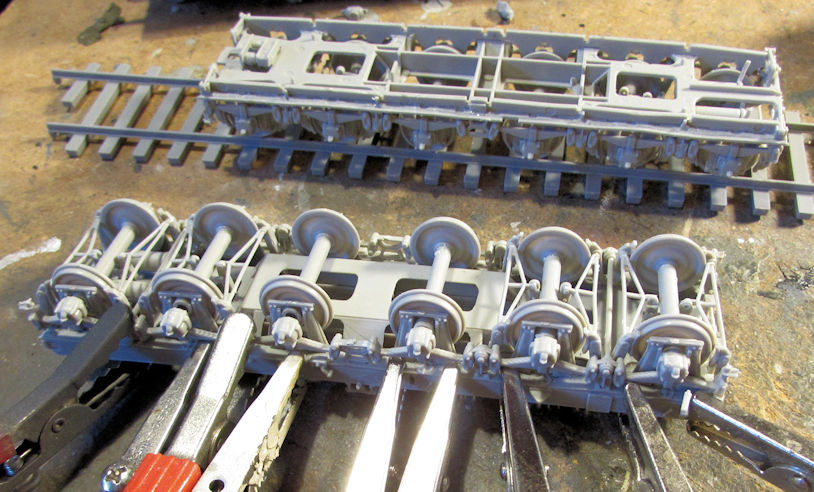 That worked for both of them. Here's the forward truck being tested for alignment: 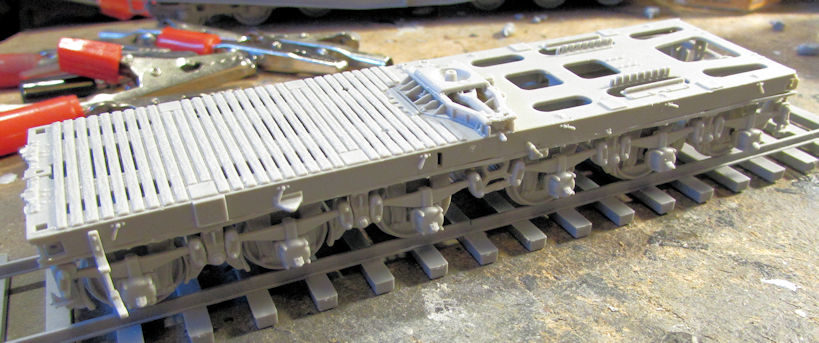 These truck are now done and ready for final fiddly bits. Later on I started the breech and pivot mount for this gun. Here is the basic assembly now: 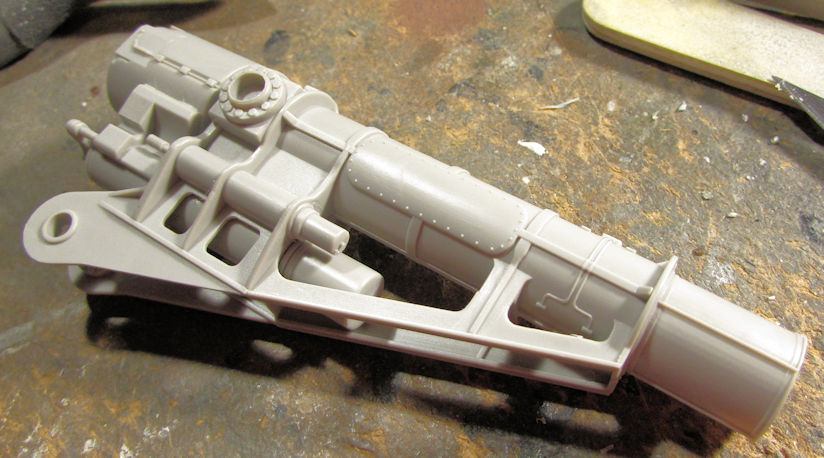 After that I cemented the two halves of the rest of the gun barrel together. You can see the Exacto blade there for size reference: 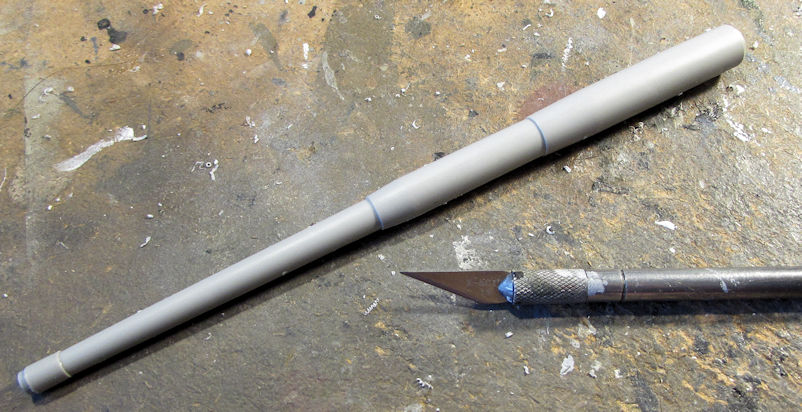 Later I started most of the sub-assemblies for the elevation mechanism. Here are the major parts all assembled for that:  While all that was drying, I skipped ahead again and started the loading deck box on the rear: 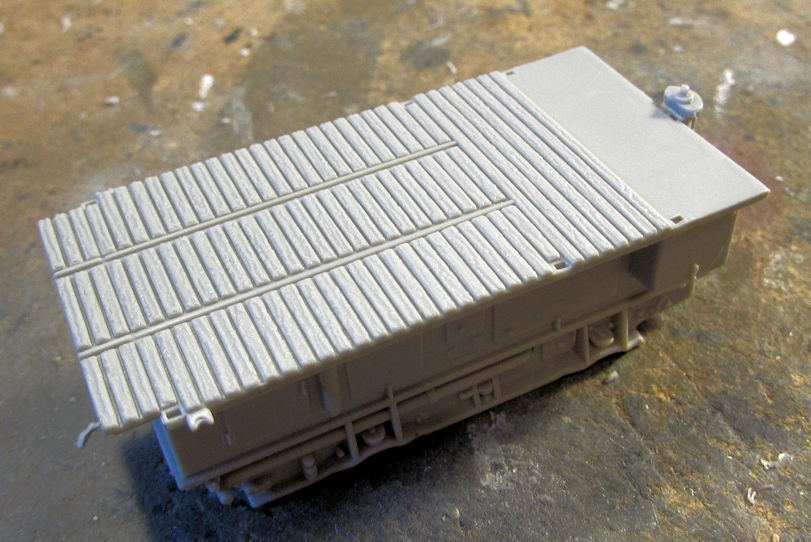 There's a lot more that goes on that but they are fiddly so I'll leave them off till later. I know a lot of people panned Trumpeter railroad track pieces, but I gotta say that I love them! They gave me four in this kit:  Finally, I decided to move forward on the church I'm building. I don't know if I posted this, but here's the cross I bought for this to replace the tiny one that came in the kit: 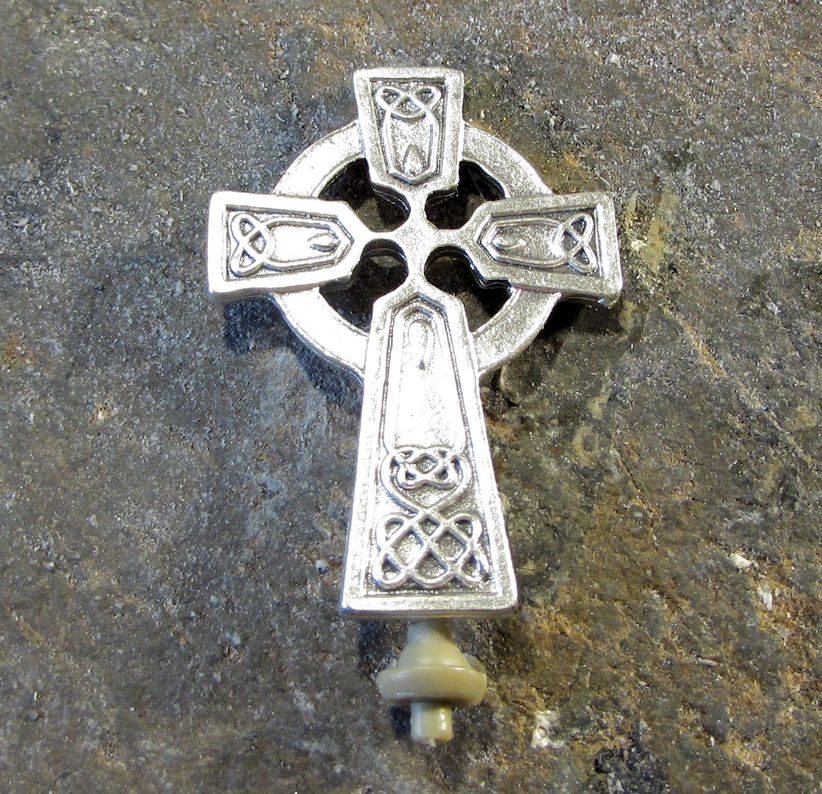 Anyway, after priming this church; I found a load of seams on almost all the corners where the walls joined; despite my best efforts to press everything together tightly enough to close them off. So, I filled them with Mr. Surfacer and then sanded them down as much as I could after the Mr. Surfacer had dried. Here were the worst ones: 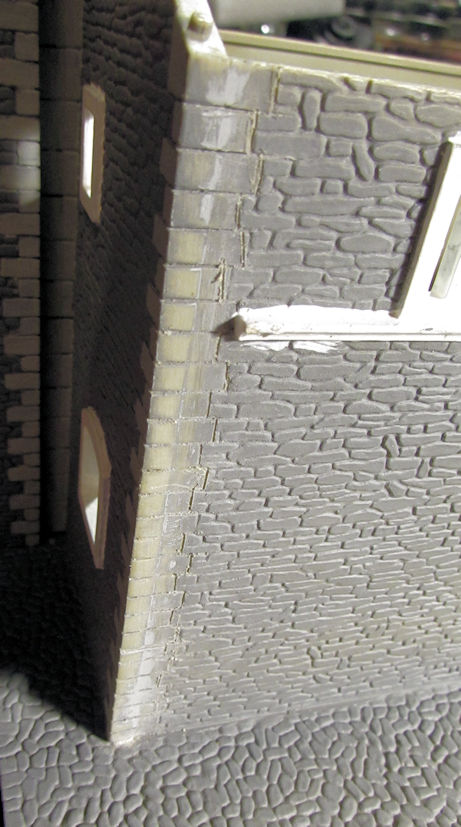 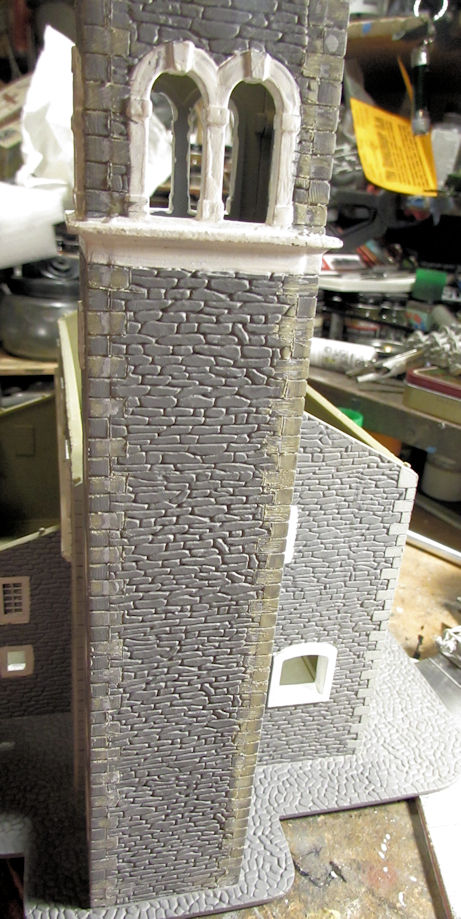 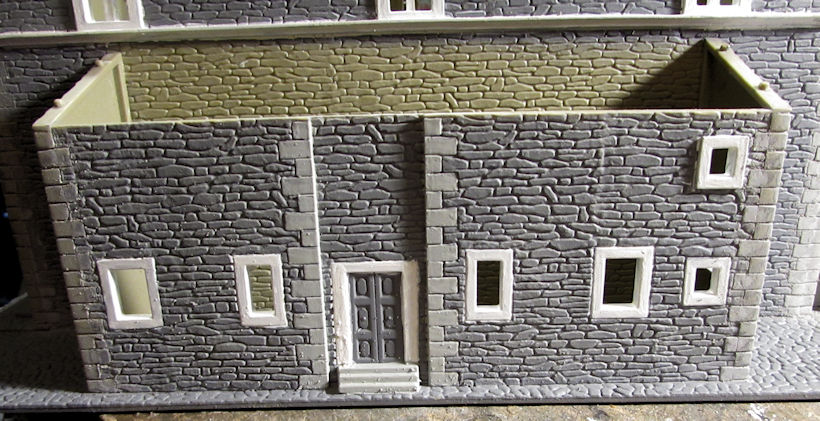 Once I finished all that sanding, I repainted everything; then touched up the rest of the stone work on the sides. I then painted the roof sections with Pollyscale Oily Black. This is coming along nicely now:  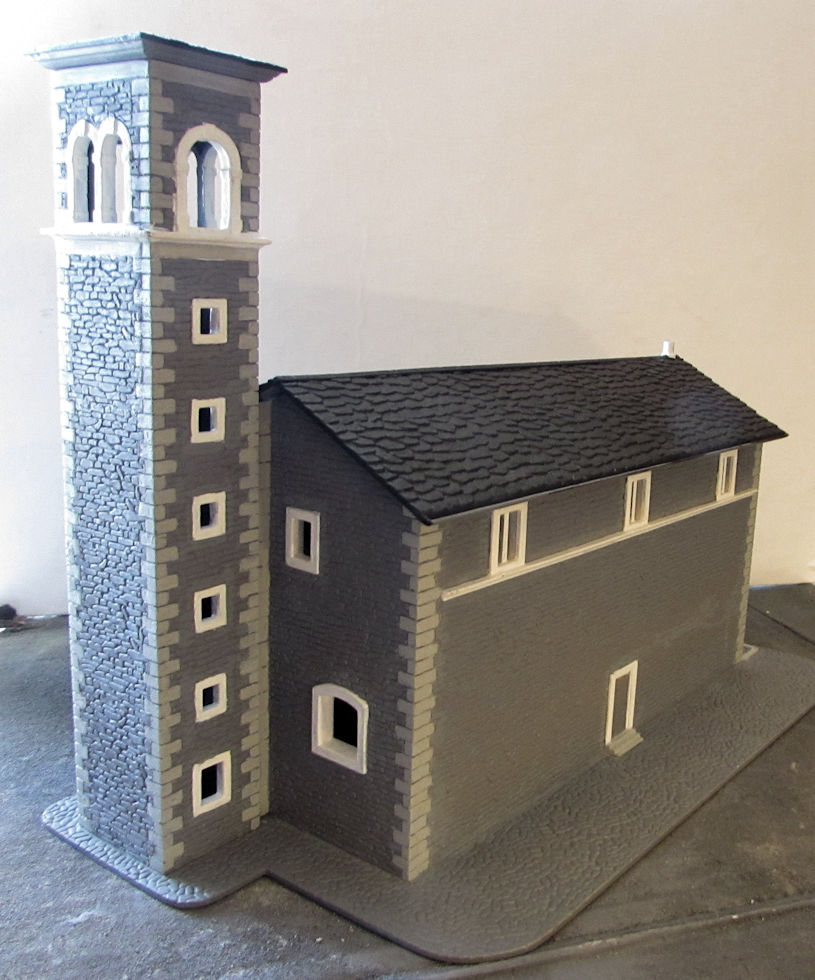 There is still some more basic painting to be done, particularly on the doors; but for the most part the base painting work is done. I do still need to source some stained glass window images now. That is all I have now. It ain't much; just what I've been able to squeeze in between work, chores and friends. Enjoy the tour; thanks for looking in, comments are welcome. |
|
|
|
Post by Paul B on Sept 7, 2019 7:12:41 GMT
That Leopold is looking mighty fine Duke  . Big ole gal ain't it, I have one in 1/35 and it takes up nearly a whole shelf, best part 90cm |
|
|
|
Post by SteveM on Sept 7, 2019 8:20:42 GMT
That’s a fine bit of remedial work on the Leopold trucks Duke.
The church has loads of weathering options too!
|
|
|
|
Post by Snipersmudge on Sept 7, 2019 8:49:46 GMT
excellent progress all round mate |
|
|
|
Post by dukemaddog on Sept 7, 2019 21:14:57 GMT
Paul, thanks! Yes, that Leopold is a big one indeed. I have already built an ancient Hasegawa one already, so this will be a great comparison of the two kits. I appreciate the compliments on the remedial work.
Steve thanks! I appreciate the compliments on the remedial work as well. I you have some ideas on the best ways to weather that church, I'm taking notes. I want this to look good. I don't want to overdo it though; I want this to look old, yet very well maintained. Still gotta source some stained glass images.
Pete, thanks! I hope to get more bench time this coming week as well. If not, Hobby Day is coming up next weekend and I'll be pushing for a very large update after that.
Thanks again guys! Stay tuned...
|
|
|
|
Post by Boots on Sept 8, 2019 20:29:48 GMT
Terrific work on the Leopold Mark and that church really does look good |
|
|
|
Post by Ian H. on Sept 8, 2019 22:02:56 GMT
Beautiful work, all the way around. Very complex running gear on the railroad project, especially.
Regards,
Ian
|
|
|
|
Post by Robbo on Sept 9, 2019 18:34:13 GMT
Some nice building going on here. I like that rail gun, I'd love to do one some day.
I was talking to my new mate Greg at the show just gone and said he had a Dora 1/35, he said the box was 6 feet long and about 3 foot wide
|
|


 , you're certainly on a grand role here ole chap


 .
.