Well, despite the obstacles and other issues during this week I managed to get a surprising amount of work done on the workbench. This is my semi-weekly update showing my latest progress. So, sit right down and buckle in; this tour of Maddog Manufacturing is about to begin.
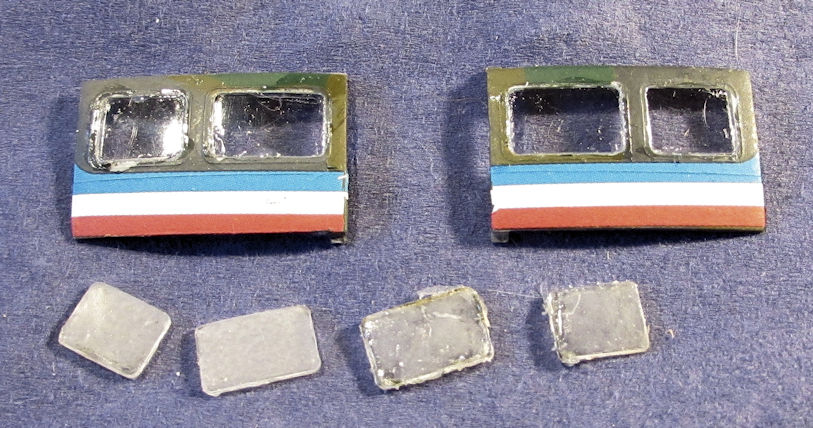
I'll start in my aircraft hanger. I've been working on a couple rockets here as well as this one helicopter that has been giving me fits. To start with, I changed out the windows on the Huey's sliding doors. You can see the old fogged windows below the doors holding their new windows:
Next I added the missing pieces to the tail. Now I can add the tail rotor when I get it painted:

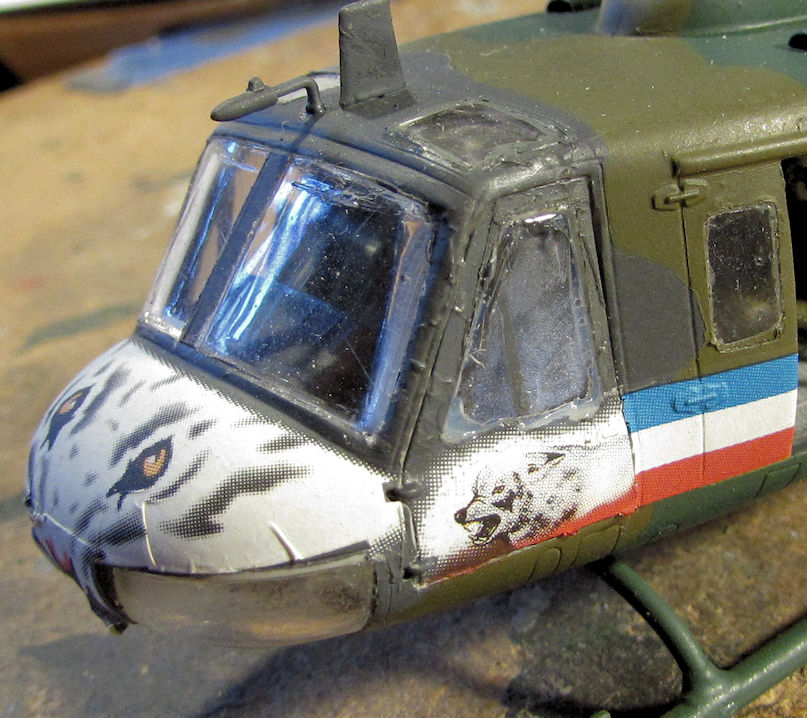
I went to replace the pilot's door window since it was also fogged, but I found that I didn't have the spares in the second kit. So I tried to clear that one up using very fine sanding pads (from 2800 to 20000) and then dipping in Future. No go. This was as good as I could get it so this will still be a poor rendition of this model, until I find a third kit I can cannibalize! Here it is installed again after all that week of sanding and buffing:
Finally, I moved ahead on this for once; building the main rotor. Afterward I'll be painting it:
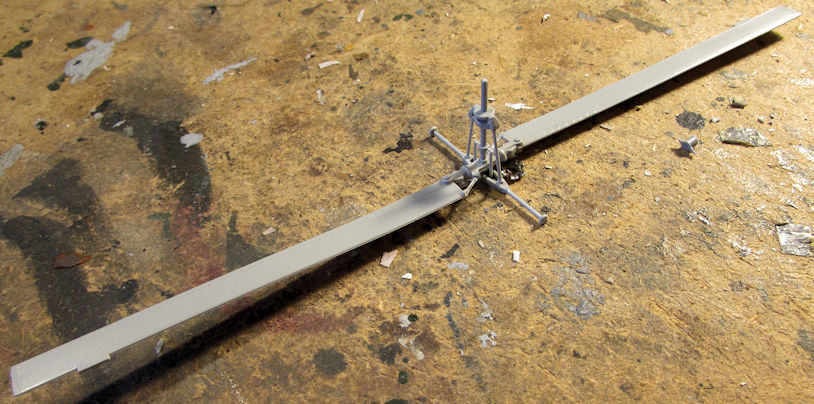
Yes, I added the droop.
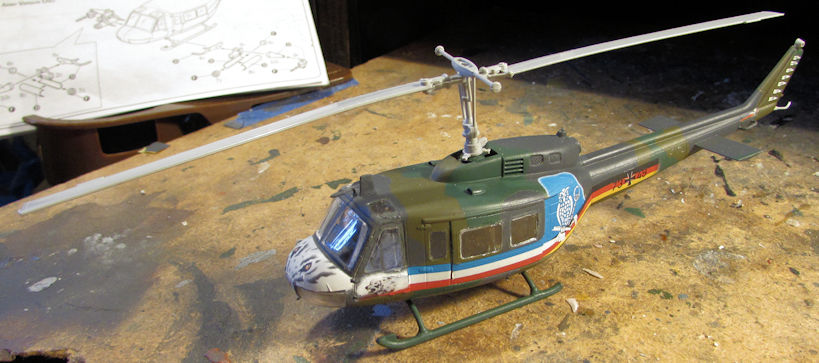
Here is the whole thing up to this point. All that's left is detailing the replaced parts; painting and weathering the rotors and adding them in and then I can call this PITA done:
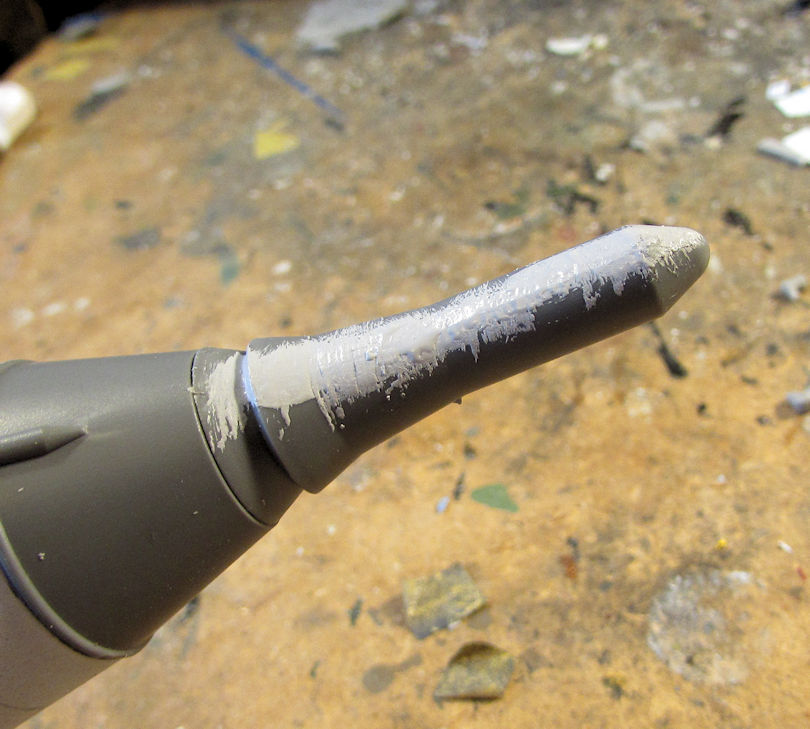
Moving on, I had to repair the top cone on the Redstone capsule since it broke when I tried cleaning the attachment point off. Here it is after I'd covered it with Mr. Surfacer 500, let it dry and then tried sanding it smooth:
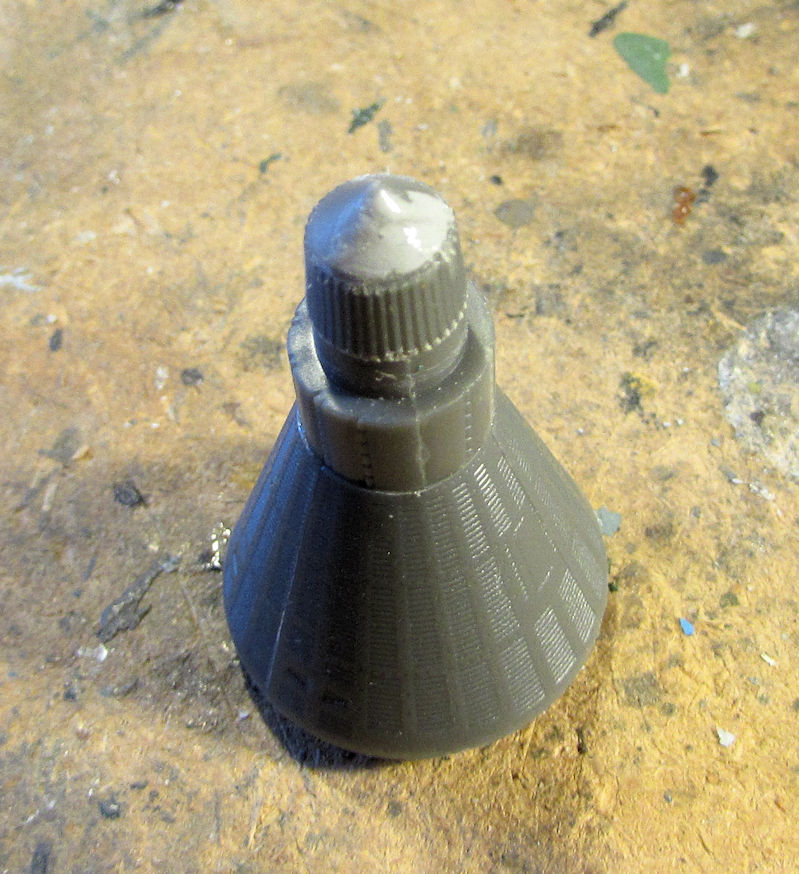
Later I'll primer that and see how well I did....
Meanwhile the Convair Atlas was also calling my name. This beastie was another two-steps-forward; one-step-back kind of deal again. Here's the breakdown...
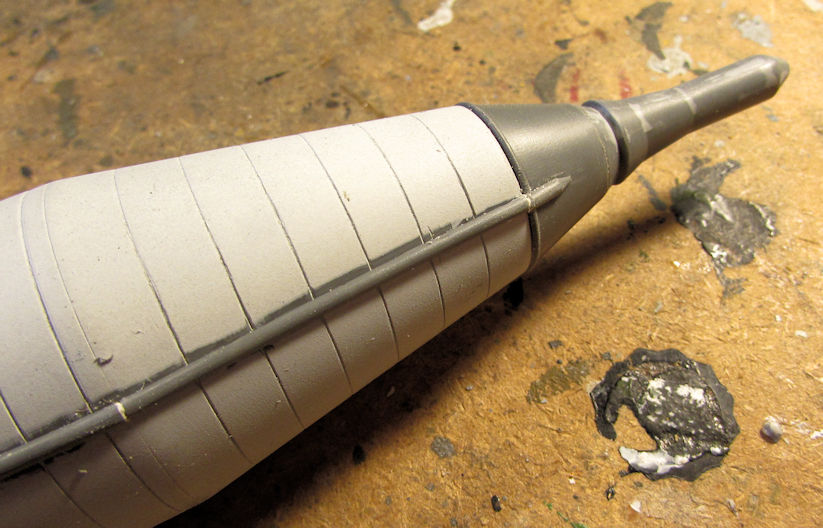
I started by filling the seams and slight gaps in the nose cone with Mr. Surfacer 500:
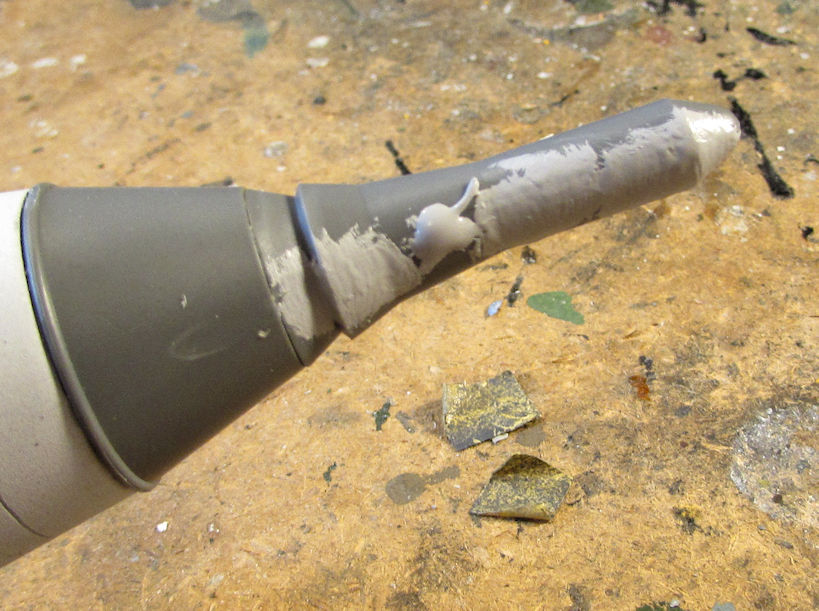
That's both sides filled. Later I sanded this down after that dried:
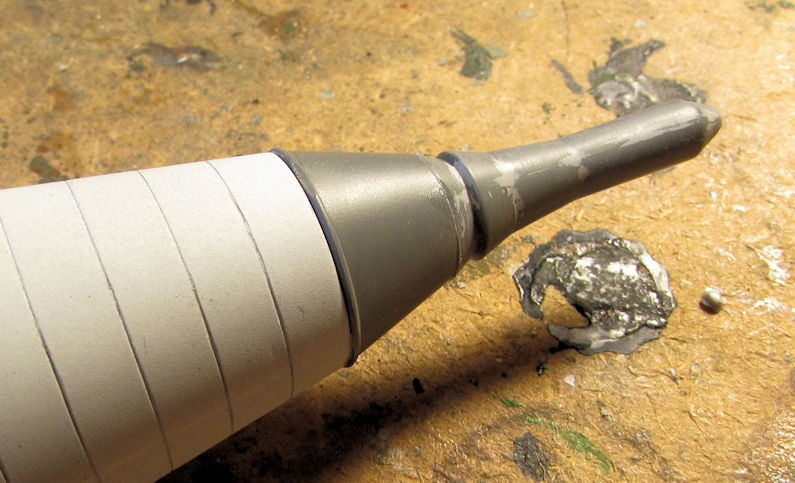
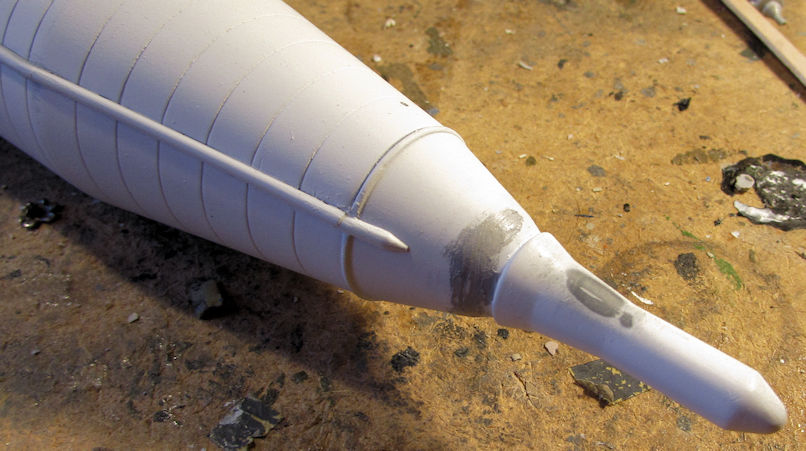
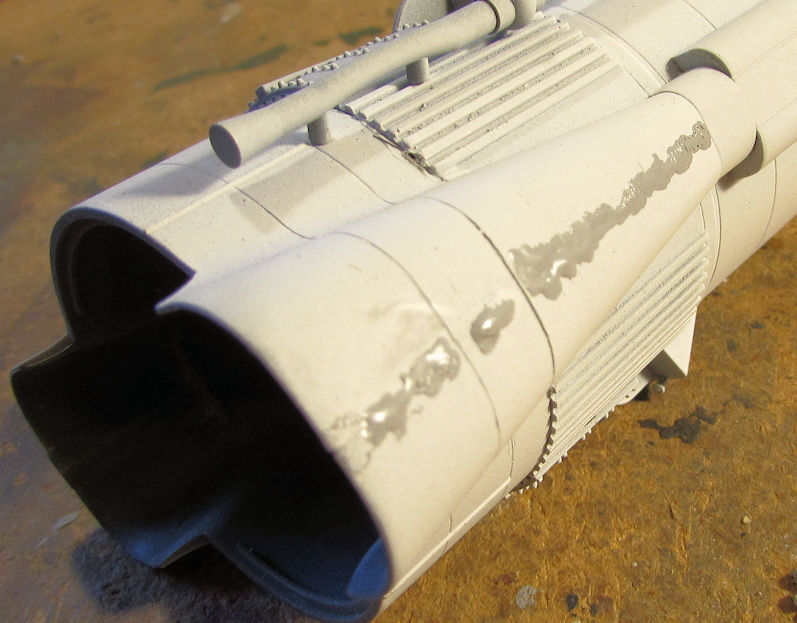
Afterward, I also noticed the tube going up the side had a few gaps in it that I filled with Vallejo acrylic putty:
When that was dry enough, I shot some more white primer on this and let it dry. When it was dry, I looked it over and found a few more dimples and seams that needed correcting. So, I sanded some of them down and the rest I filled with Mr. Surfacer 500 again:
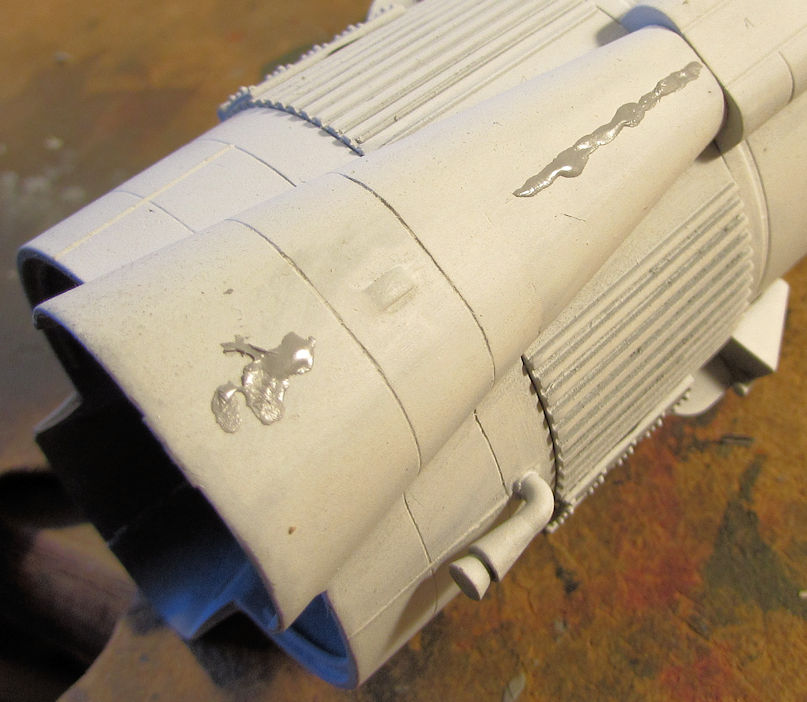
That's where I left off on that one. I was too tired of sanding anymore to get on it so I put that aside for next week.
That completes this tour of the hanger, now on to my armory...
Here in the armory, I first went to work on my 1/35th scale Patton for the Tribute Build/AMPS Group Build. First I masked off all the vision ports in the cupola with Tamiya tape and Silly Putty so I could paint it:
Later when the airbrush came out, I shot this with the OD color:
Next I shot the hull. Lower first:

The the upper hull:
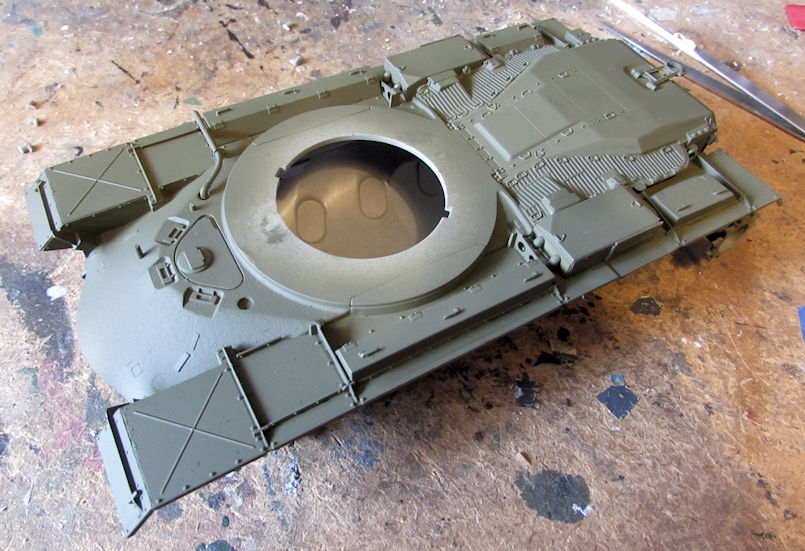
They are attached, by the way....
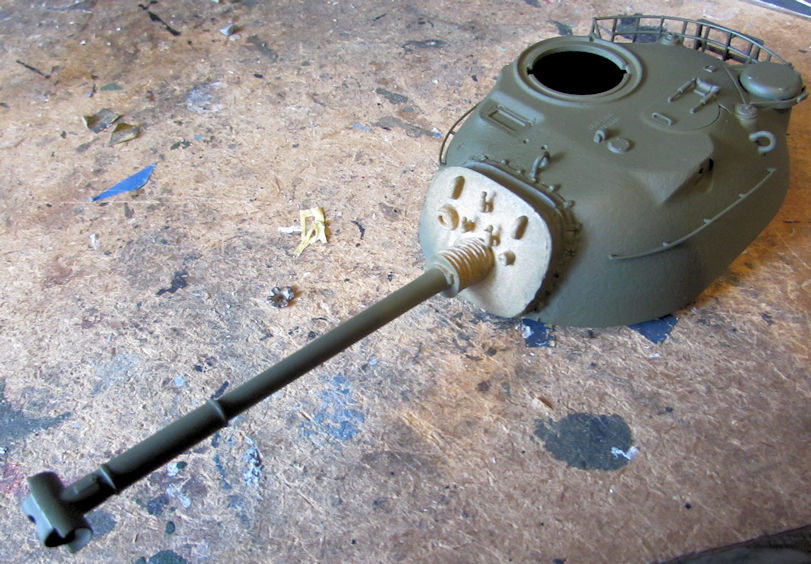
Then I shot the turret:
Here's a shot of everything together:

After that I brush painted the mantlet cover with Field Drab. The DS plastic made it look gloss even after it dried:
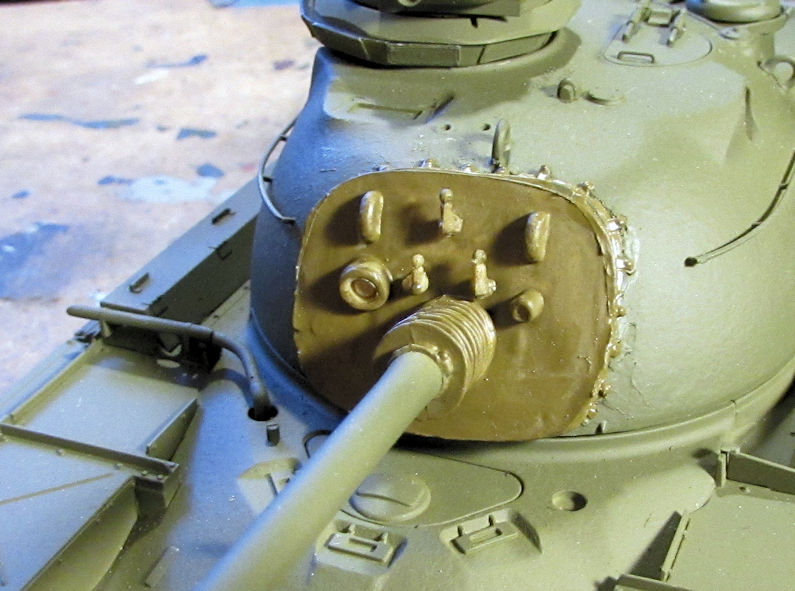
That is where I left off on that. I'll do something about that mantlet cover later. I have a few ideas for trying to make it look more 'fabric' and dull.
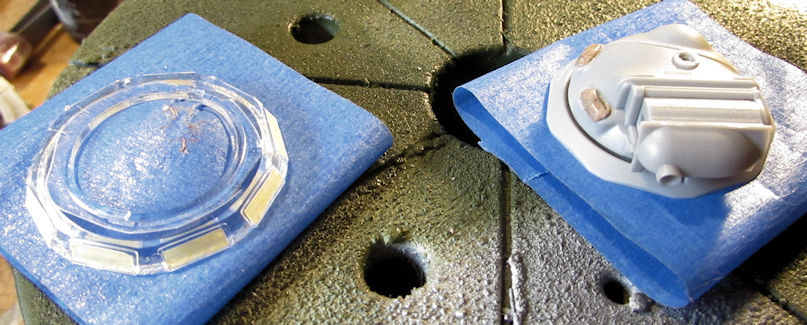
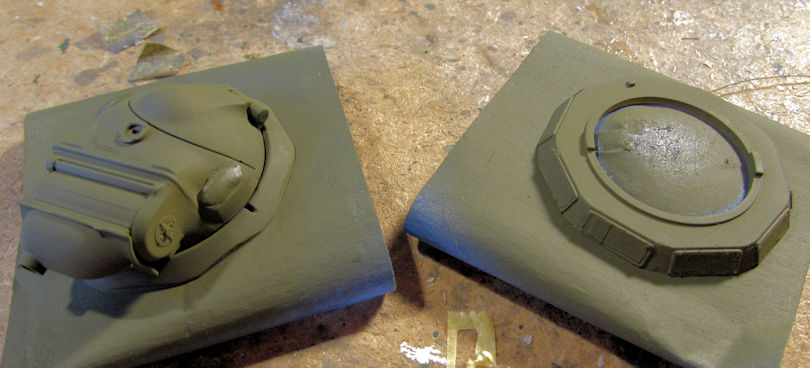
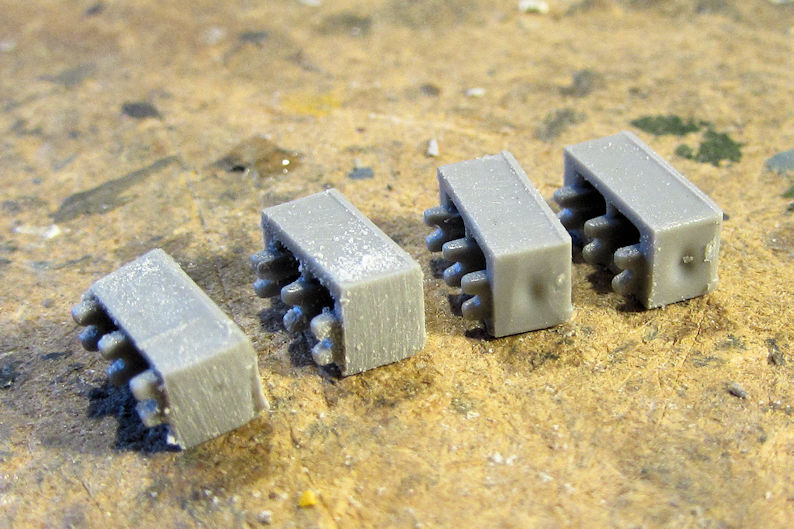
Moving on to my next project, I started adding the (almost) final detail parts on the M-109. On the back of the turret, there are these four boxes that attach to the rear stowage baskets. They had these dimples on the ends that I had to sand down. Here are two of them already sanded beside the other two so you can see what I had to deal with:
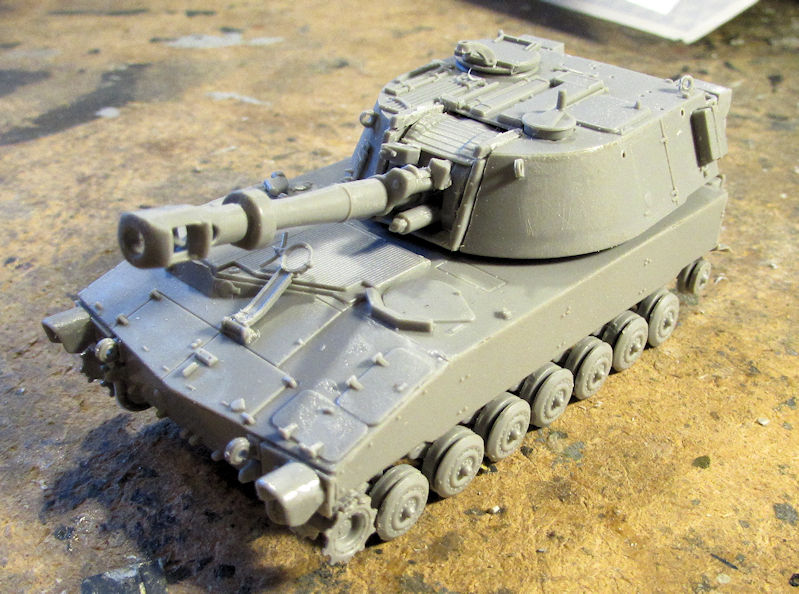
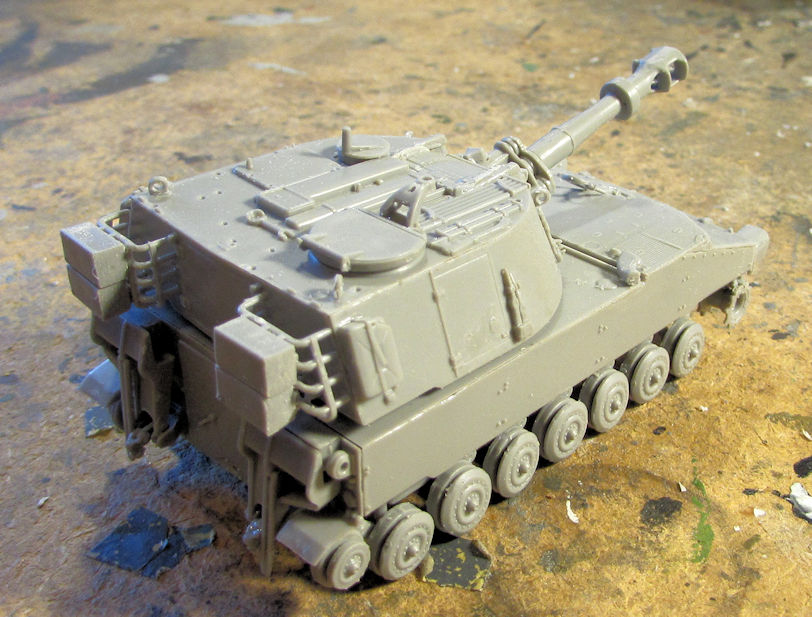
After they were done, I added most of the rest of the parts to this so I could get started on painting it. Aside from a few parts that I know will break off during handling, painting and weathering; this beastie has everything it needs on it for paint:
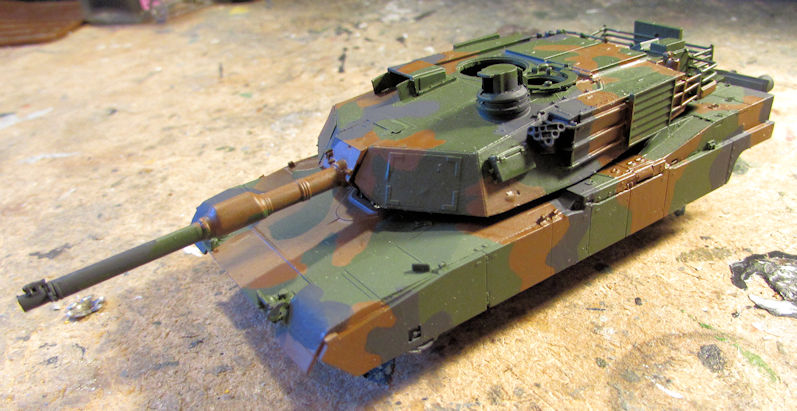
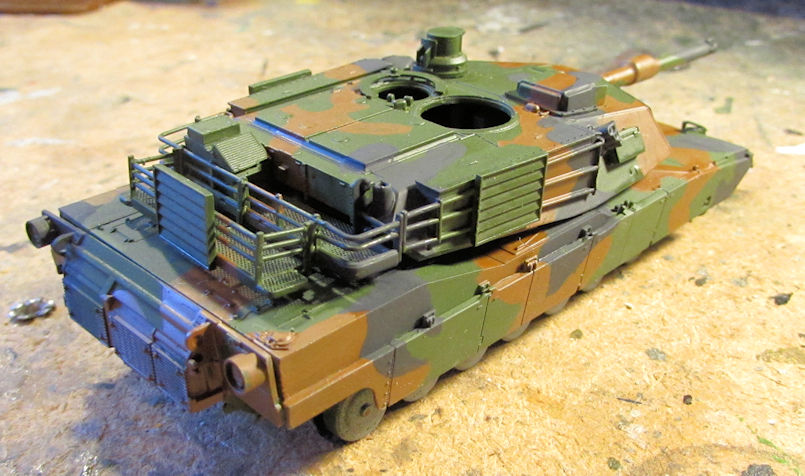
Finally, I decided to go ahead and hand paint the camouflage patterns on the two M-1 SEP Abrams since there were only three views on the paint pattern chart in the instructions: front, back and one side. Nothing for the other side or the top. By doing hand painting, I could at least freehand the hidden side and top. These two patterns are slightly different, but they are all based on the existing pattern from the instruction sheets.
First is the M-1A2 Abrams SEP:
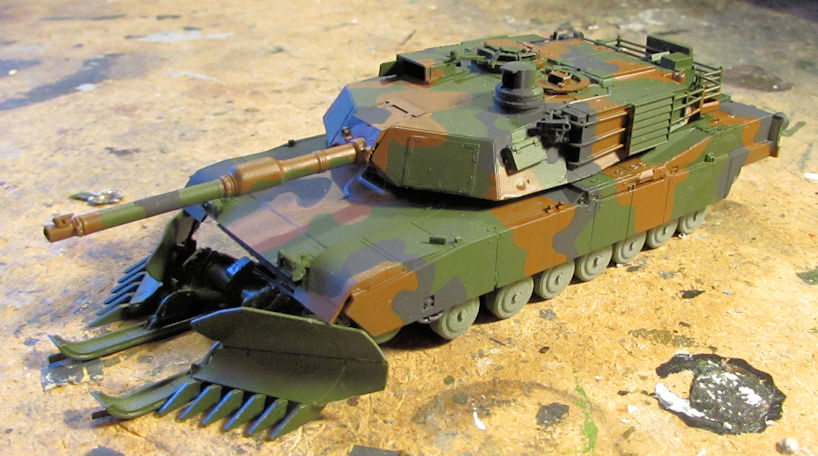
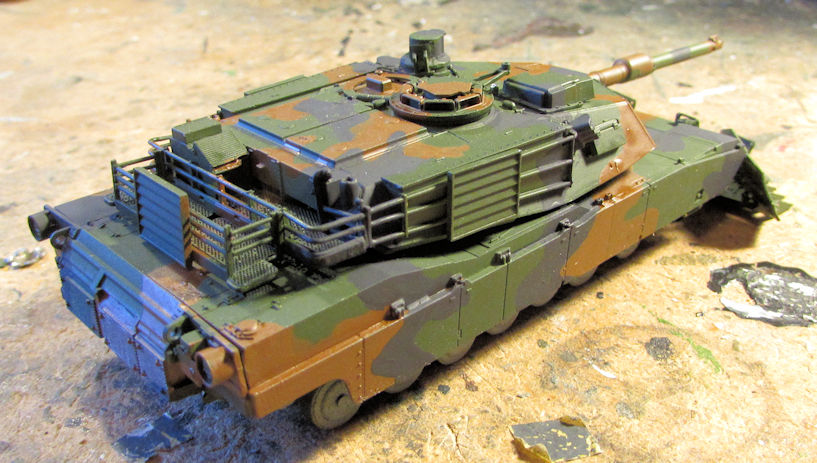
And here is the M-1 A2 Abrams SEP with the mine roller. The mine roller is only sitting in front of this at this time. I'll be adding it later when all the final work is done:
The M-1A2 Abrams SEP TUSK I with be airbrushed as I already have the Silly Putty on it. Hopefully next week.
After that I looked around for something else to work on but nothing screamed at me so I put everything away.
That concludes this latest tour of Maddog Manufacturing, I hope you enjoyed it. Thanks for stopping in and comments are always welcome.


