It's been awhile, so time to start another tour. There's a bit more to show here so all aboard!
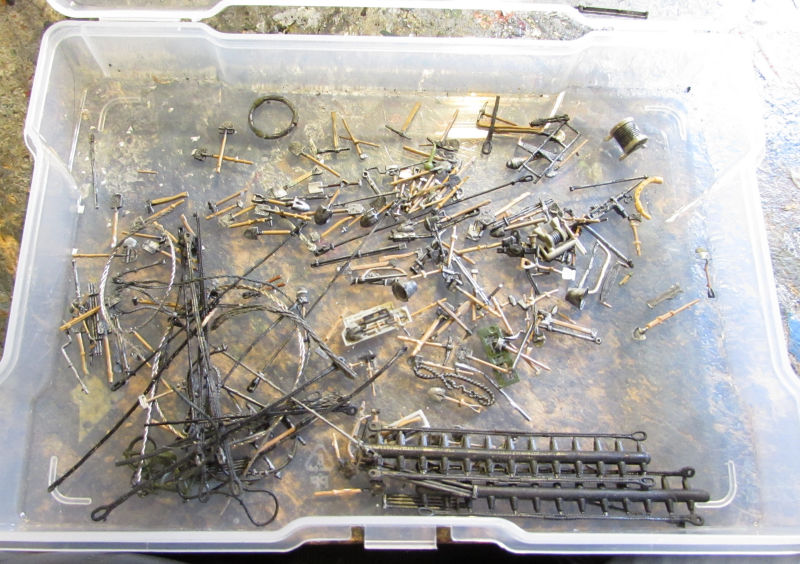
We'll be diverting this tour slightly to stop by the parts warehouse first. There you'll see some of the behind the scenes work we've been doing to organize, condense and streamline all the excess parts that get left over or left off the various models that we do. We started with the small container holding pioneer tools and other accessories. They were all painted as best we could and then the many that were still attached to sprue parts were removed from them. That way, all the tools and accessories are free and ready for use. Before we started, the container was practically bulging from all the parts in it. After removing all the sprue parts, this is what we have:
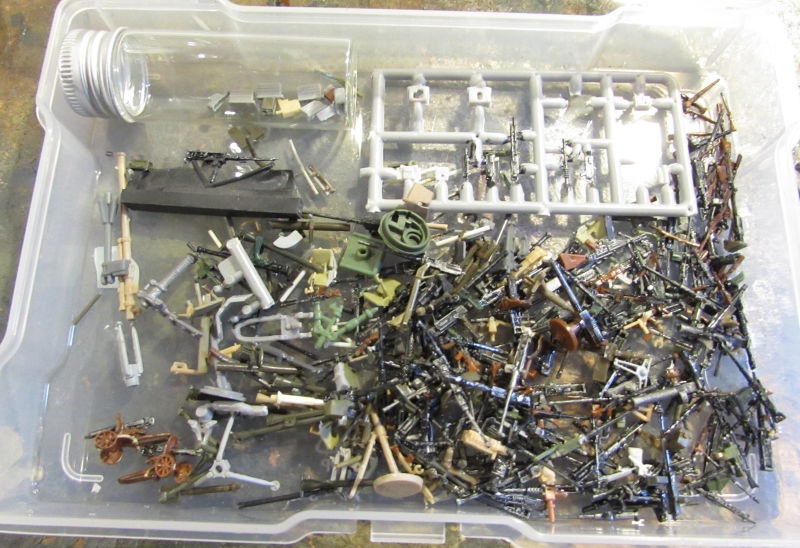
The next box was the weapons box. This holds all the rifles, machine guns, hand held anti-tank rockets, tripod mounted weapons, mortars etc. Once again, they were painted and then most of them were removed from the sprue parts. Some of the sprue sets had ammo crates that are supposed to attach to the machine guns. They were put in that small glass vial at the top left. Again, before this, everything could barely fit due to the large quantity still attached to sprue parts. There's quite a bit more of them than the tools, but still, loads of room for more:
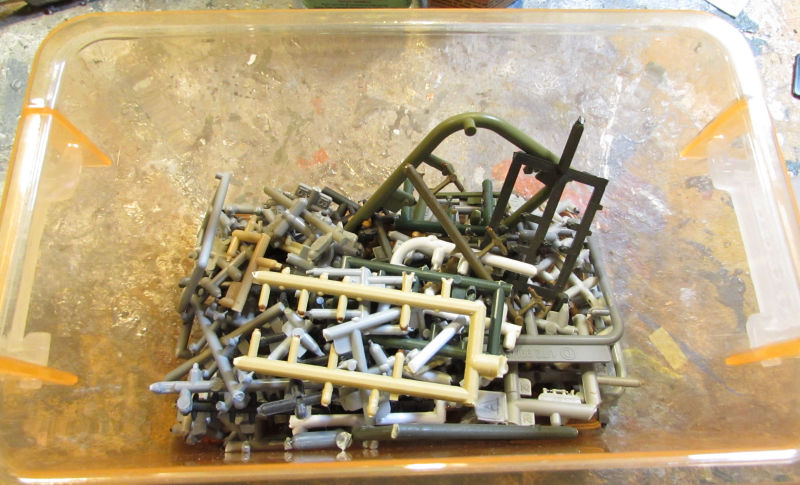
This is the small box containing the sprue parts we snipped off all those tools and weapons. They don't look like much, but they sure did take a lot of room:
That container is considerably deeper than that pic suggests.
Wait till we start on my stowage parts box!
Okay, it doesn't matter much, but I just wanted to show why productivity has dropped lately. That took considerable time and was very needed.
Now on to the production buildings where we finally did get a few more things moving forward.
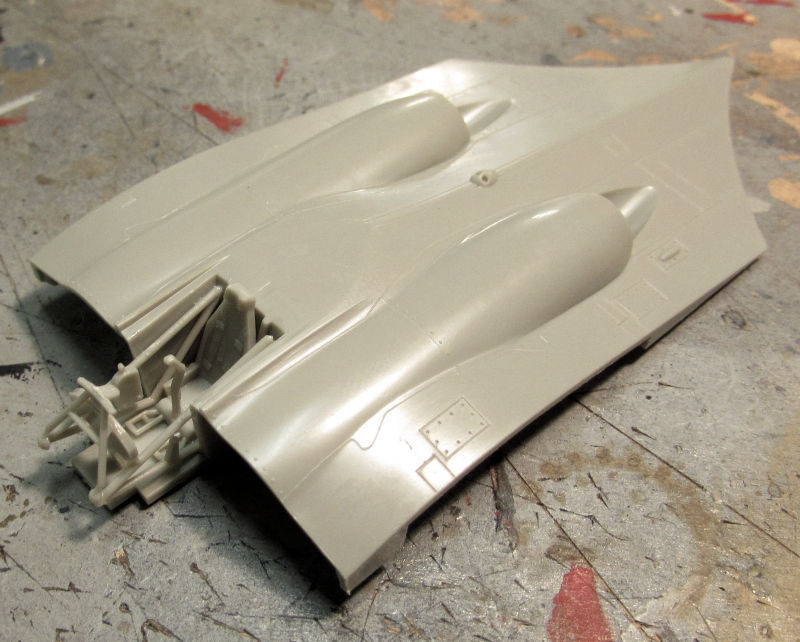
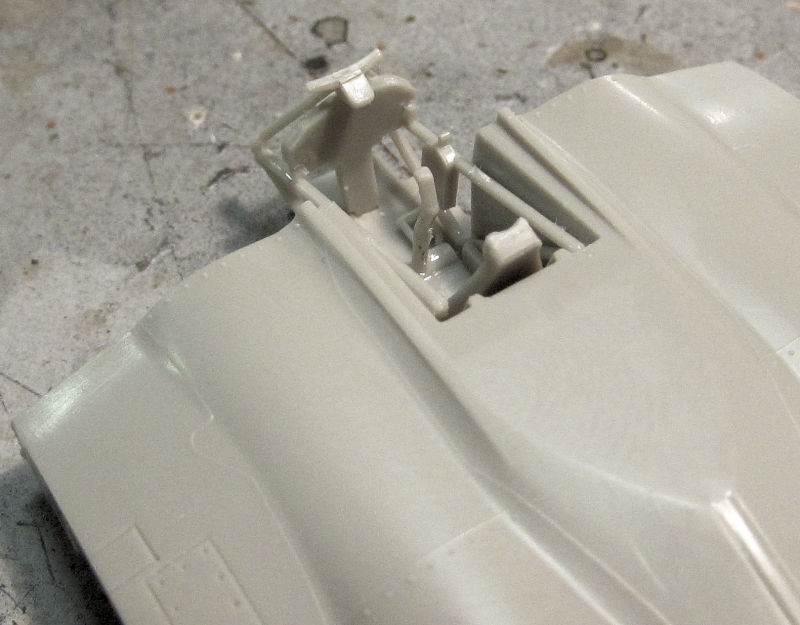
We'll start once again in the Hangar where one small project was started as a 'palette cleanser' so to speak. In here we got started on a German Horten flying wing. This is the new Revell boxing that we received as a gift. First part of course is the cockpit:
Here's a shot of the instrument panel that will be getting a decal later:
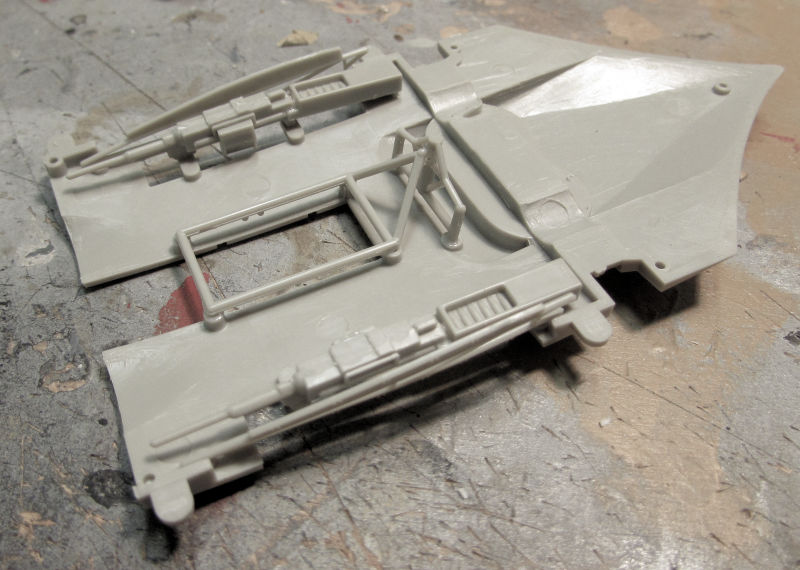
Then this was flipped and the engine exhaust cones were added:
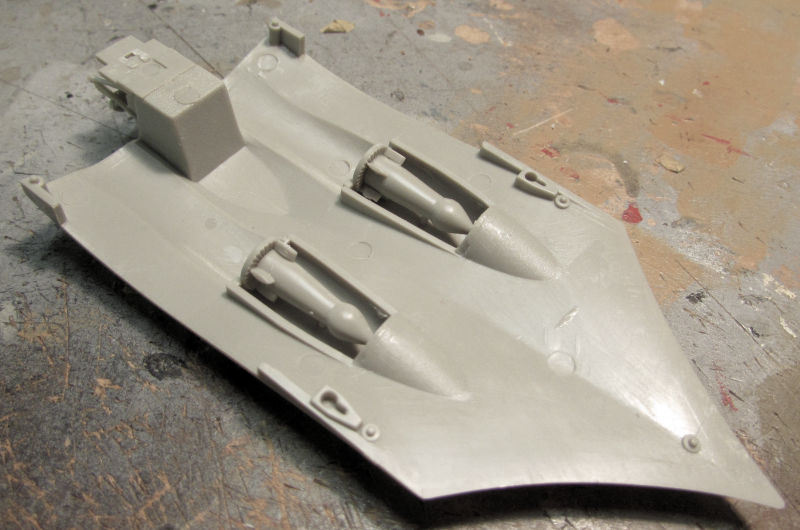
On the bottom of part of the fuselage, the cannons were added and the framework around the forward landing gear bay I believe:
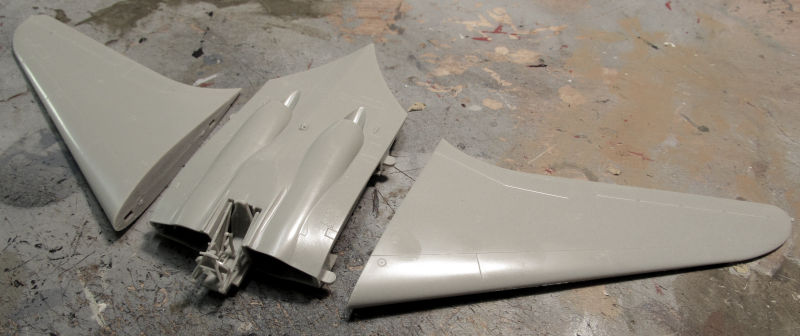
The wings were then assembled and now here is where we are before detail painting starts:
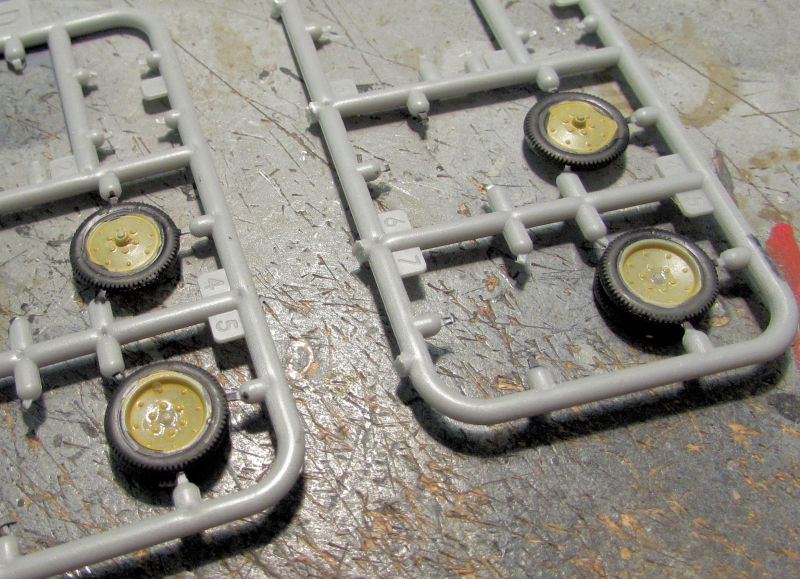
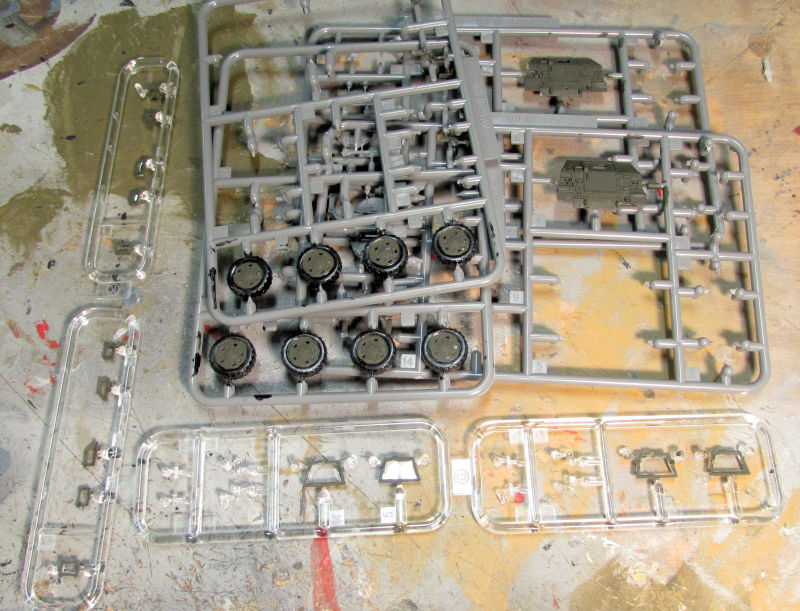
Now on to the Motor Pool. Lots was done here, starting with the finding of the missing wheels for the Rolls Royce Armored car:
These were later added to the car, but the front axle broke (it's a Roden!!!) so I didn't get any pics of them until after I'm sure it has dried solid enough to hold the car.
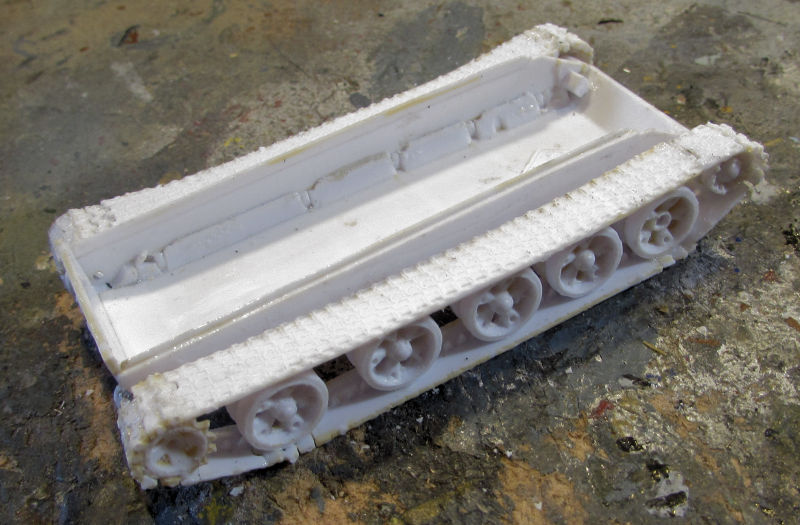
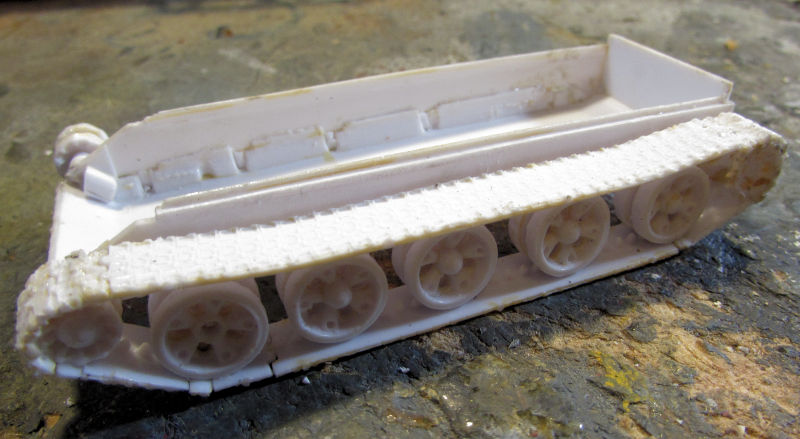
Moving on, we went back to a Shelf Queen that had been sitting for three years now. The reason was because of the extreme (for me!) difficulty in mounting the wheels and suspension. I swear these must have been torn off and/or torn apart at least five times each time until we finally found out how they were supposed to go. I came to the conclusion the fenders we'd glued on earlier were causing all manner of trouble so we popped them off to finish this. Almost three hours hours after starting this again, here is the result:
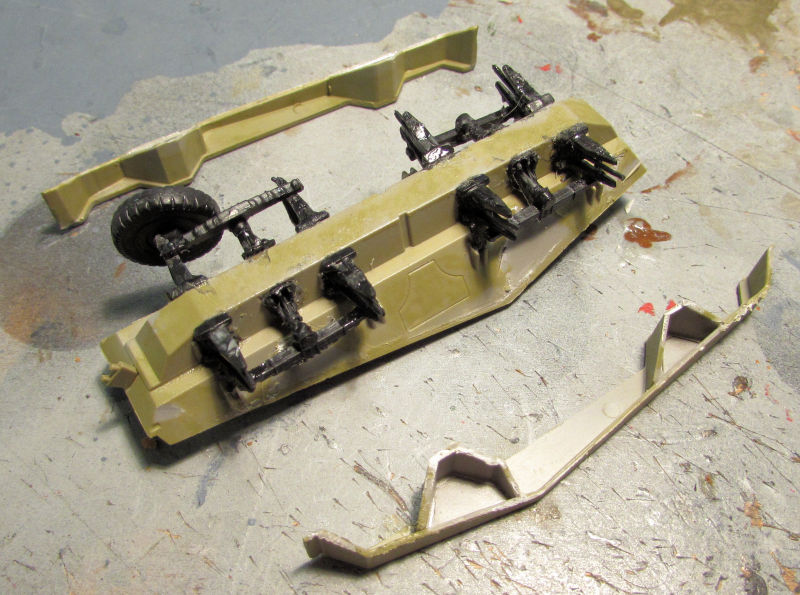
Looks like a dead bug lying there like that. We had to reinstall several interior parts that had broken off in the fight to mount these right.
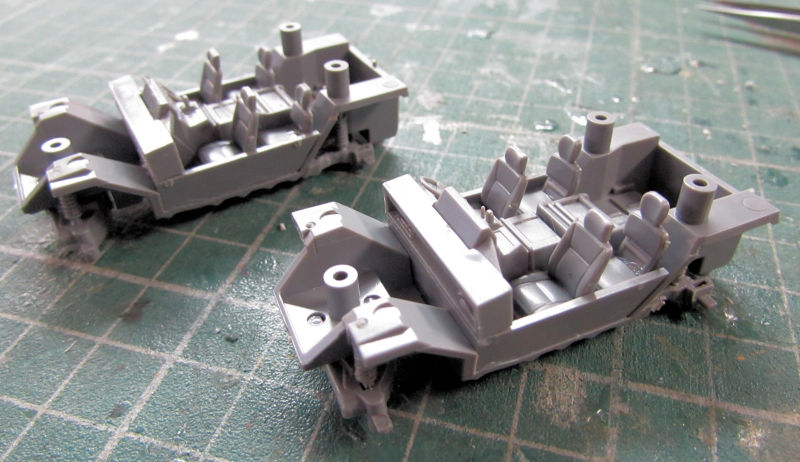
That was enough of that! I then set upon a much easier kit to do; this time it was a dual kit of two Japanese armored scout cars that we started. These are from the air self defense force, most likely used for perimeter patrol around air bases. They went together fast; here is where they ended up before I remembered to photograph them:
Later on we painted the interior with the base Green Drab using a brush. While we were at it, we also painted the bodies as well:
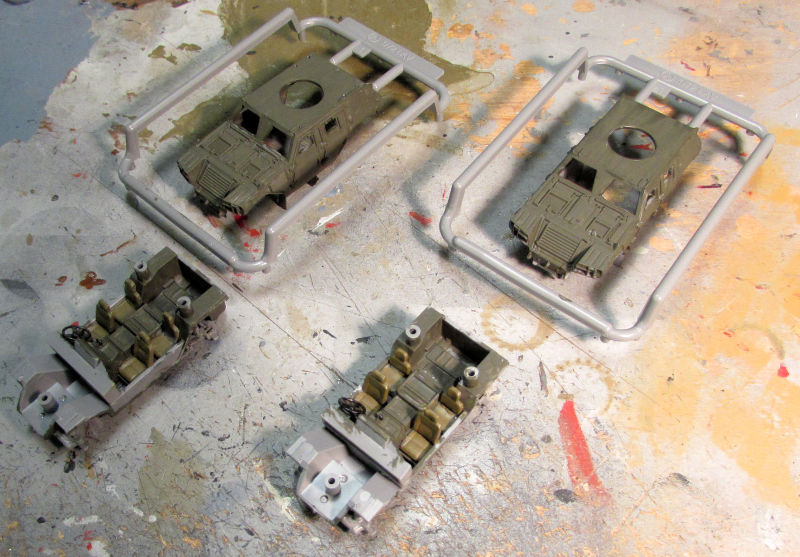
Next we painted the extra detail pieces (wheels, window frames, etc) to have them ready to install later:
That is where we left off on those. We then went back to the last two Russian tanks I have left to build.
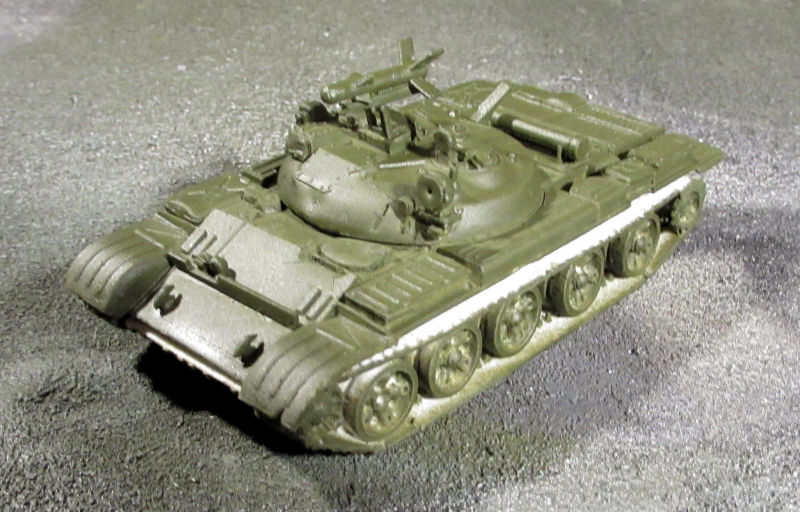
Starting with the Drakon IT-1, we installed the tracks on the wheels and sprockets. You can see this is one of ACE's earliest kits by the roughness of the molding:
Here it is all mocked up, ready for paint:
We later shot paint on this. I had found a rattle can of the Dark Green I use, and sprayed with it. That was an ordeal as the can would not stop spraying once it got started. Therefore we only sprayed an incomplete coat, while catching the remainder in a clean bottle to use later:
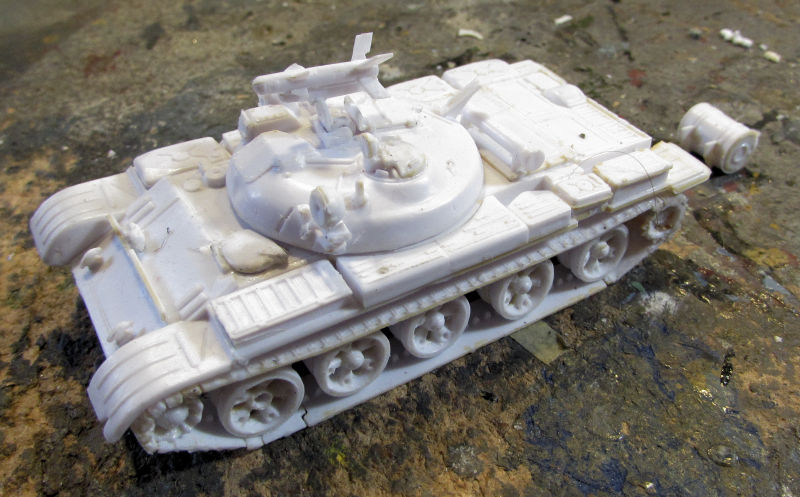
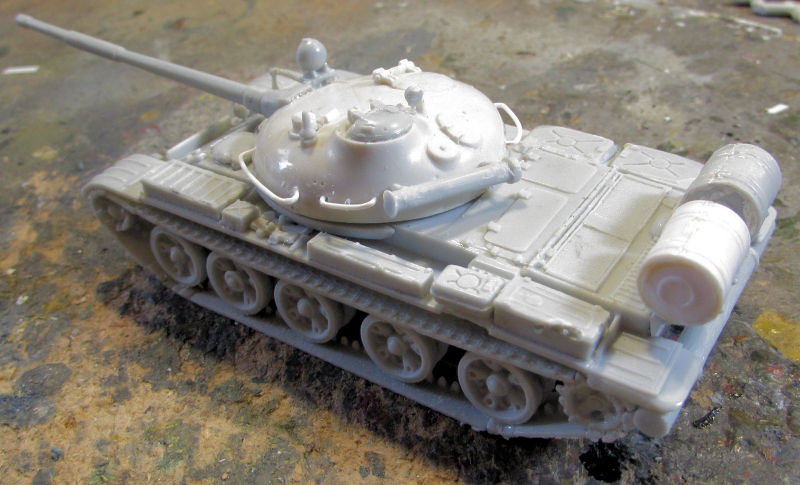
The next one was the T-62B. Tracks were installed here too, as well as fuel cans on the back end:
This got the rattle can treatment as well:
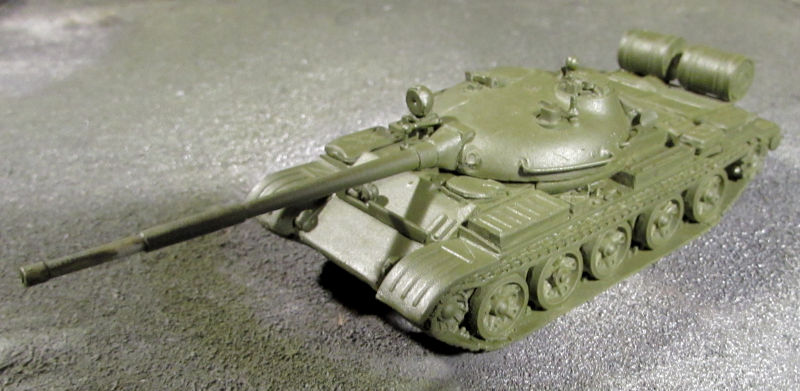
You can see we had started spraying this one as it has a more complete coat.
That was a far as I could go with those so I decided we should start a couple more vehicles. Since we were doing tanks, it was time to get started on the last Leopard I need to complete the entire Leopard line...until they bring out a new version....
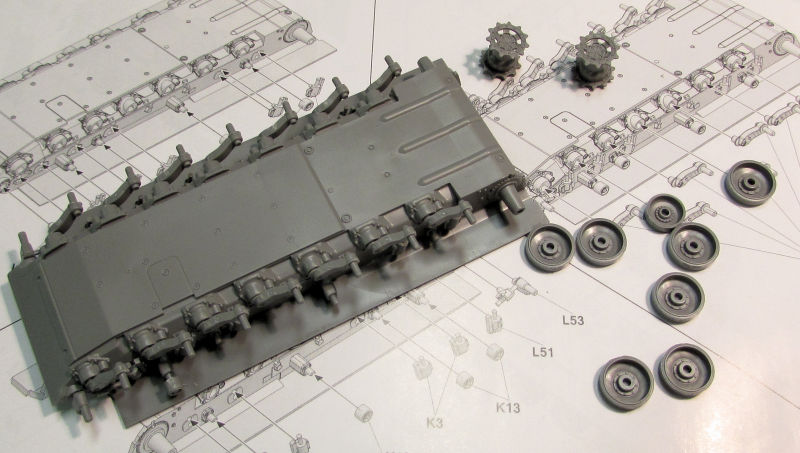
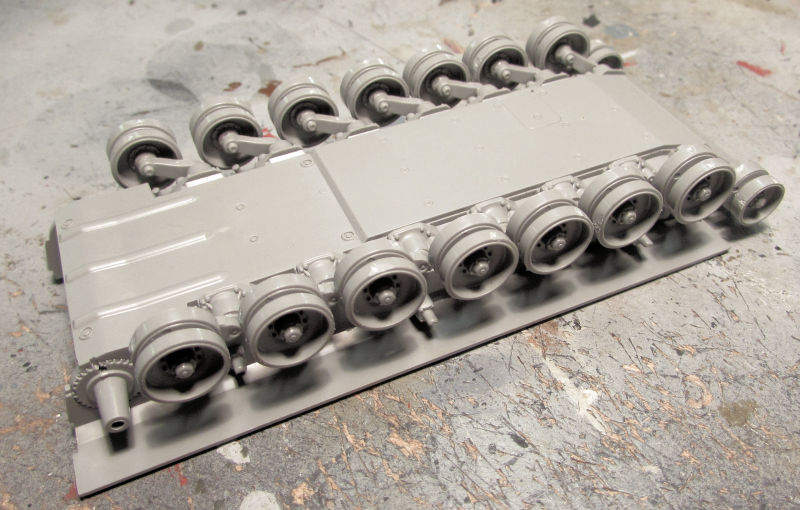
The torsion bars all had to be individually installed. While they were drying we assembled all the wheels while they were still on the sprues. You can see the start of that here:
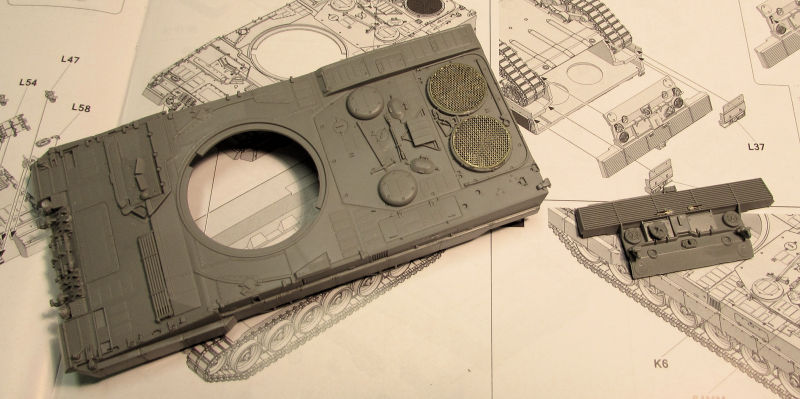
Then the upper hull and rear plate were done with all the additions needed, including photo-etch:
Later the wheels were added, but we left the drive sprockets off until it was time to start the tracks:
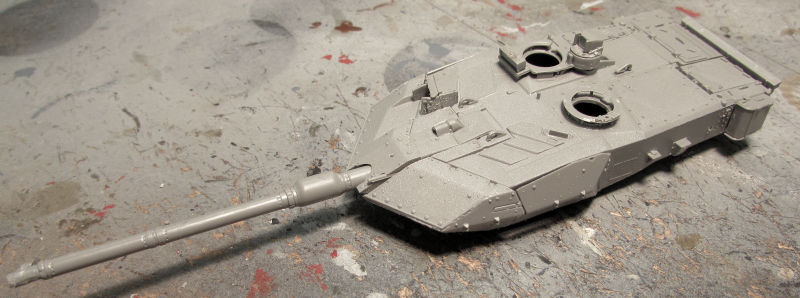
The turret was completed next. I like how they molded the anti-slip coating right on the turret:
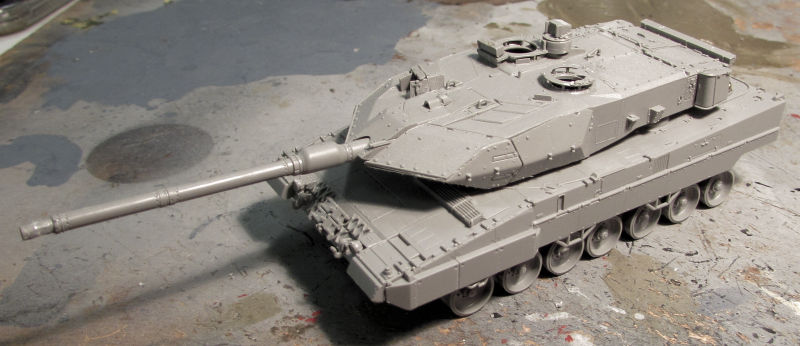
Here it is mocked up, almost ready for paint:
Finally, one last vehicle we started was this Trumpeter HEMMTT LHS (Load Handling System). I'd had it on my list of models to start so it was time.
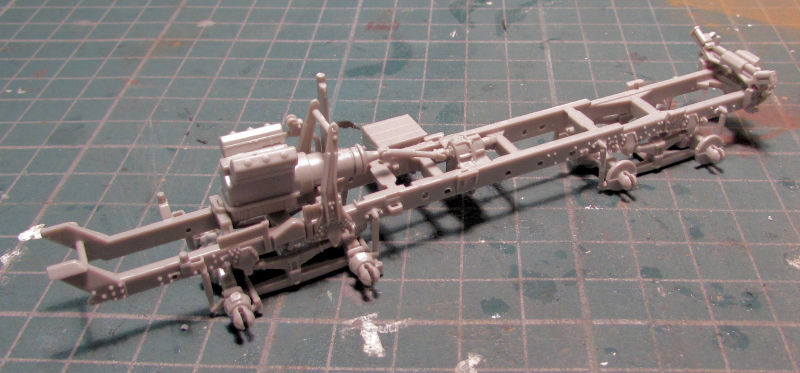
Naturally, we started with the chassis; as always with these big trucks. Trumpeter's chassis was all one piece making it easier to assemble than the Modelcollect version of this type of truck:
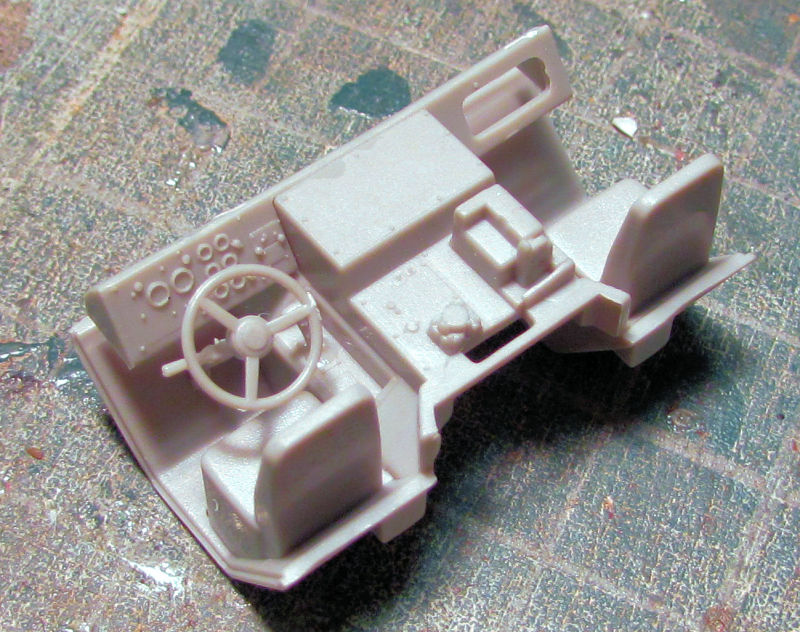
Next was the interior of the cab. Fast and easy:
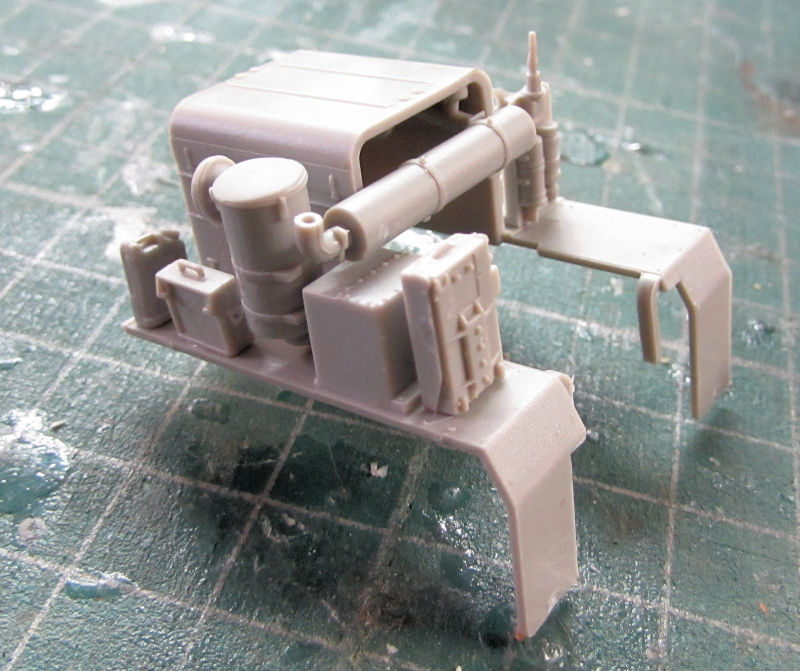
Next we assembled the engine cover. Once again, Trumpeter molded the cover and deck it sits on as one piece, all that was needed was to add all the detail parts. Much simpler than Modelcollect, while not compromising any detail:
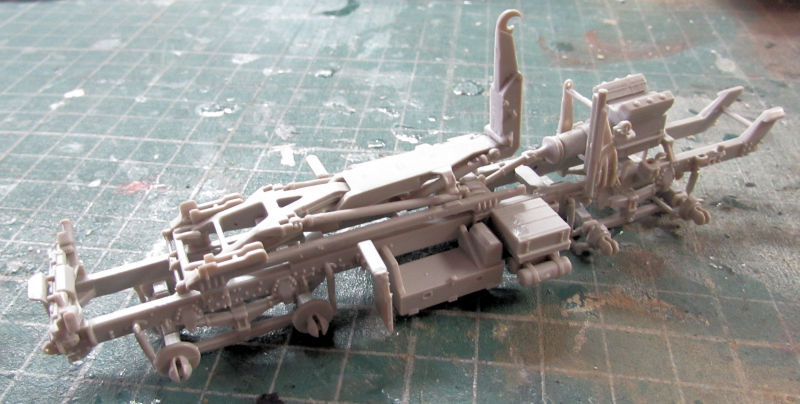
Next we assembled the load handling system itself. This was a bit difficult due to the vagueness of the diagram. Looks impressive though:
Then the bed of the LHS was added to complete it:
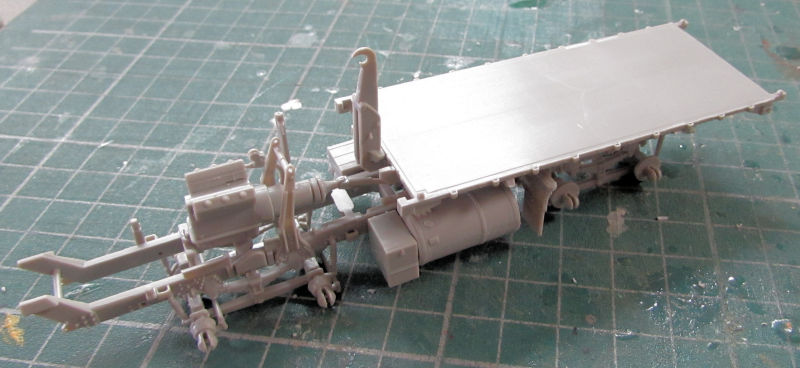
Finally, we assembled the container box...all two pieces of it. I then mocked it up on the truck; it fits well:
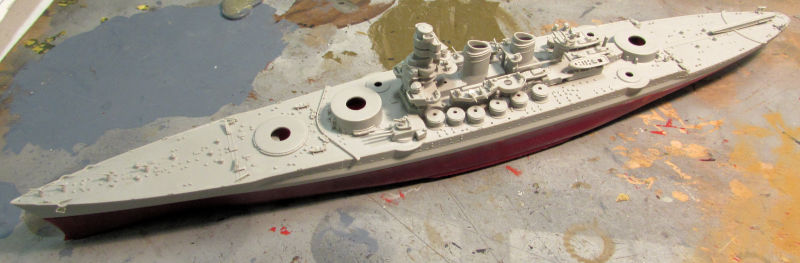
Moving on to our Shipyards, we find that the main gun turrets of the Italian battleship Vittorio Venetto have been completed:
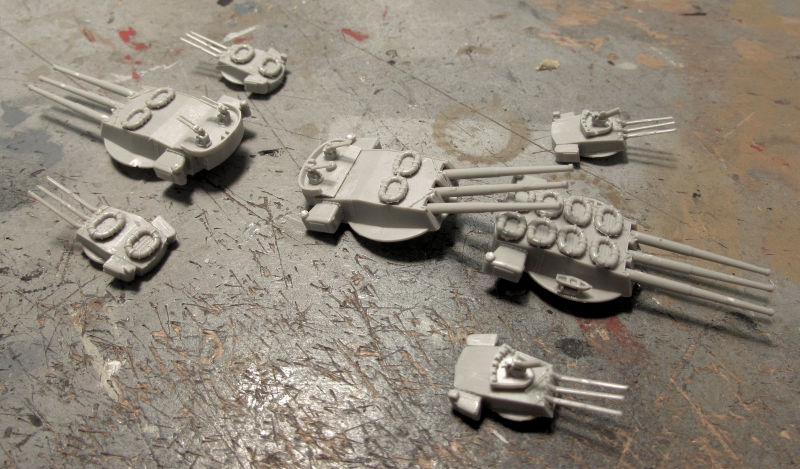
First we checked how one of the small turrets sat on the deck:
We then test fitted one of the largest ones and the four smaller ones on the ship:
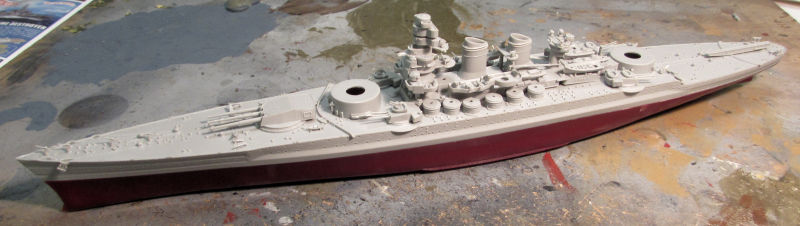
With her boats installed and the main turrets and superstructure mocked up in place, she was finally launched and sent to the dock for final fitting out:
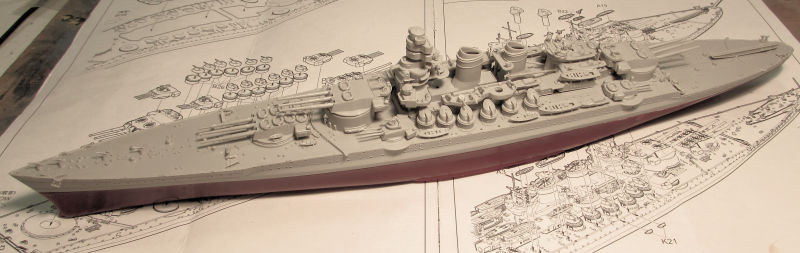
There is still some photo-etch parts to add, as well as some other details. I also need to find the scout plane they say was packed in this kit, but I never saw it anywhere. I might just be overlooking it. Once most of these are added, we'll be able to start painting.
And that completes this tour for today. Thank you all for looking in, comments are welcome.


 .
. .
.


