Thank you
John! Your wait is over, another tour commences today!
Thank you
Ian! yes, it is already started. The cockpit is going through a major revamp with more in scale parts.
Happy Valentine's Day weekend to everyone, and now it's time for the Valentine's Day weekend tour of Maddog Manufacturing. Thanks to a fantastic Hobby Day weekend, we were able to get a lot done. So, all aboard the trams, the tour begins now....
Starting in the Hangar again, we have a little bit of work done on a couple aircraft. This first one is the Iranian F-5B Tiger II which got a shot of Tamiya bare Metal Silver out of the rattle can. This can was almost empty so the results were not what was expected or hoped for. It looked like a metallic leopard to be honest. So, a bit of a strip, another shot of primer and then a new attempt with a Testor's rattle can of metallic aluminum. This wasn't so good either:
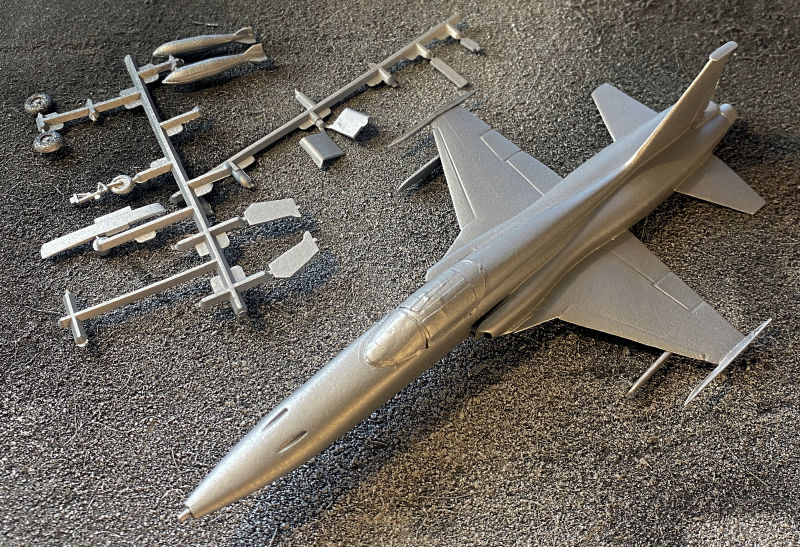
Back to the drawing board with that one. Gee for an easy and uncomplicated build, this sure needs ridiculous effort!
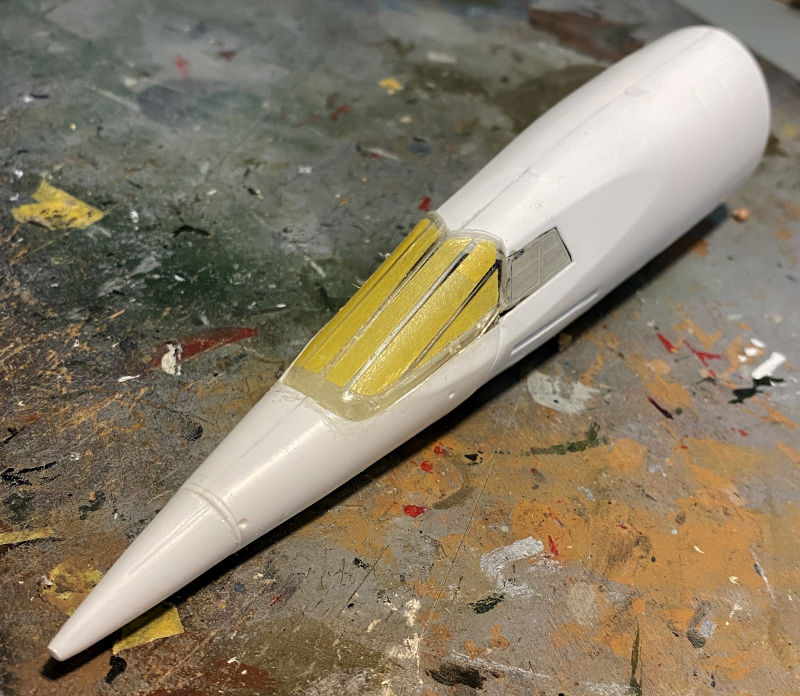
The next aircraft we worked on was the Concorde. we tried to get the linkages inside the nose to work correctly but failed. So, we capped off the nose with the final nose cone:
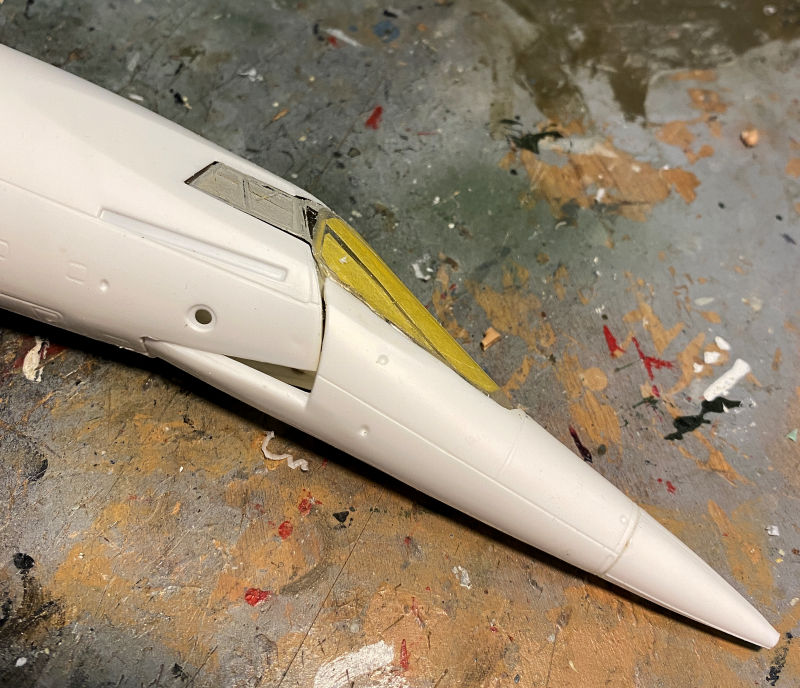
No, the nose isn't broken, this is as far as the nose droops despite my efforts to make it work correctly. At least it works partially:
After all that, we cemented on the tail section and the engines, and snapped on the forward fuselage to see how big this is. This beastie spans nearly three feet; or 1.8 meters for those across the Pond. You can kinda get an idea from the standard sized paper clip that is barely visible above the forward fuselage. I forgot to put something down to show length, and that was there after I took the picture so that's the size reference:
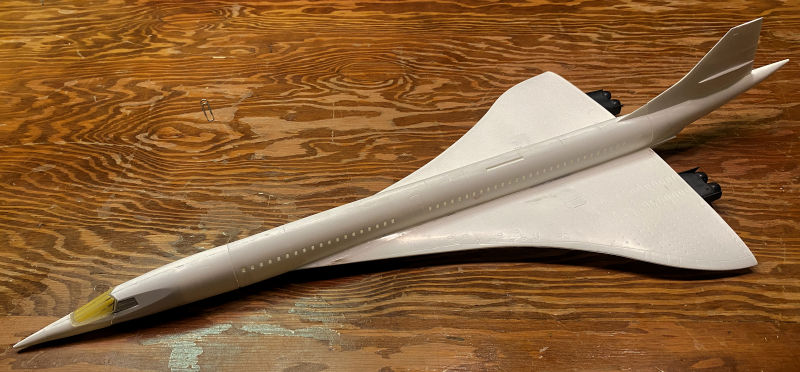
There's going to be a lot of filling and sanding on that monster, then hopefully it'll be made smooth enough for a white coat later on.
That is all in the Hangar, as I mentioned, not much done. Let's head over to the Shipyards now to see the work done there.
This past week, all of the work was done on the smaller boats. Starting in this first slip, we have the 71 foot Vospers masked up ready to paint the boot stripe:
Boot stripe was then painted and set aside to dry:
After that was dry, the boot stripe was taped over and the bottom of the hull was painted the hull red from Humbrol. Here it is still wet:
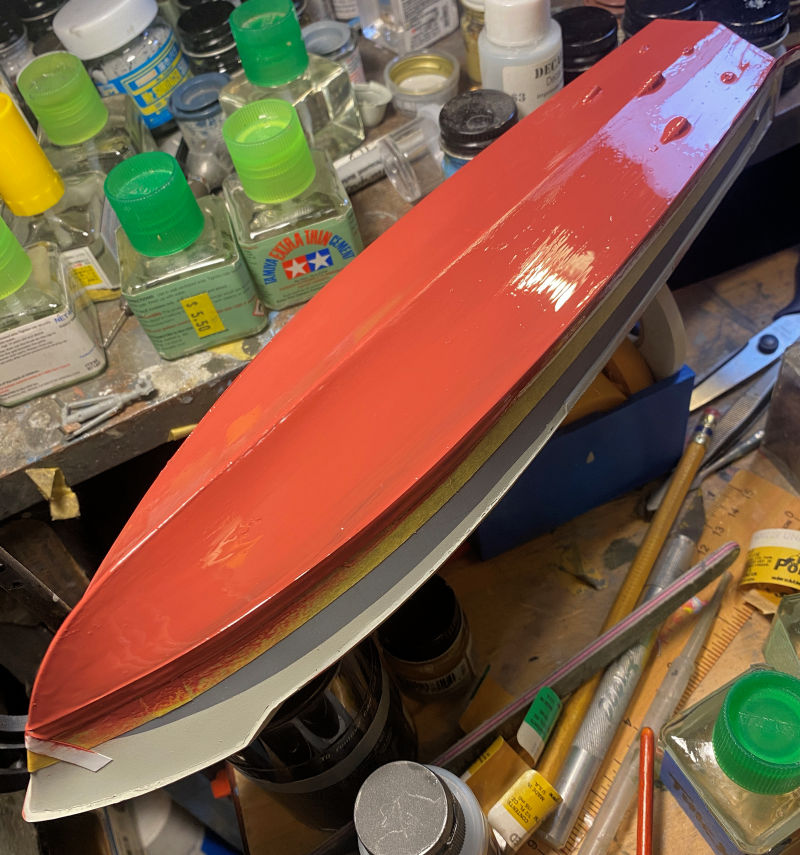
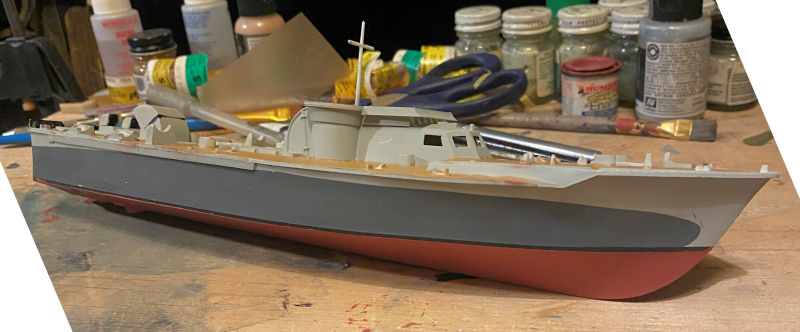
Later on after that dried, all the masking was removed and we got to see how much touch up was going to be needed:
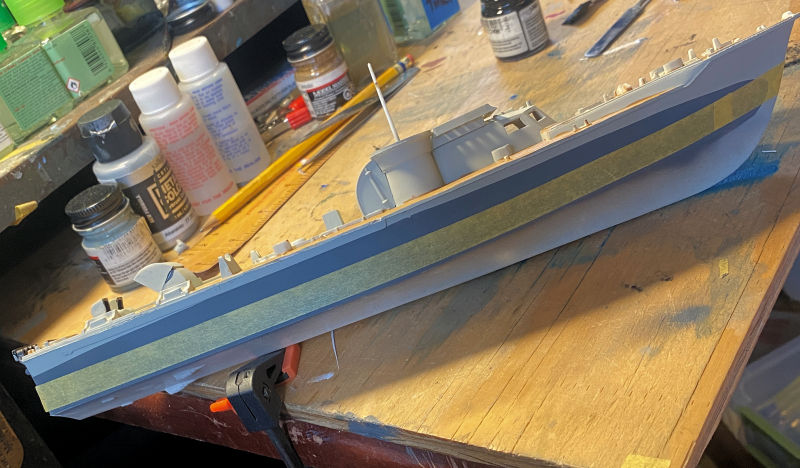
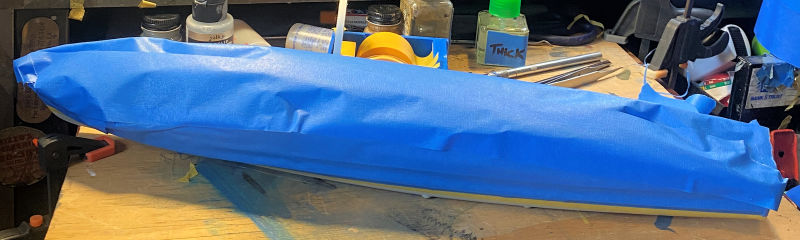
In the next slip, the 73 foot Vospers was still masked off for paint. The lower hull is supposed to be painted mostly black except for a section at the bow:
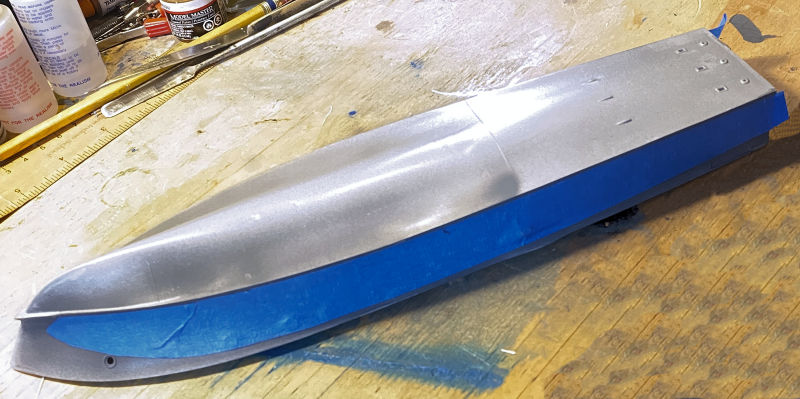
...so paint was laid down:
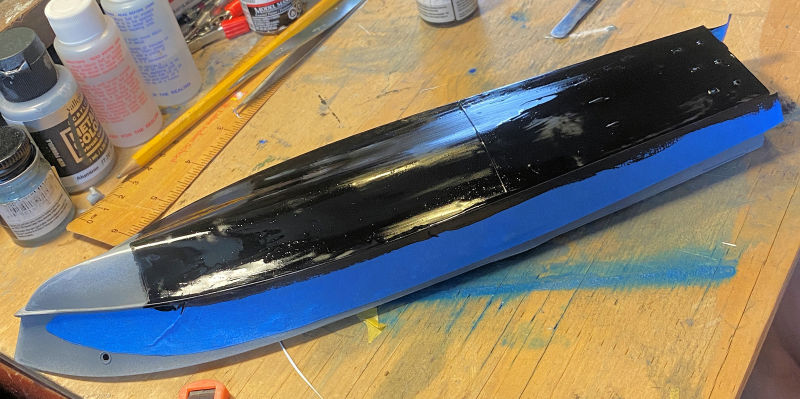
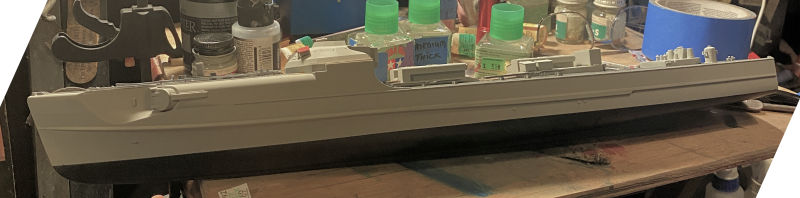
When that dried, it was masked off to prepare for airbrushing the light grey on to the rest of it:

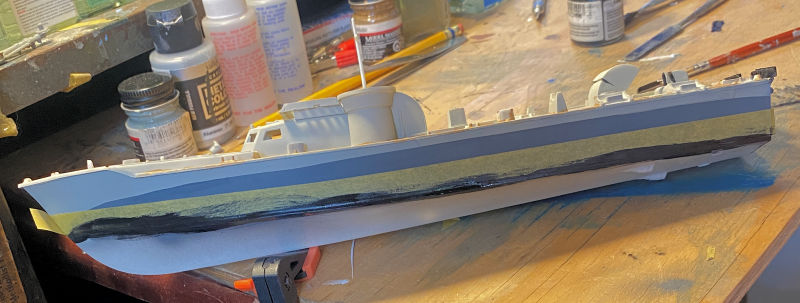
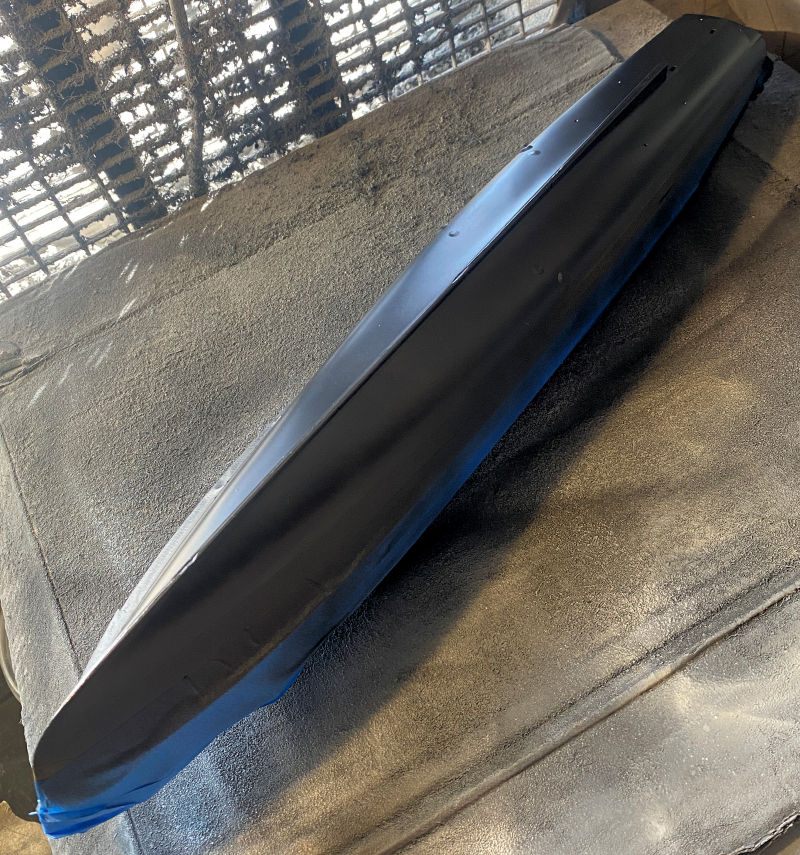
While we had the black out, We decided to mask off the aft of the Vospers Perkasa to shoot black:
...and the black was shot on:
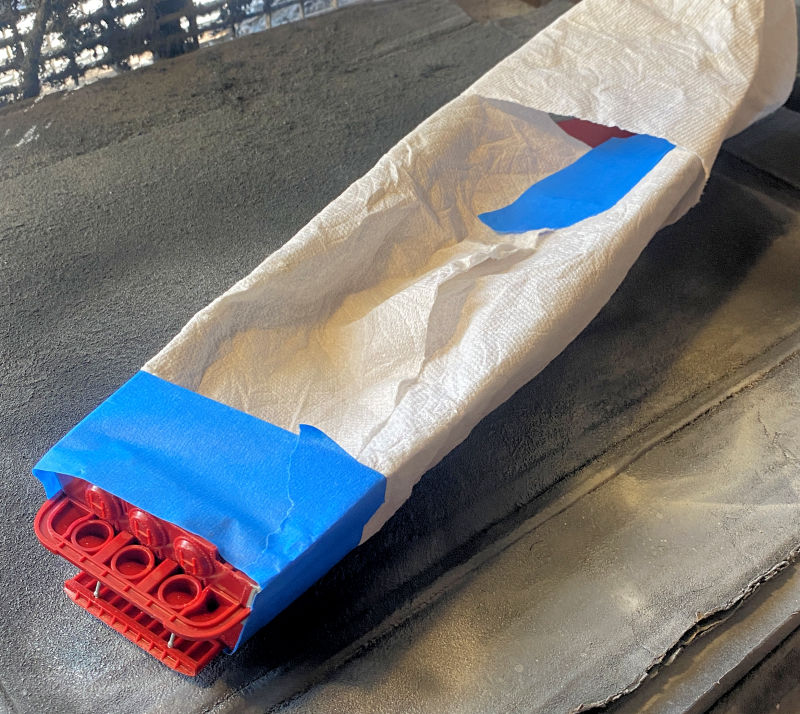
Then we saw that the S-100 Schnellboot had a black lower hull, so that was masked off to be shot:
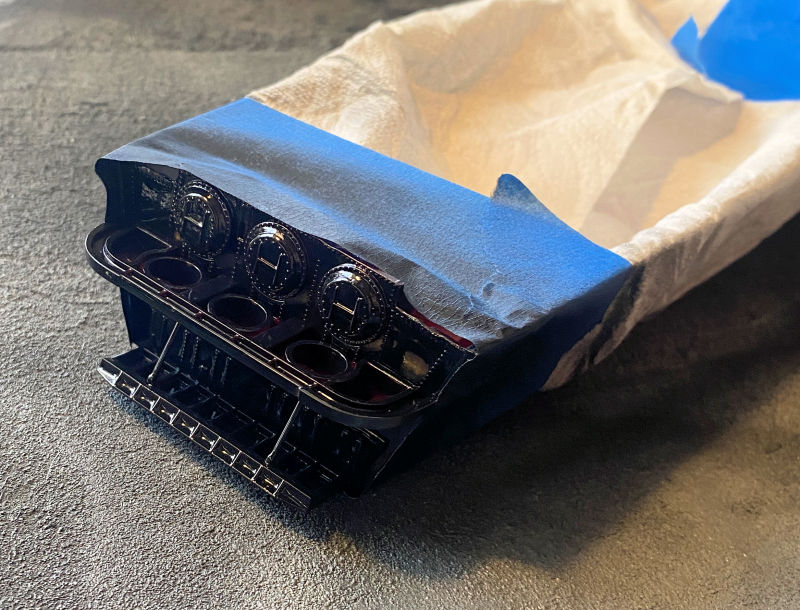
Black paint was shot:
And later the mask was removed to see how well it looked:
We'll be able to move forward on that fairly quickly.
That completes the tour of the Shipyards, now on to the Motor Pool....
Here in the Motor Pool, production has finally picked up. There has been a lot of projects I have been wanting to get going on in addition to the SCUDS we're building. These were pulled out to get started.
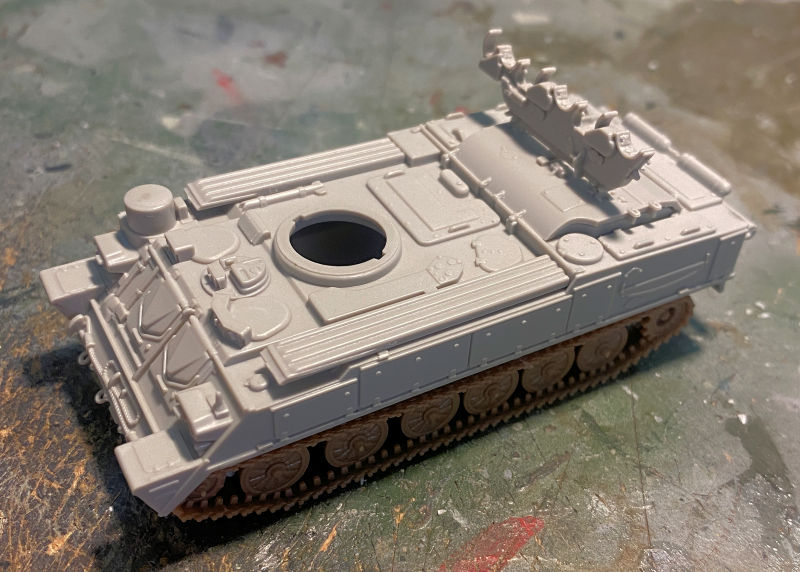
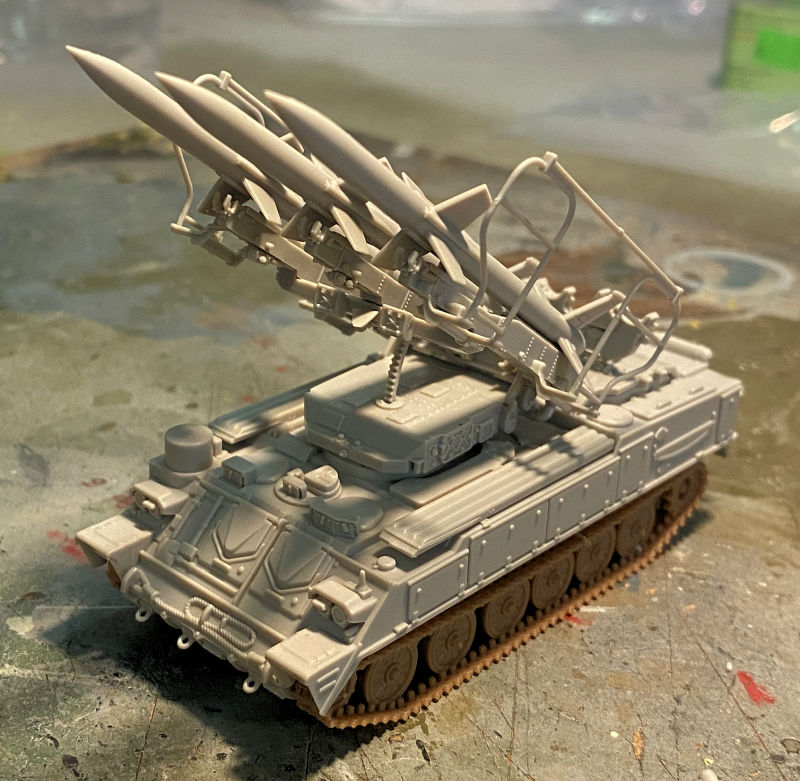
In this first bay, we built the hull and running gear for the Russian SA-5 Gainful. This went together very fast and easy:
Next all three missiles were built:
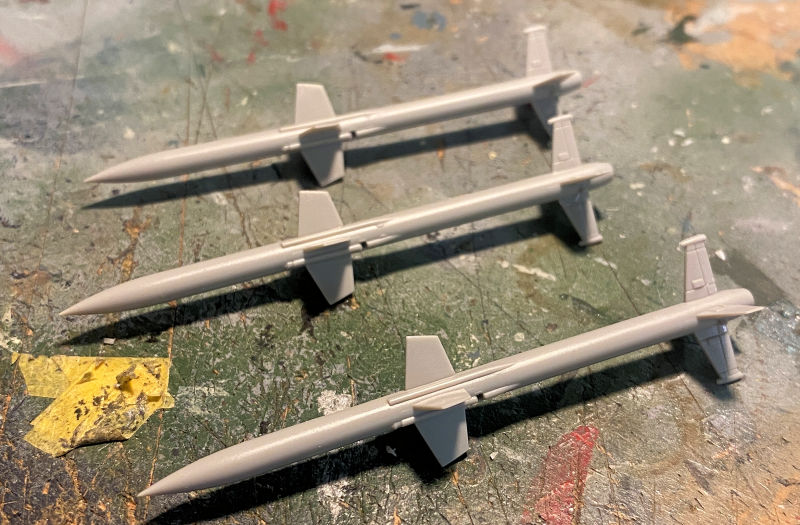
The we built the launcher assembly and loaded the missiles on to it. The missiles are not glued in:
Gee, that took all of 15 minutes to do. This is now ready for paint.
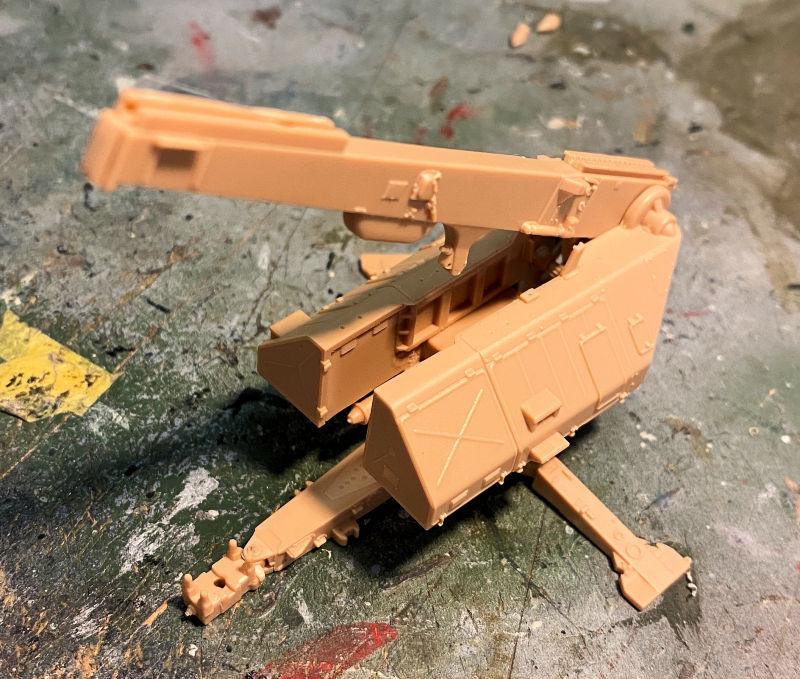
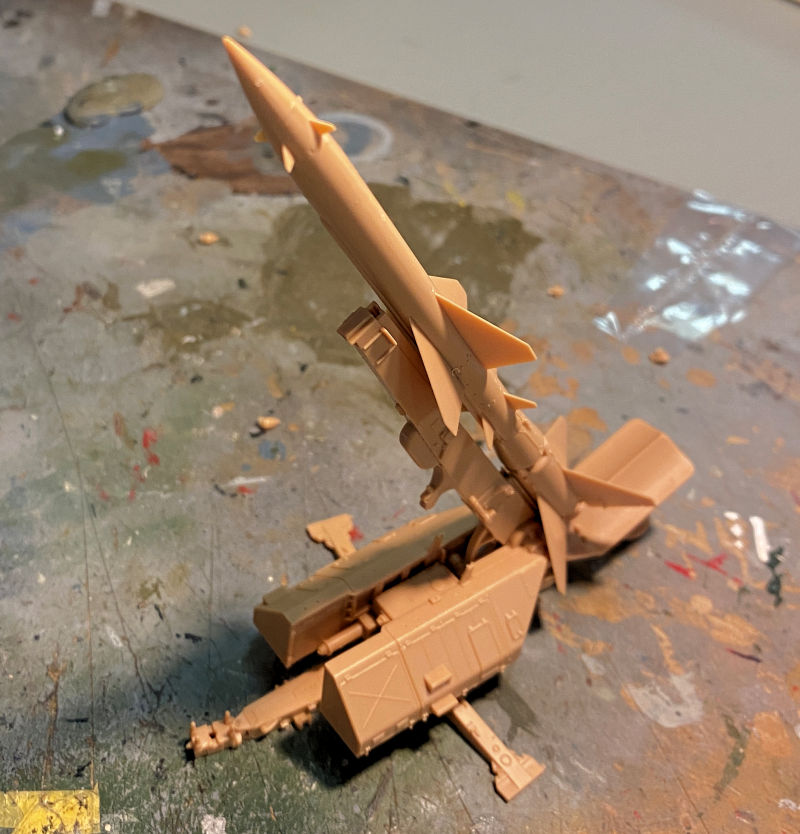
After that, we pulled out another quick and easy model; this time the fifth SA-2 SAM launcher for the SA-2 SAM battery I'm trying to build. Again, fast and easy:
The missile was built next:
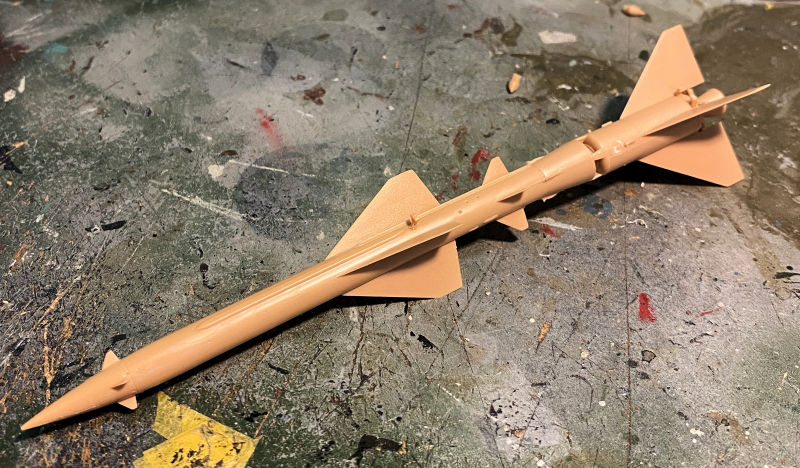
Later the missile was loaded onto the launcher, but mot glued in to make painting easier. This is also now ready for paint:
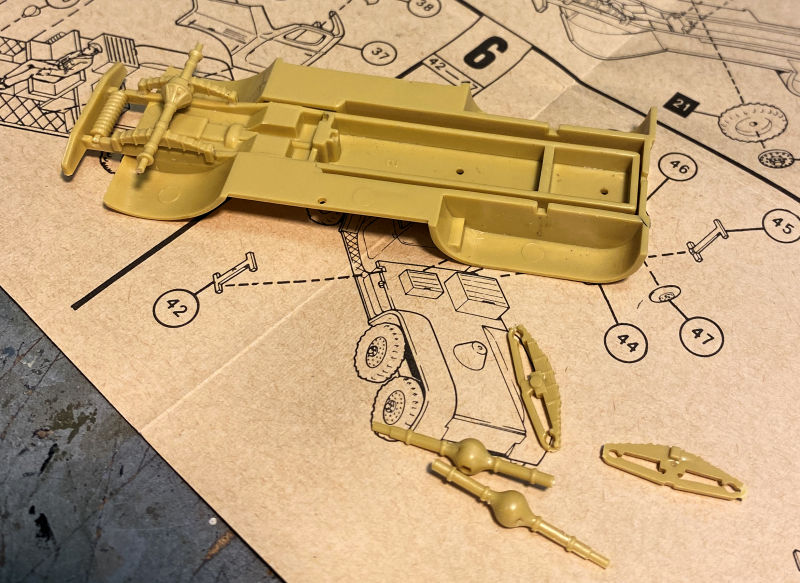
Since the battery needs some reload trucks with missile reloads, I decided it was time to bring out the ancient Airfix kit and get started on the truck. First, the basic chassis and underside was done on the tractor portion:
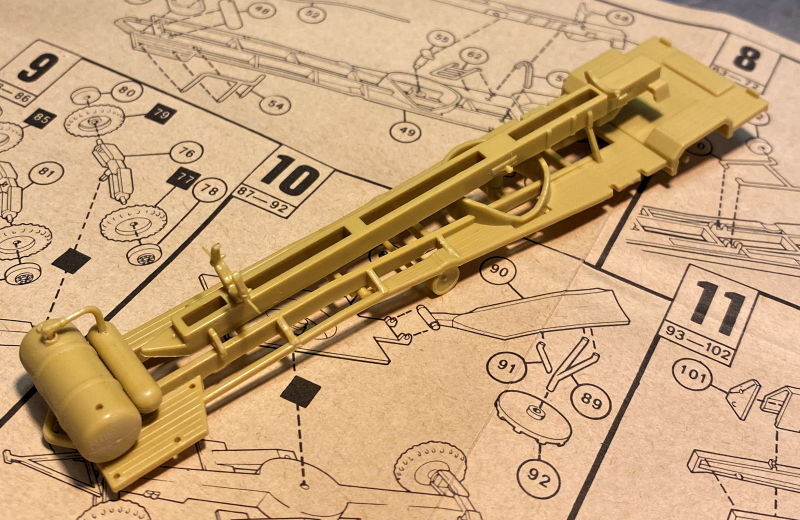
Next, the transport trailer was completed:
Finally the whole thing got mocked up to see how it's gonna look:
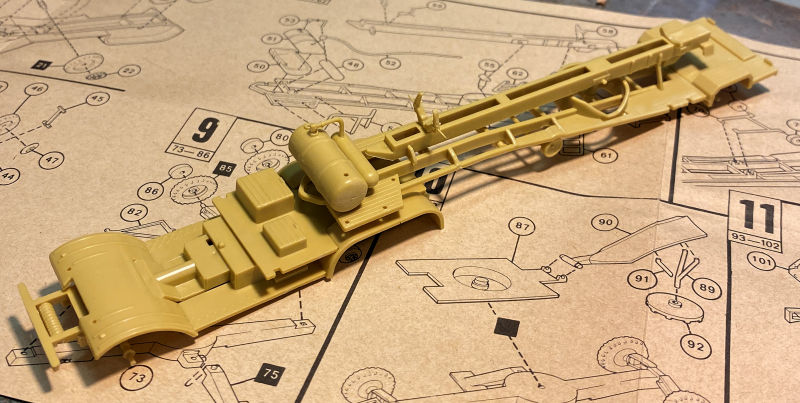
This kit also comes with a launcher as well, so I'll have my sixth launcher for this battery.
These were all simple kits we worked on in between work on the SCUDs. Starting with the SCUD C, we built up the first of the body sections, this one goes right behind the driver's cab:
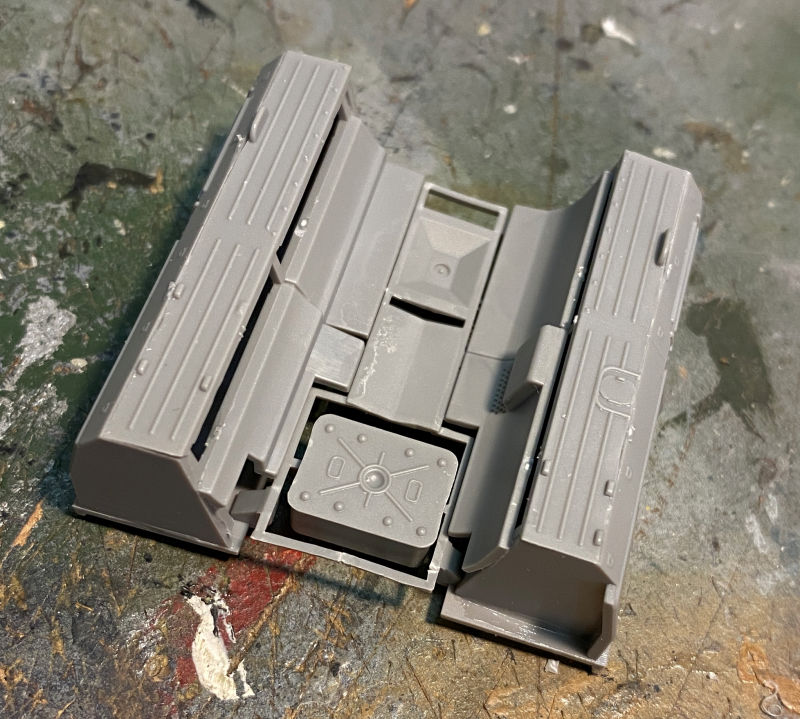
That was a bit of a diversion to relax from having added all the axle and wheel hubs to the main chassis, as well as the plates underneath:
Finally, the remaining body sections were built and staged on the chassis t see how they will fit. You can see I left off the sides of the command cabin so we can get the interior painted first:

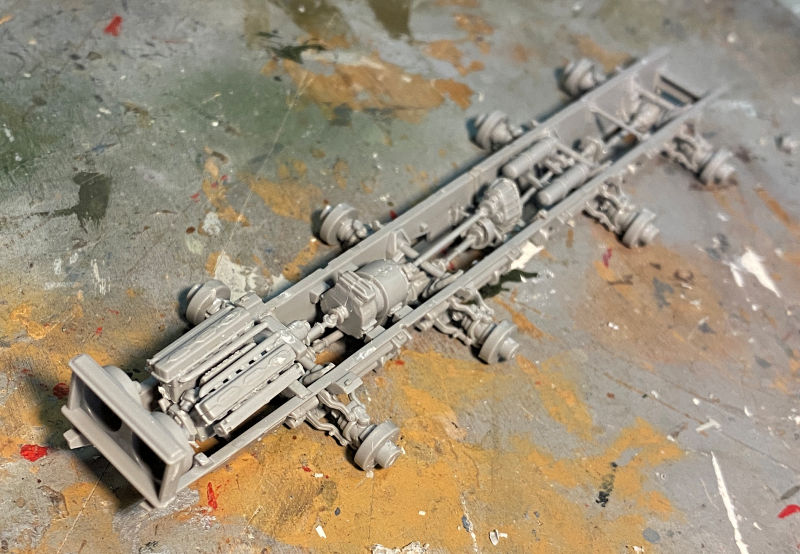
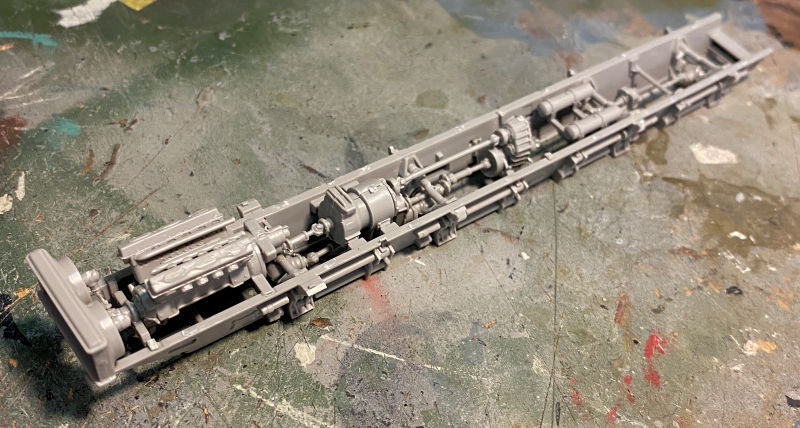
After getting that far on the SCUD C, we moved ahead on the SCUD D, completing the basic chassis:
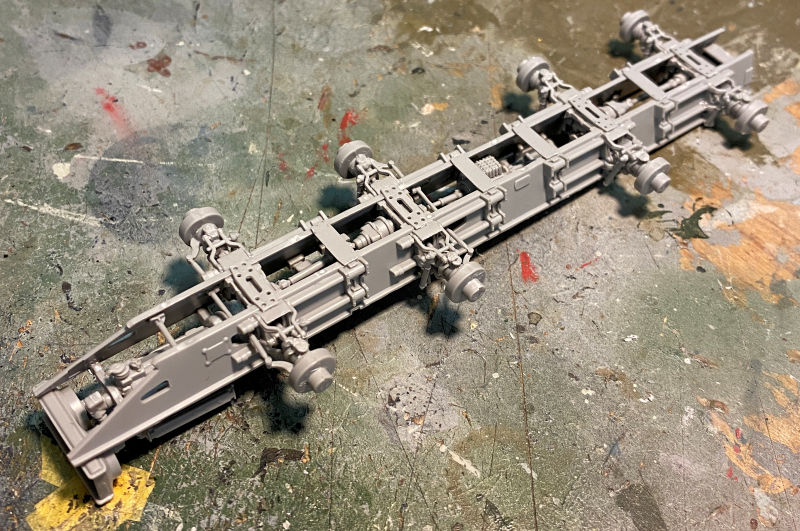
Later the engine was built and installed on the chassis:
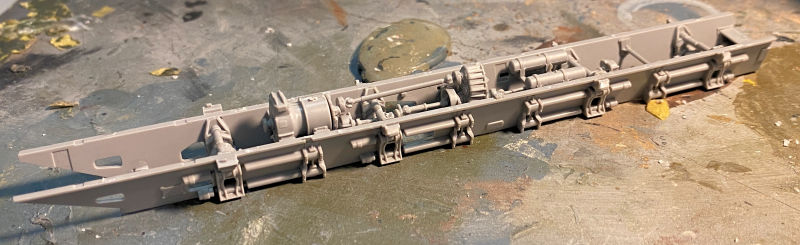
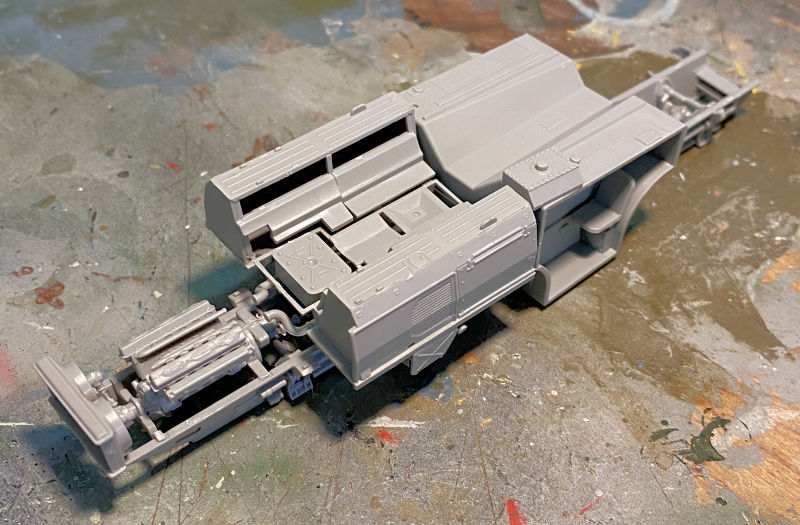
After that we managed to get two of the four body sections built. Again, the sides of the command cabin are left off for interior painting:
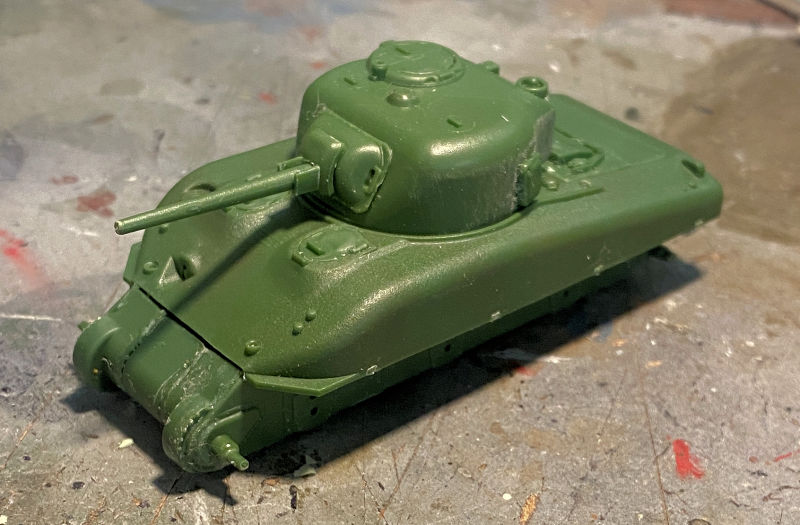
Finally, on another Forums, a Sherman Group Build was started, so I decided to make one more attempt to finish a UM Models Sherman. I had started five others previous to this and failed miserably to complete them. This is the UM Sherman with the T-17 rocket launcher mounted to go along with my Calliope. The hull was started first as usual:
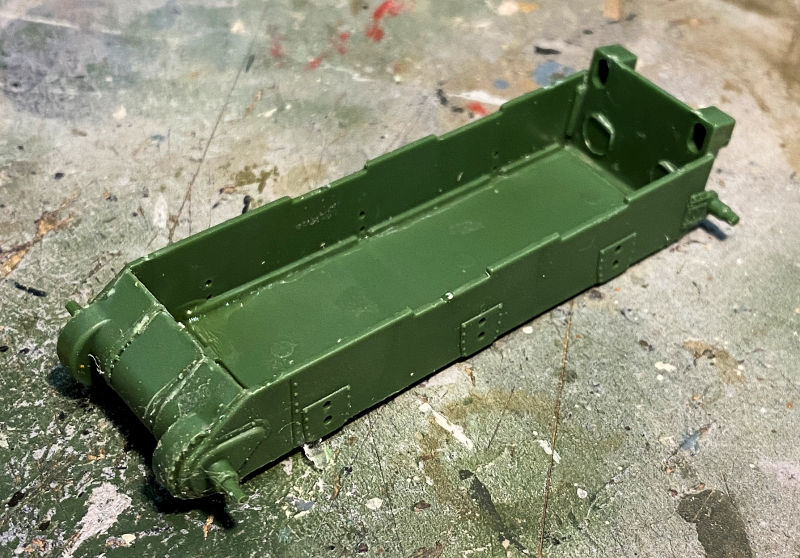
You can see the front of that 3-piece tranny cover did not turn out right. Despite my best efforts, those five pieces refused to fit right; the curve of the hull parts came nowhere near the same curve on the bolt arches. I cannot worry about that anymore, or this will be another UM Sherman confined to the Shelf of Doom, never to be completed. We moved on....
The upper hull was mounted on the lower hull and the turret was started:
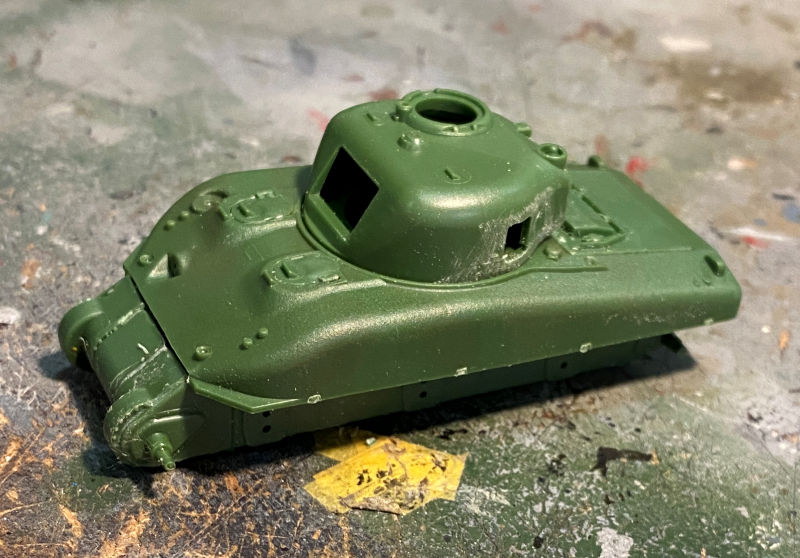
The turret later got finished up, all except for the most delicate parts hat would break during consequent building. The upper hull also got a few caps and other round parts added:
Next we added the photo etch parts and the remaining fender pieces to the hull. The drive sprockets and idlers were added as well:
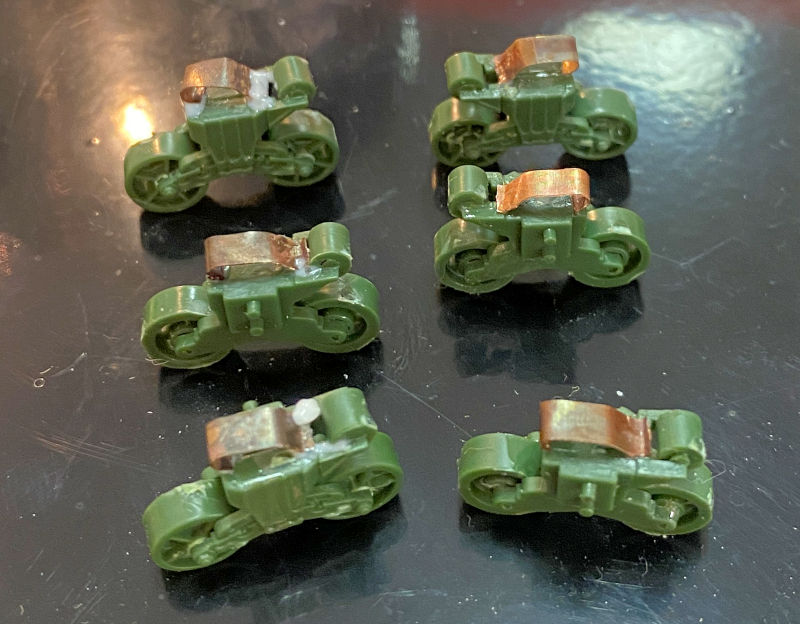
Finally, we came to the running gear. Normally I've had no issues with building these; it's always the photo etch skids that have invariably tripped me up, making it impossible for me to finish (if the kit wasn't already missing vital parts...that's another story)
Slowly and carefully we assembled these bogies; when it came time to add the photo etch skids, we annealed the etch and used the included jig to bend them into place. They ain't perfect, but they're DONE!
We wasted no time after these were sufficiently dry enough; they got installed on the lower hull and the tracks were then added:
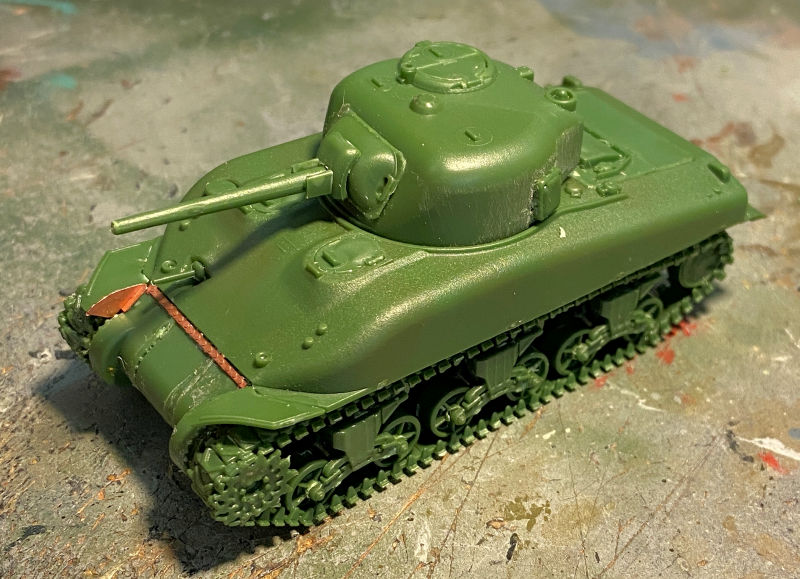
After all of that, we were done for the day. Any further work will be done another time.
That concludes the Valentine's weekend tour of these facilities. Thank you all for stopping in and joining the tour. Comments are always welcome.


 !!
!! 


