Another couple weeks of work on the Hobby Room and at Hobby Days, and there's loads to show. It's time for another tour so all aboard the trams and remember to keep hands and feet inside at all times.
Our first stop again is the Hangar. Our first bay shows the work done on the P-38 gifted to me by a friend and fellow IPMS member. Basic assembly was fast for such an old kit:
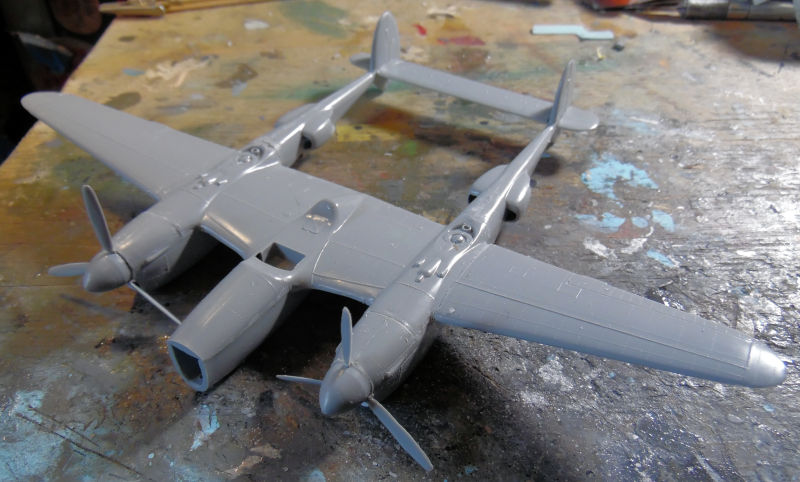
It was found to be a tail sitter so we added weight to the nose, hit it with Gator's Grip Glue and left it to dry:
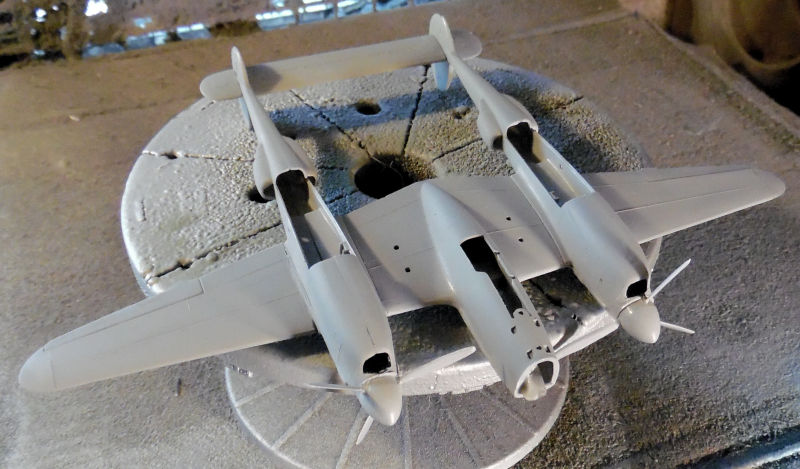
The landing gear was then added and when dry, tested. More weight was needed inside:
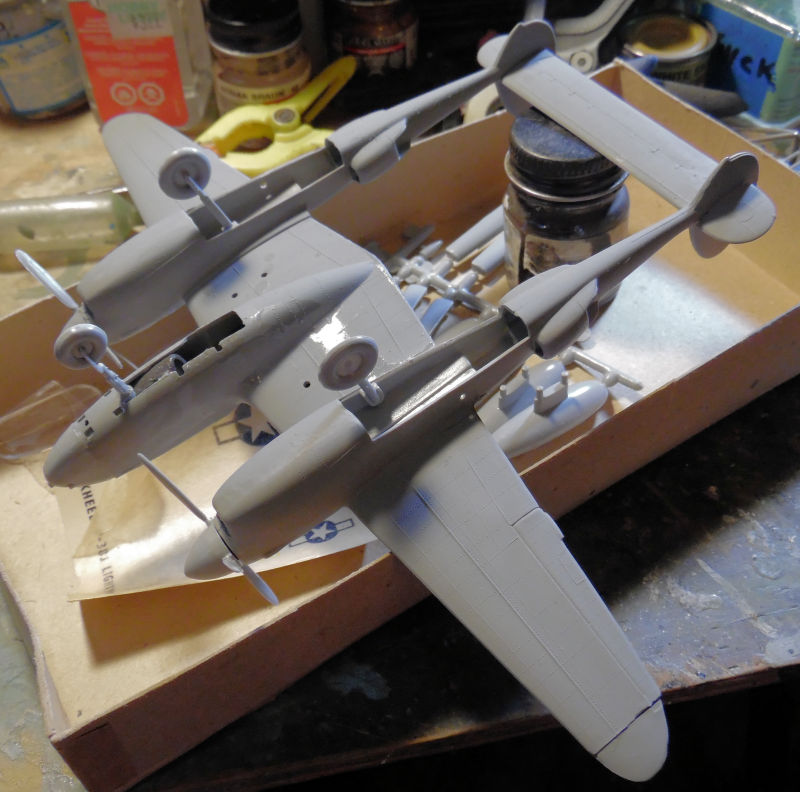
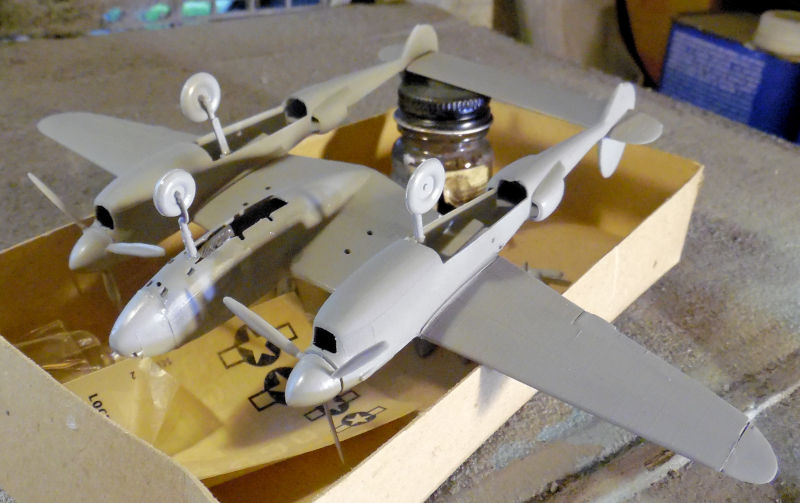
The shiny you see is from the accelerator used to speed the CA glue. After that dried, we shot a neutral grey on the bottom since we were also using that color in the Shipyards:
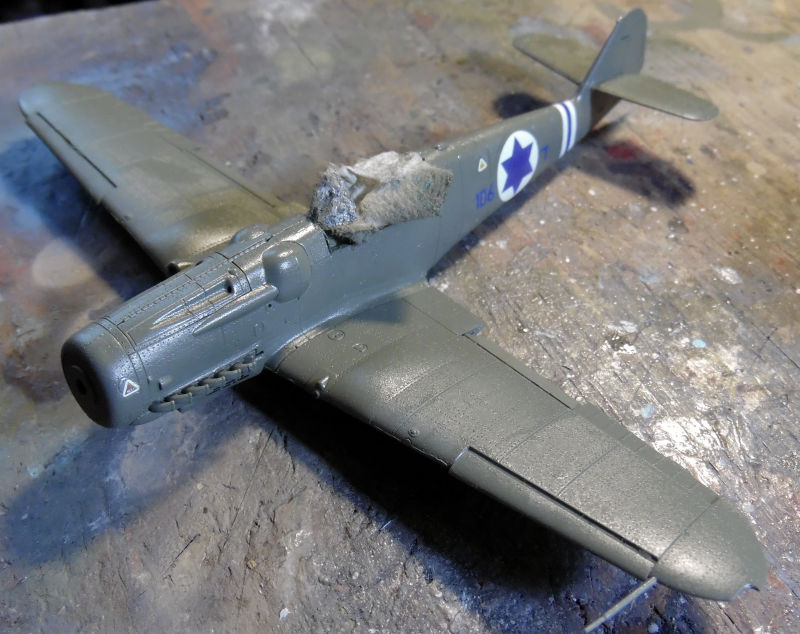
Time to let that cure for a bit and so moving on to the next bay, we have decals applied to the Israeli S-199. I chose the least colorful version because it was the only one of these birds to score two air-to-air kills in the 1956 War:
In the next two bays, we have the two Tu-16 Badgers. All the hatches were installed and the bottom color re-sprayed:
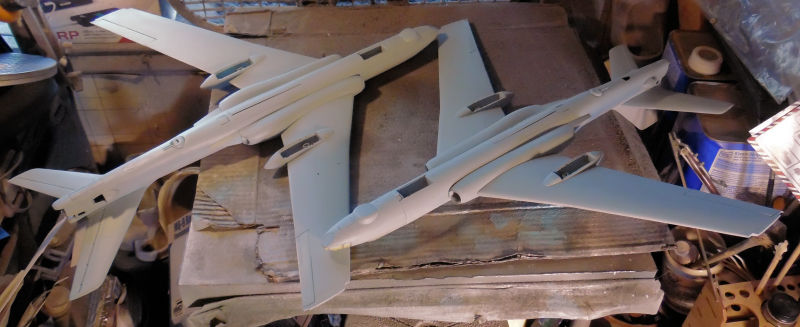
This was later masked off and the base color for the two were sprayed. First the Iraqi Badger:
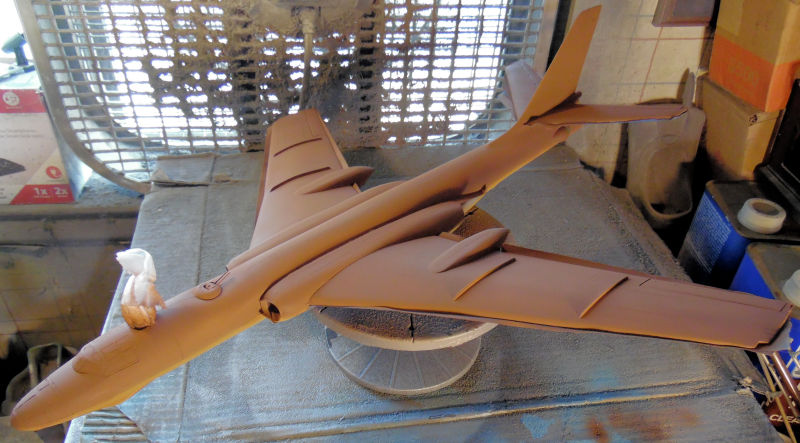
Followed by the Egyptian Badger:
We went back to the Iraqi Badger and free handed the blotches with the airbrush:

While that was drying, we went back to the Egyptian Badger and started on the more complicated pattern. First, out came the Silly Putty and rolls were laid down to cover the base coat I wanted to remain. The second colkor was then sprayed on:
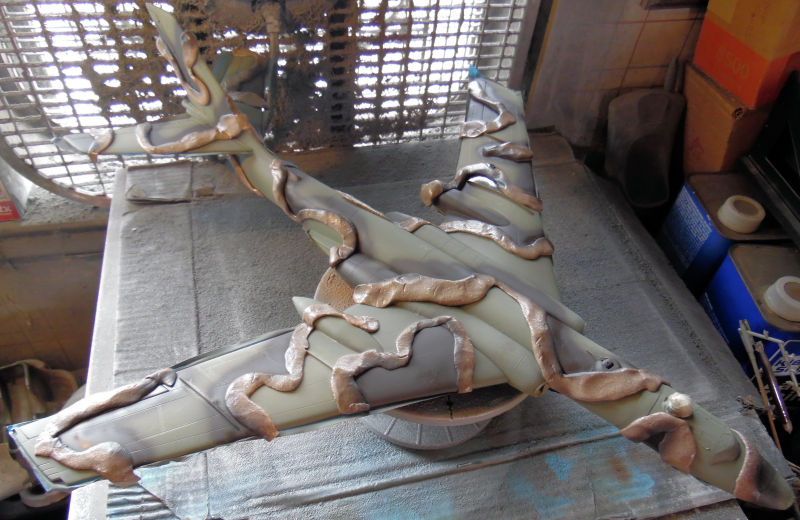
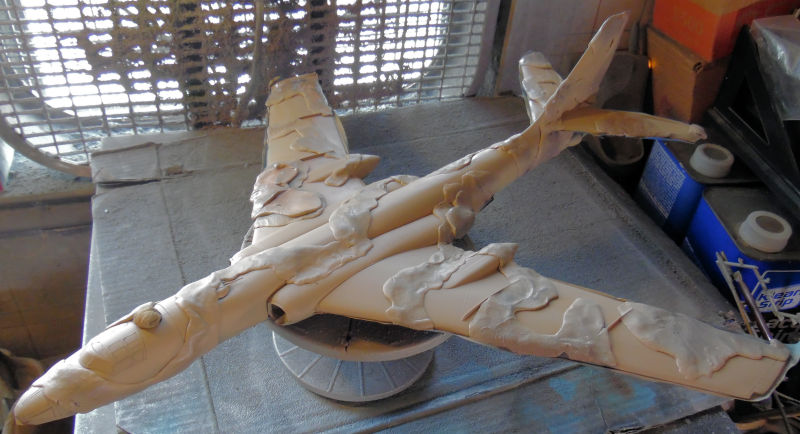
That color was then covered up with the Silly Putty:
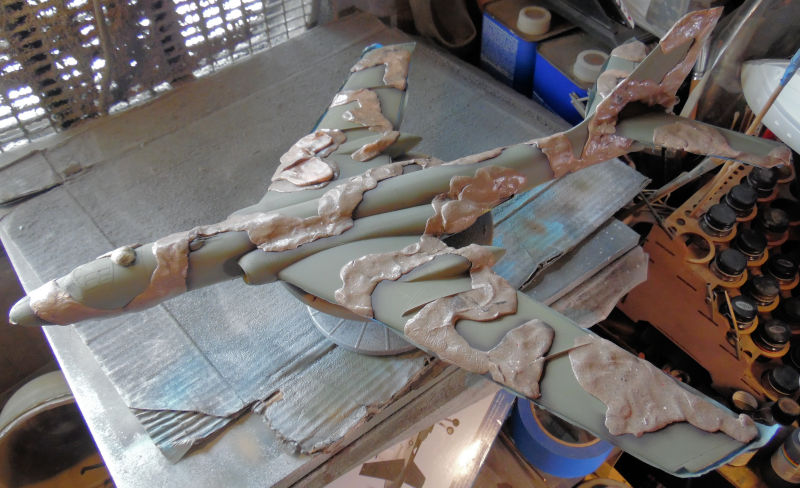
....and the third color was sprayed on:
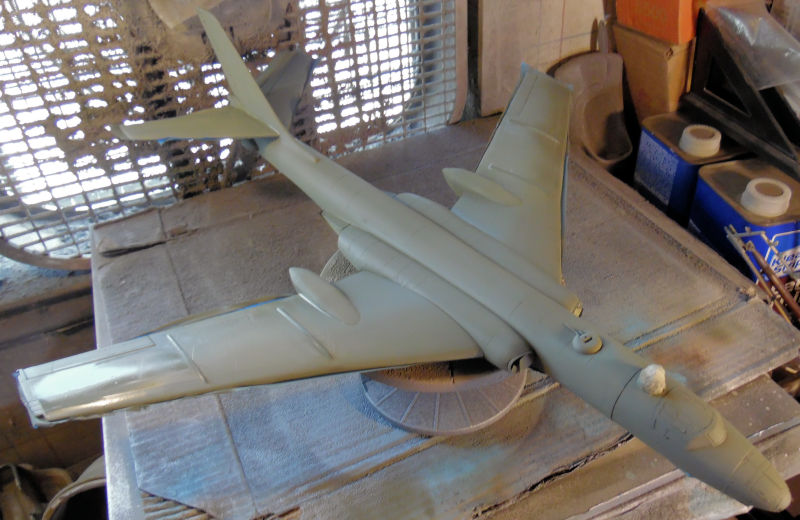
When all that was dry, the Silly Putty was removed and this is the result:
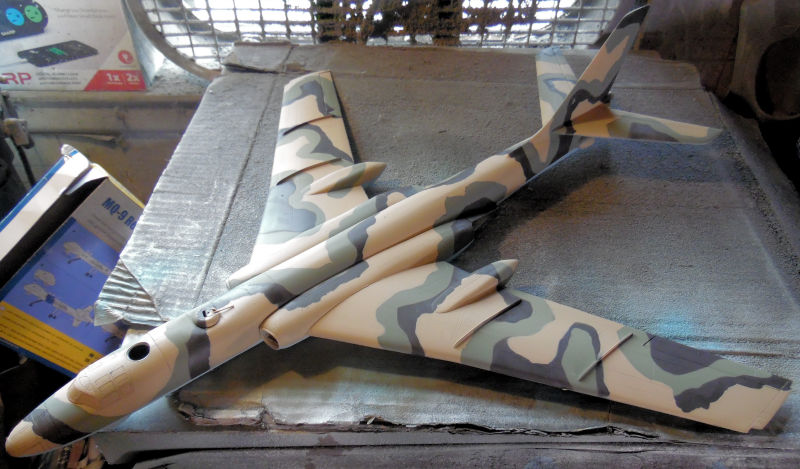
Both these Badger birds are ready for gloss coat and decals now.
The Bear also got some needed attention in the next bay. The bottom of the wings needed a "burnt iron" color applied to it and then a dark Sea Grey over everything not "burnt". So, we shot a dark metallic color on select areas and then masked them off to spray the sea grey. The lighter greys on the nose radome and select panels was also painted and then masked when dry. Then the Sea Grey was sprayed:
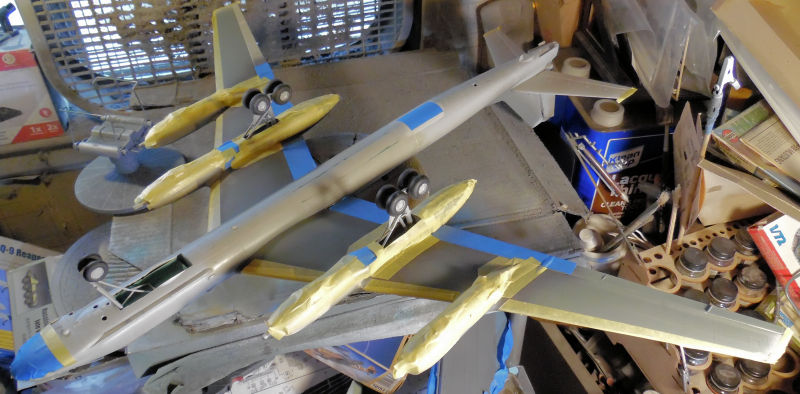
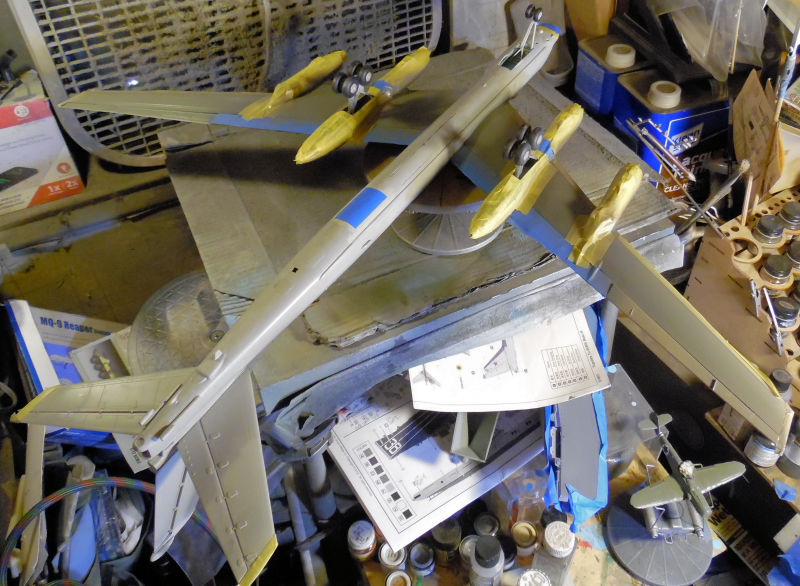
Now that all that is done, additional masking will be done so the final silver/alminum coat can be sprayed. Hopefully that will be soon.
In this next bay is the start of a new aircraft model. It's an old Airfix 1/72 scale F-84F with Greek and Italian markings. This wil be an Italian bird for my Italian Air Force. The cockpit was done, just needs paint:
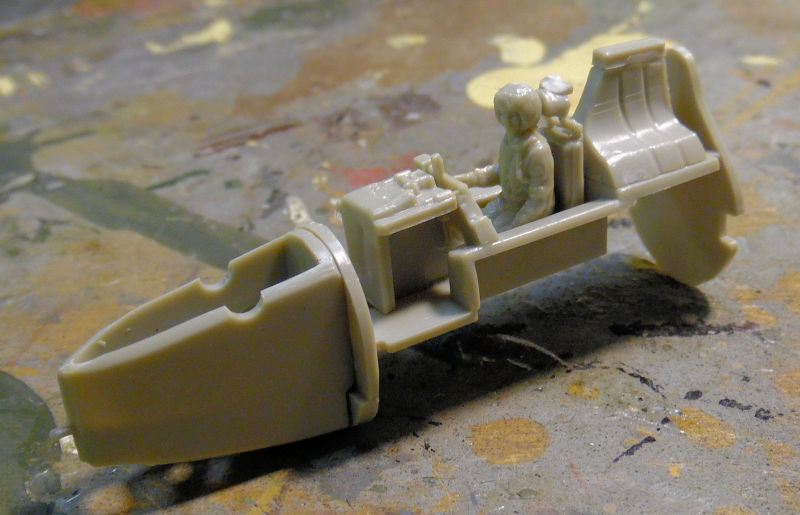
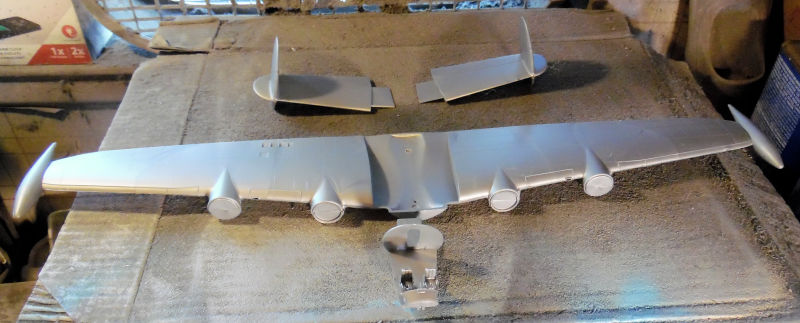
This final bay in the Hangar is another large model that I've been wanting to build for awhile, the Super G Constellation from Trans World Airlines. The cockit, wings and tail were all assembled:
That completes the Hangar portion of our tour, now on to the Shipyards....
Here in the Shipyards, we have a good bit of progress to show. In this first slipway, the Japanese PT-15 got the torpedo tubes installed finally:
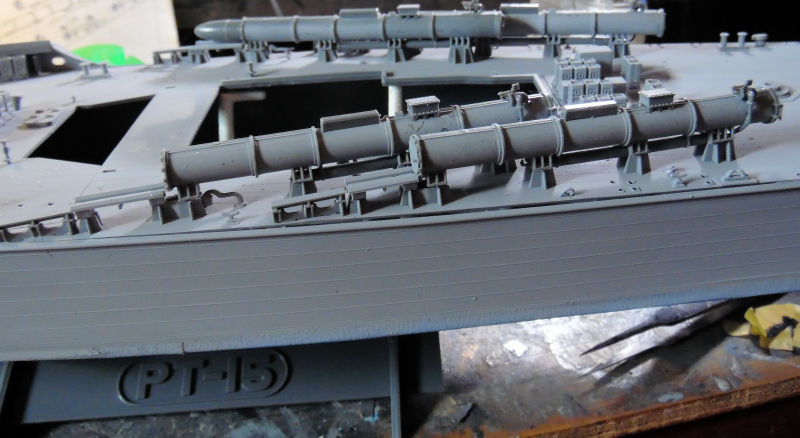
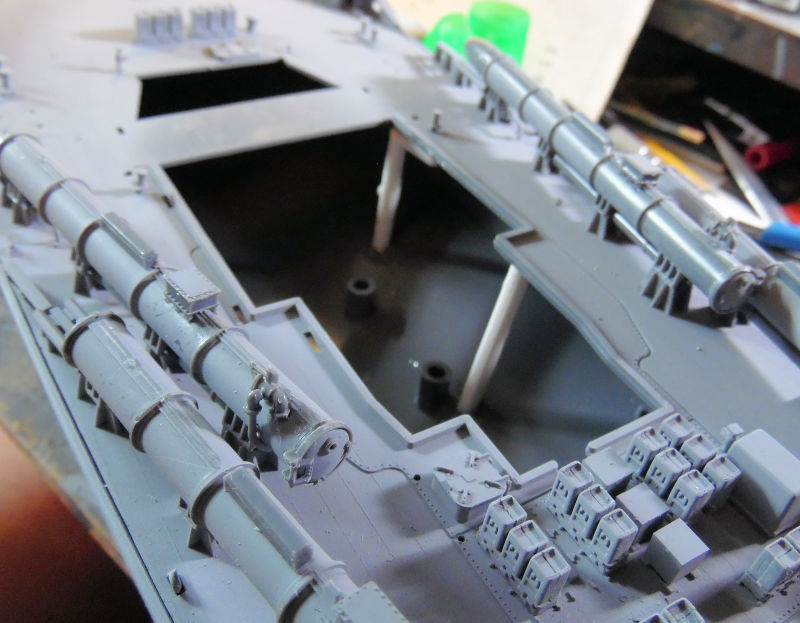
While installing them, we realized that the deck was flexing too much and the superstructure/cabins would not stay snapped in place. Some reinforcement was then needed so thick styrene sprue posts were cut to fit and glued into place to allow the deck to be more solid:

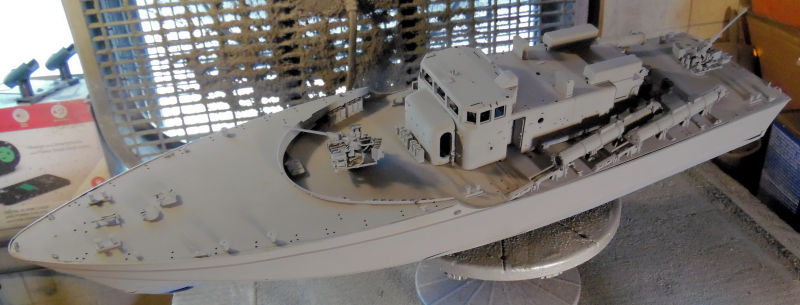
Later the two cannons were added, the cabin again is just dry fit:
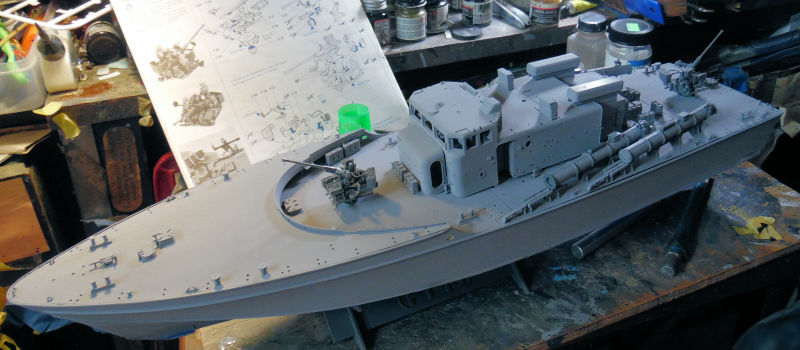
Since a lot of the torpedo tubes and the guns were not painted, more grey paint was shot on this boat:
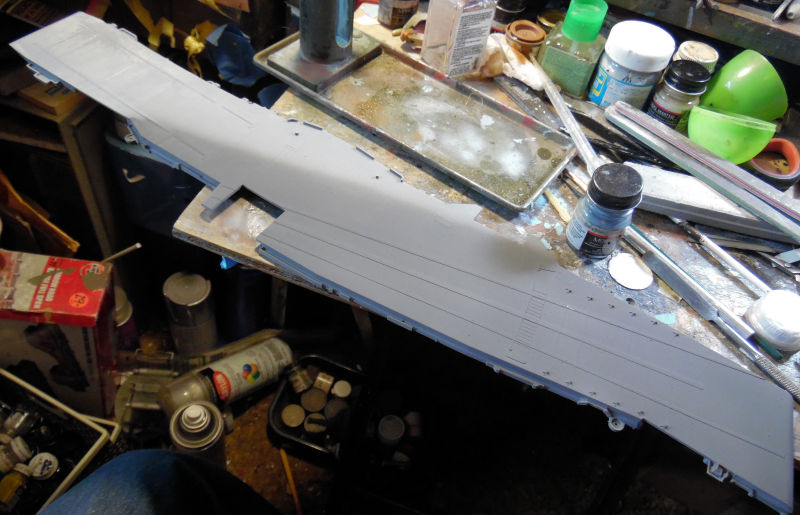
Moving on to the next slipway, the Shangi-La got the first part of the deck painted:
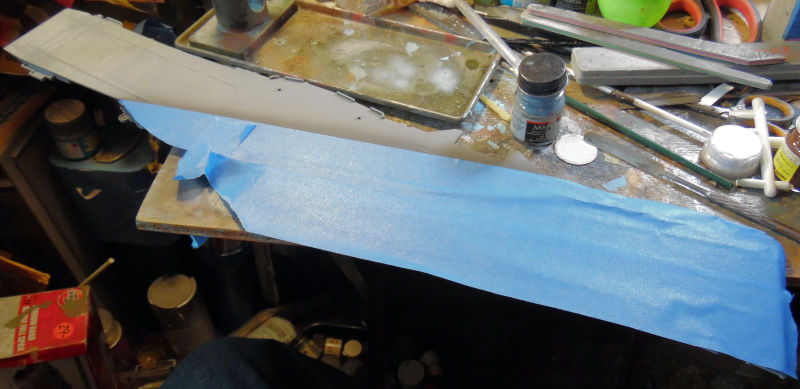
This was then masked off to spray the blue-grey color next:
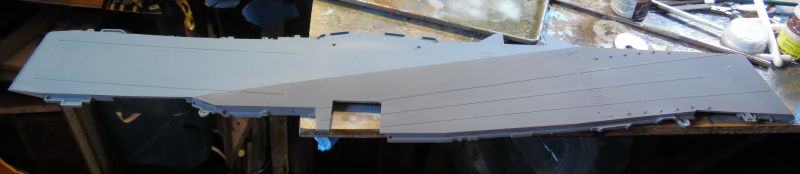
The next color was shot and left to dry:

Finally all masking was removed:
This deck was ready to be installed on the hull. Naturally it took a bit of persuasion:

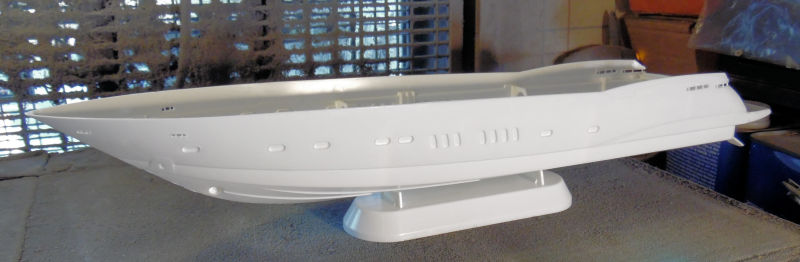
That isn't all! We opened another slipway and laid the keel for this next model. It's the Revell 1/72 scale Sunseeker Predator 108 luxury cabin cruiser:
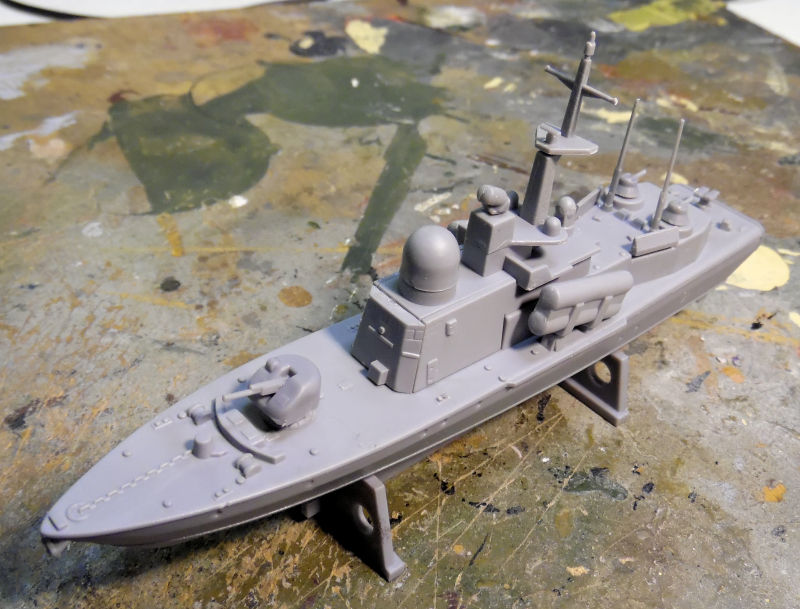
And the final slipway was opened to lay the keel for the Mirage 1/400 scale German Tarantul-class missile boat "Hiddensee":

This was quick and easy to build so it got to the paint stage very fast:
And that completes this section of our Shipyards tour, now on to the Motor Pool....
The Motor Pool tour today has a good bit to show as well. In this first bay, we had to improvise with the British Achilles since the photo-etch set disappeared. With the help of a Dragon Sherman kit, and some strip styrene, we got this vehicle ready for paint:
The next bay shows the Egyptian Su-100 with it's base coat of paint:

Decals were applied next:
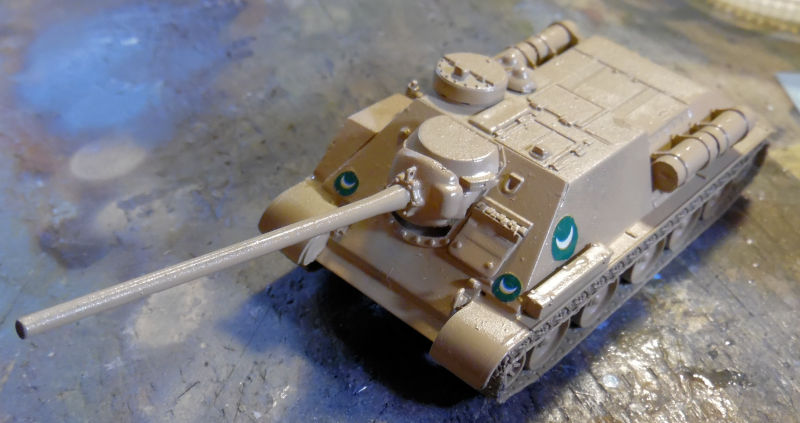
Additional detail painting was done after that:
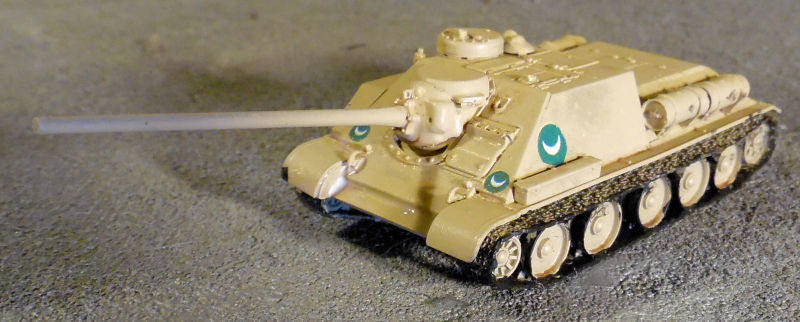
That one is about ready to be finished off.
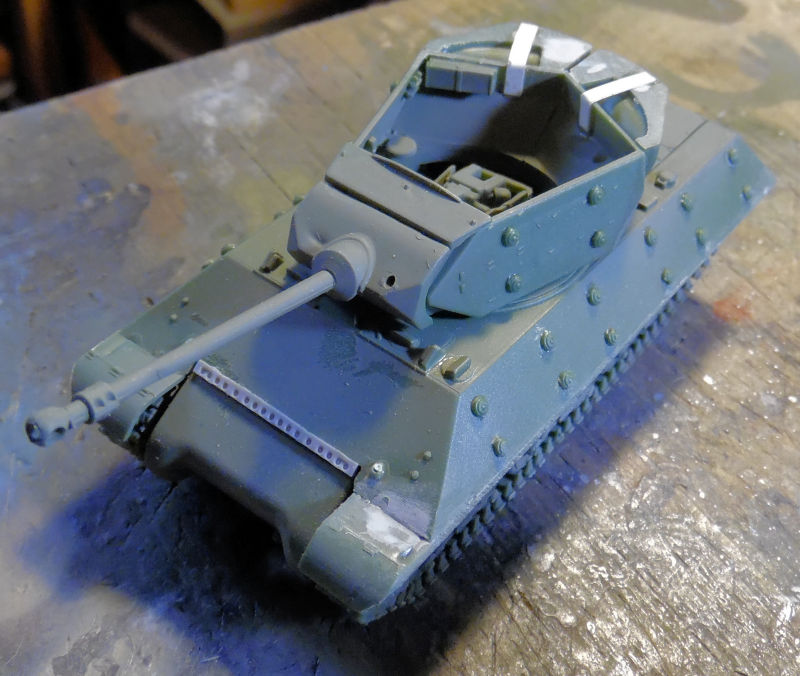
The next bay we have to see is this one with the Syrian Panzer IV. Decals had gone on this one as well:
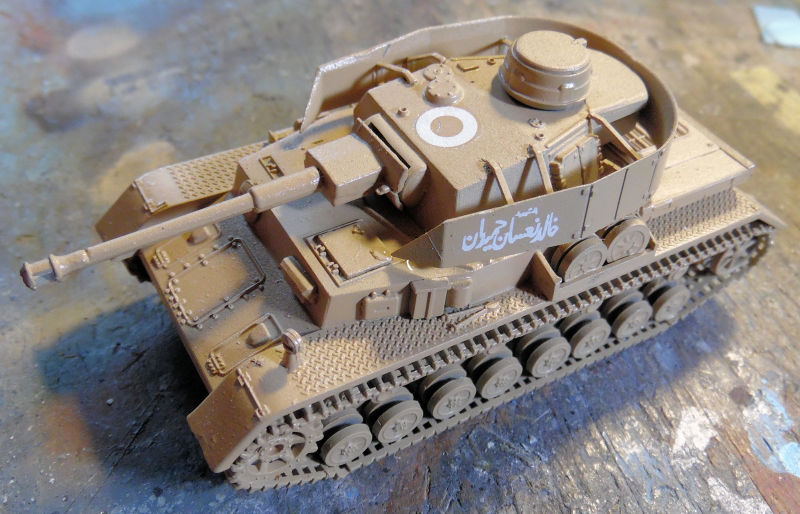
This and the Egyptian Su-100 got washes but they didn't show up well in these photos. After the decals and wash had dried, here is my attempt to scratch build a mount for the 12.7mm machine gun:

Later on, I found a 12.7 mm gun in my parts box and on it went:
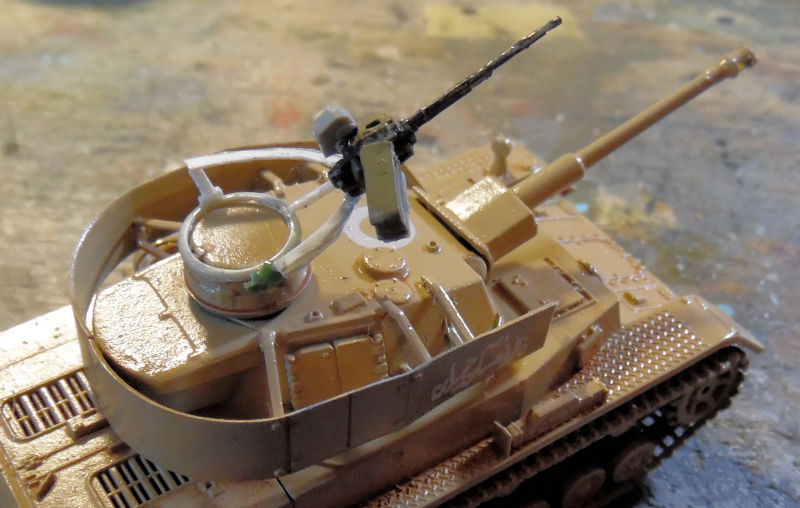
I have to admit that just looks so cool!
In the next bay, decals went on the Syrian StuG III:

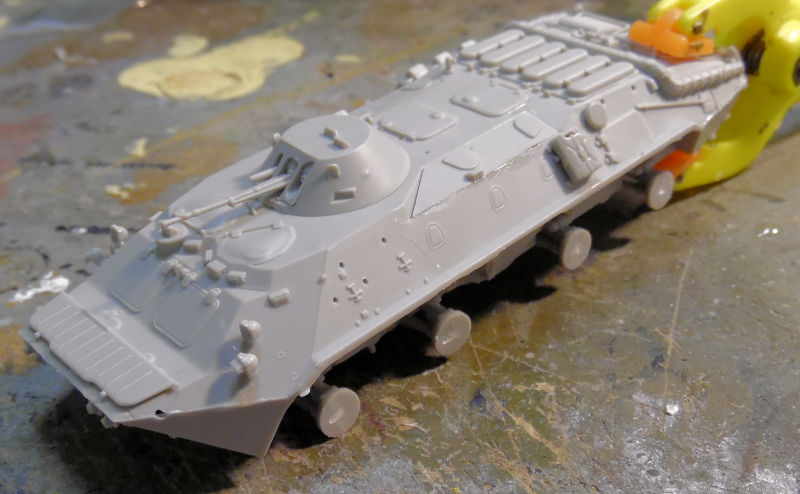
In this next bay, we started this Trumpeter 1/72 scale BTR-70, which will be made into a Syrian BTR. Assembly for this went fast:
That completes our portion of the tour in the Motor Pool.
However, here in our miscellaneous assembly yard out back, we started a 1/24 scale Lindbergh 1910 Model T Ford. I've always wanted one of these and everyone should have a model of the first mass produced car ever:

And that completes the whole tour, thank you all for looking in, comments are welcome.


