|
|
Post by Snipersmudge on Nov 22, 2018 16:19:52 GMT
looks great Paul coming along nicely  |
|
|
|
Post by Boots on Nov 22, 2018 16:42:47 GMT
Well done mucker  |
|
|
|
Post by Armorguy on Nov 22, 2018 17:40:08 GMT
Hully smokes that's one poor fit maestro Paul. But norhinh you can't fix.
|
|
CarlRF
Plastic Connoisseur 
Posts: 1,274
Mini profile background: {"image":"","color":"f6f1f7"}
|
Post by CarlRF on Nov 22, 2018 19:29:50 GMT
I'm disappointed with AFV for that poor fit but you did fit it together well .  |
|
|
|
Post by JEFF on Nov 23, 2018 10:03:22 GMT
That's getting after it, Paul. Well done, Bro. |
|
|
|
Post by Paul B on Nov 24, 2018 20:55:18 GMT
Pete, cheers ole chap , I made the best I could of it  . Boots, appreciated fella . Guy, I reckon I screwed up just as much as AFV did, but what the heck you gotta build what you got  . Cheers mucker . Carl, I still swear that this isn't AFV, it's a bronco under the AFV name. Which does explain a lot of the issues here. Anyway I have done my best and it's appreciated that you like that . Jeff, many thanks to thee also kind Sir . Today this lovely looking kit ( well from the box art anyway) came very close to meeting a nasty friend of Boots an mine  , yes I do mean the Brick of Doom. The following parts are real pain the butt as they do not fit without serious persuasion: PE exhaust guards Front and rear headlights Side engine cover hinges Left and right grab bars Drainage covers over the side vision ports  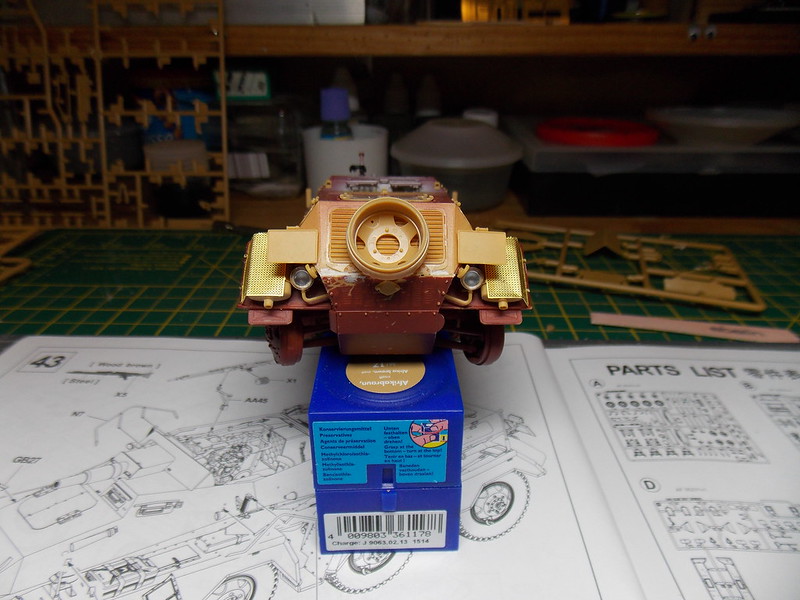 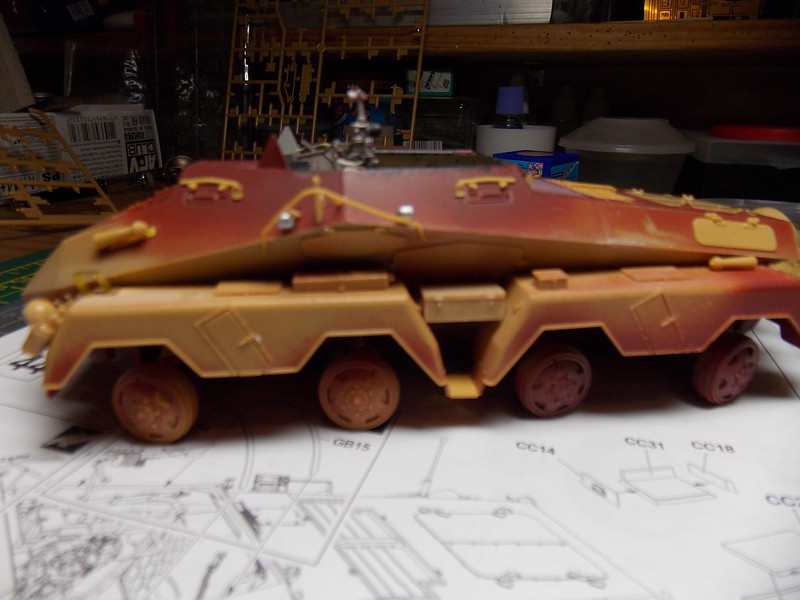 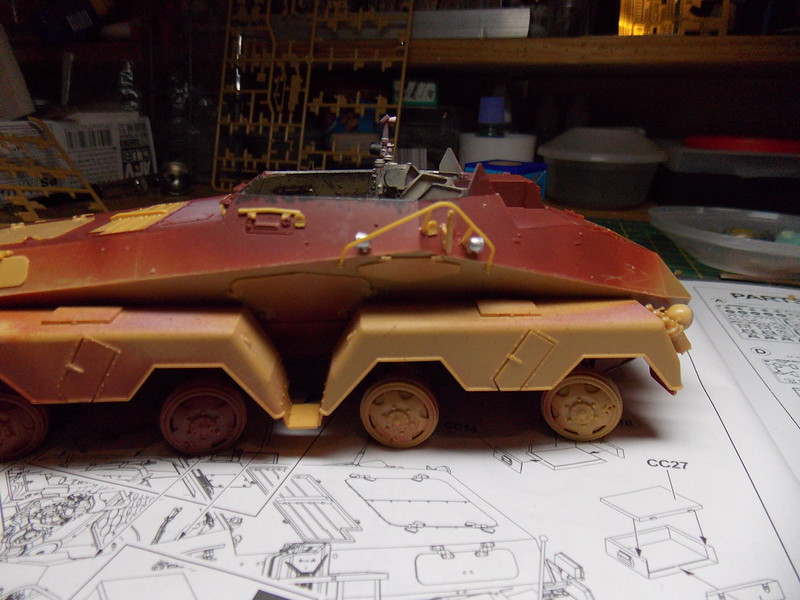 More torture soon chaps |
|
|
|
Post by Boots on Nov 24, 2018 21:25:07 GMT
Holy feck.........this one likes a scrap HUH!!!!!!!!  |
|
|
|
Post by Paul B on Nov 24, 2018 21:31:43 GMT
Yep that's one way to put it  |
|
|
|
Post by JEFF on Nov 24, 2018 22:01:45 GMT
Hang in there, Lad. You made it work.  |
|
CarlRF
Plastic Connoisseur
Posts: 1,274
Mini profile background: {"image":"","color":"f6f1f7"}
|
Post by CarlRF on Nov 24, 2018 23:49:19 GMT
When the assembly s done and you move on to the painting and weathering the fun part will begin |
|
|
|
Post by Boots on Nov 24, 2018 23:56:18 GMT
When the assembly s done and you move on to the painting and weathering the fun part will begin Thats if it lives that long 
|
|
|
|
|
|
Post by Boots on Nov 25, 2018 0:25:03 GMT
Thats the kiddie |
|
|
|
Post by Paul B on Nov 25, 2018 17:48:34 GMT
Jeff, I'm hanging fella and I ain't letting go now . Carl, I do believe that you're 100% correct on that . And the brick of doom has moved well into the background now . Okay chaps, I added more PE and some missing details today. The rear Notek light and it's mount came from the spares box and left over PE. I'm glad I had some pics of 231, these certainly helped here . The convoy lights are in the kit, but not mentioned. The width poles are from RB models and had the rubber wobblers added from white rod. Here's the piccies for yaz 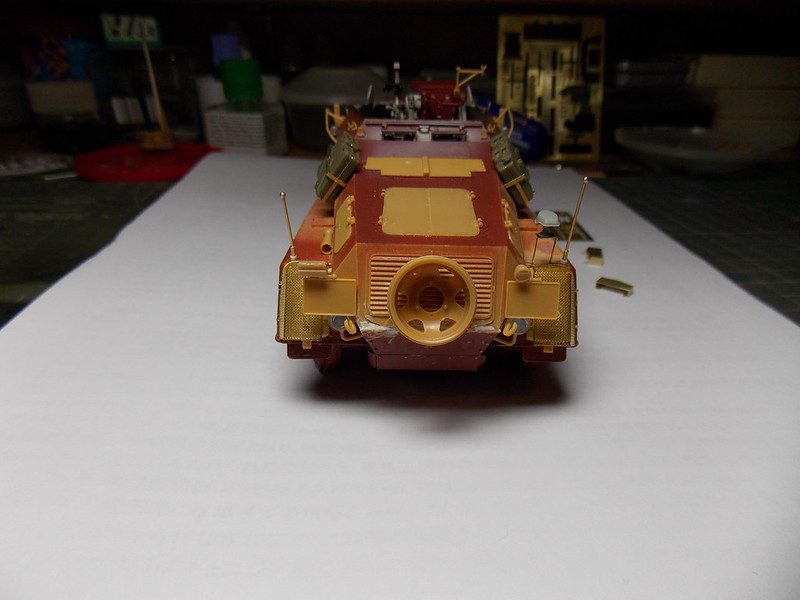 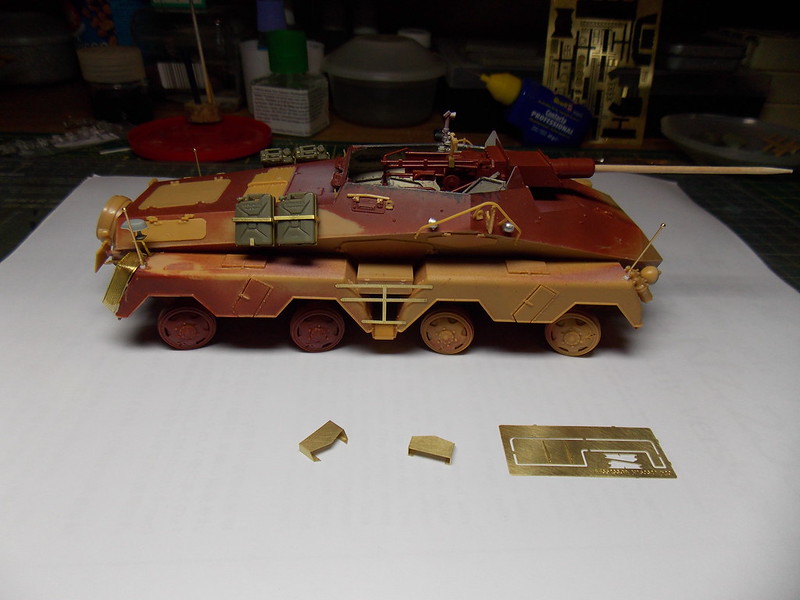 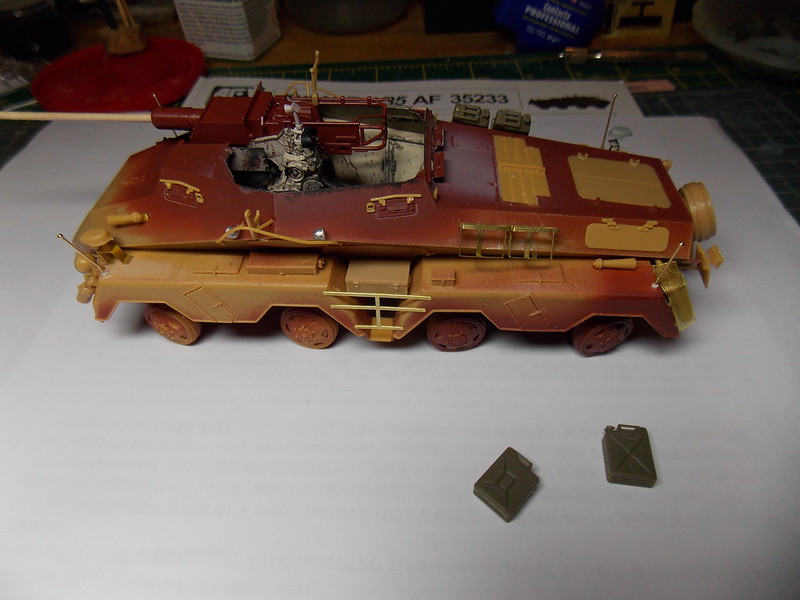 I'll check this over tomorrow, just to make sure everything that needs to be stuck in place, is stuck. Then I should be able to get the outside primed and painted . |
|
|
|
Post by Boots on Nov 25, 2018 18:42:07 GMT
Despite losing ya sanity and having to restrain from using the B.O.D ya doing a cracking job.............primer will bring it to life mucker |
|
|
|
Post by JEFF on Nov 25, 2018 21:53:44 GMT
Looking better and better all the time, Dude.  |
|
|
|
Post by SteveM on Nov 25, 2018 21:59:46 GMT
Despite the fight it’s turned out rather well fella paint will be fun I’m sure |
|
mack
Glue Slinger
 To be fair I've been left unsupervised for too long
Posts: 615  Mini profile background: {"image":"","color":"1972e6"}
|
Post by mack on Nov 25, 2018 22:02:43 GMT
I'm glad it's not just me that fights plastic kits to get em together,
It does look like the hard graft is paying off tho
|
|
|
|
Post by The Kernel on Nov 26, 2018 15:12:37 GMT
no pain no gain!!!!! bill |
|
|
|
Post by Snipersmudge on Nov 26, 2018 19:30:34 GMT
Stick at it mate, you're nearly there! |
|


 .
. . Cheers mucker
  , yes I do mean the Brick of Doom.


