It's another weekend and time to open the manufacturing plant for another tour to show the latest progress Thanks to Hobby Day, I was able to get a lot done. First things first, let's visit the hanger where I managed to finally sand the nose of the A-400 into something resembling "close enough":
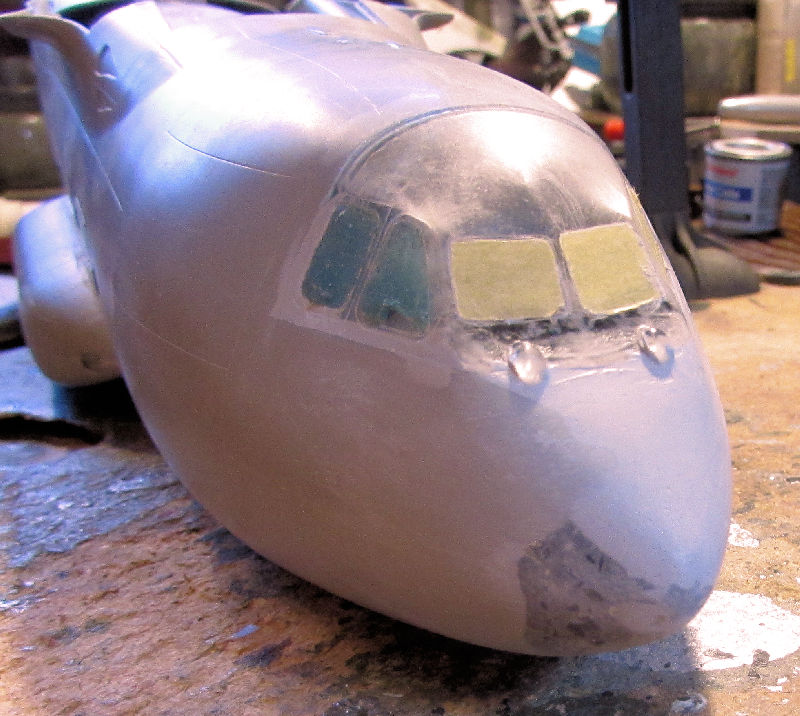
The shape is still a bit off, but it seems beyond my capabilities to get right. It can only really be seen from certain angles. Screw it! I'm tired of messing with this thing, especially after all this time. I'm gonna repair the wheels, prime the nose and move on.
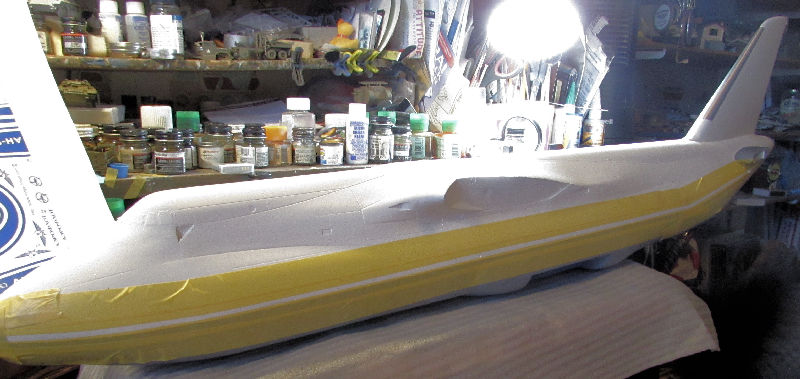
I also decided to take someone's advice to mask off and paint the blue stripes going down the side of the An-124. So, I gritted my teeth and started taping; making every effort to make these straight:
After that, out came the Sotar 20/20 which I used to lay down the first thin stripe. Getting the point right at the rear was extremely difficult and I doubt I'll be able to make it look good. But the first stripe is down:
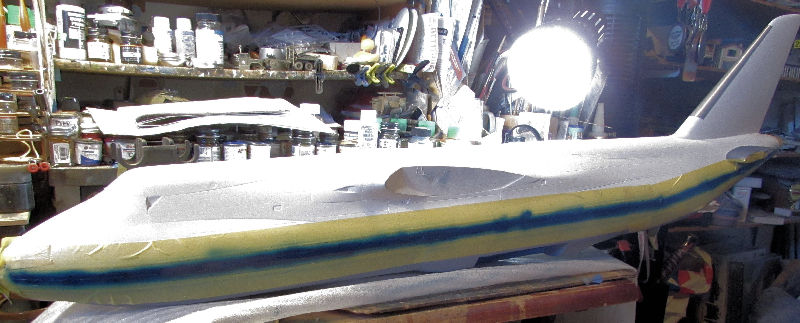
I've been too scared to pull off the tape to see how badly I did. I'm already pretty disheartened by this model already
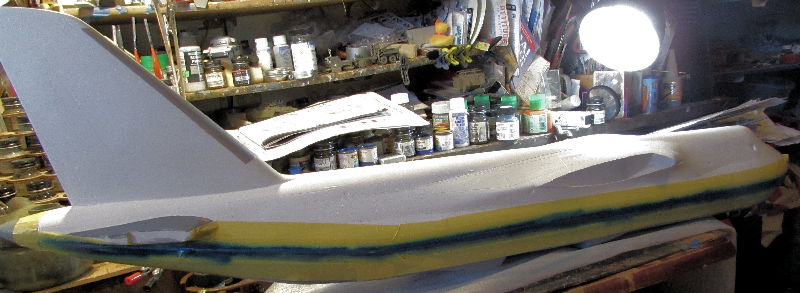
Before I did that, I re-glued the two broken engines back on the wing:

Man, what an ordeal! I'll check the stripes later this week and then try to mask and shoot the bigger one above that one.
Time to check out the tank assembly plant now....
Moving on, I managed to get a bit of extra work done on the 1/35th scale Patton. First, I assembled the searchlight:
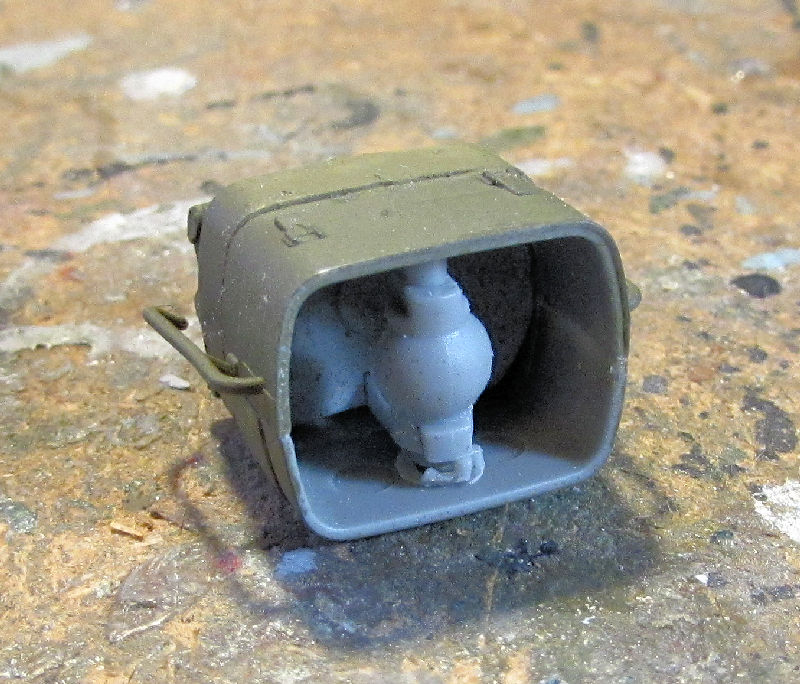
You can see I did a bit of sanding to try and make that thing look right. Man, that is one extremely fiddly assembly! Installing it on the tank is gonna be even more difficult!
After that I wanted to do something that would make me feel good about this tank. I added the tracks and installed all the final roadwheels:
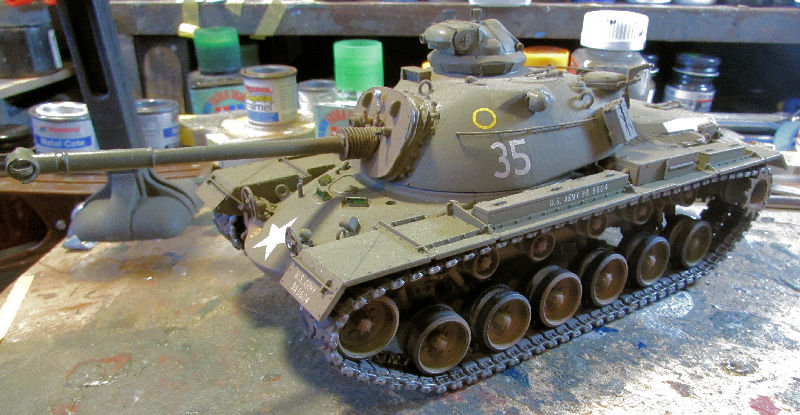
Yeah, I'm actually liking this thing now!
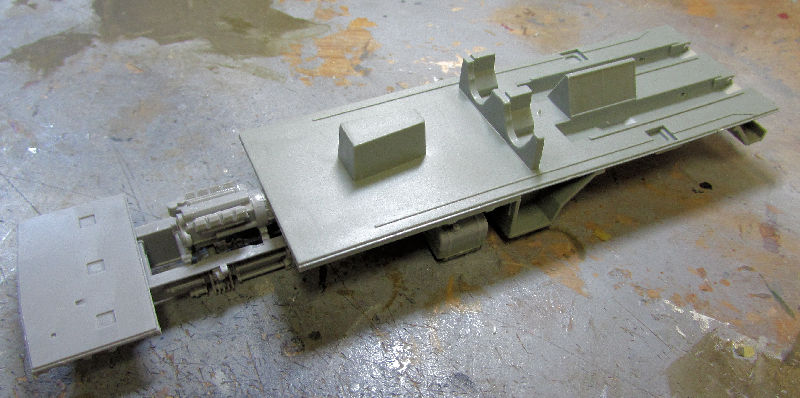
And now for the next project I started for my SoCal AMPS 20-hour build challenge. This is the Russian CLUB M coastal defense missile system, which I got from a fellow AMPS member for my birthday. I was allowed to work on it over the course of the next four hours.
First thing I did, build the transmissions and drive trains, as well as the center differential so that I could assemble the chassis:
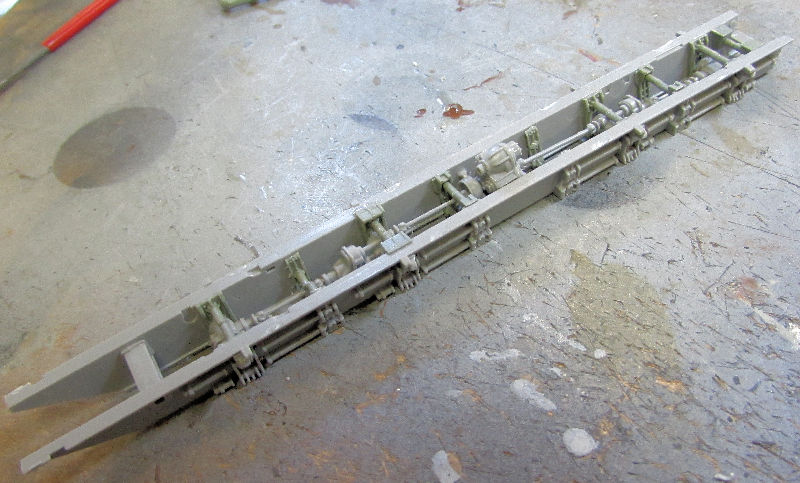
After that I assembled and added the engine:
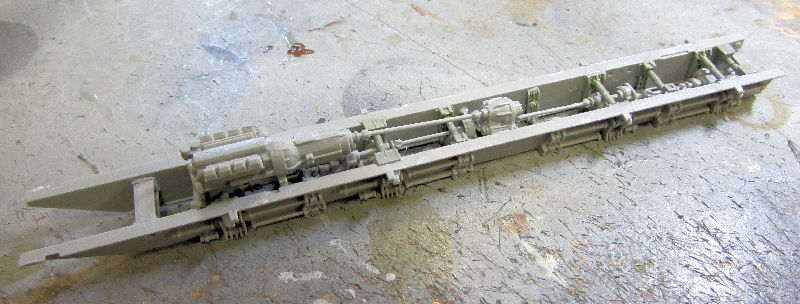
Next I built the floor of the rear missile compartment. Here it is dry-fit on the chassis. You can see I added the floor of the driver's cab already too:
After that, I decided to assemble all the missile launch tubes ahead of time:
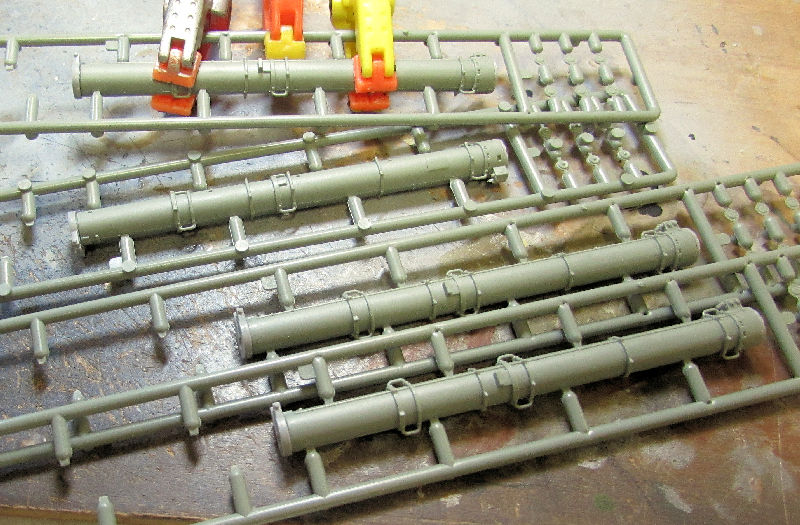
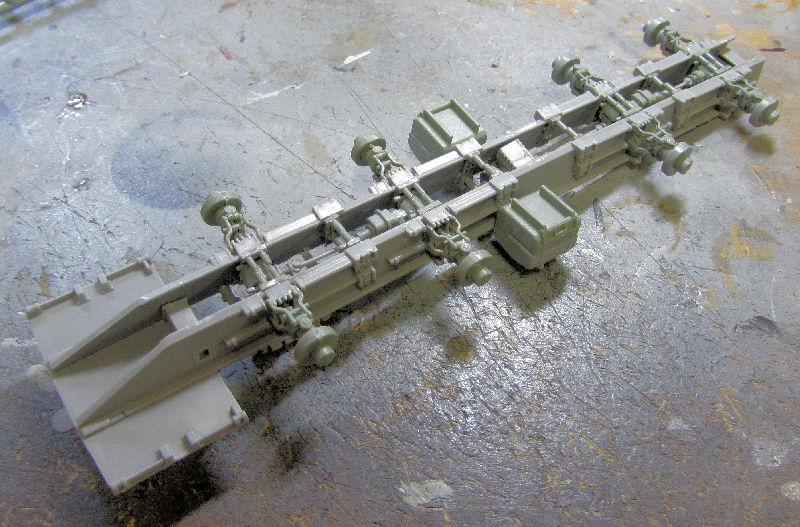
You can see one needed a little persuasion. After I did those, I saw I had one hour left for this build for the day. Out came the parts for the suspension. I built all the axle assemblies and added them all to the chassis along with the gas tanks:
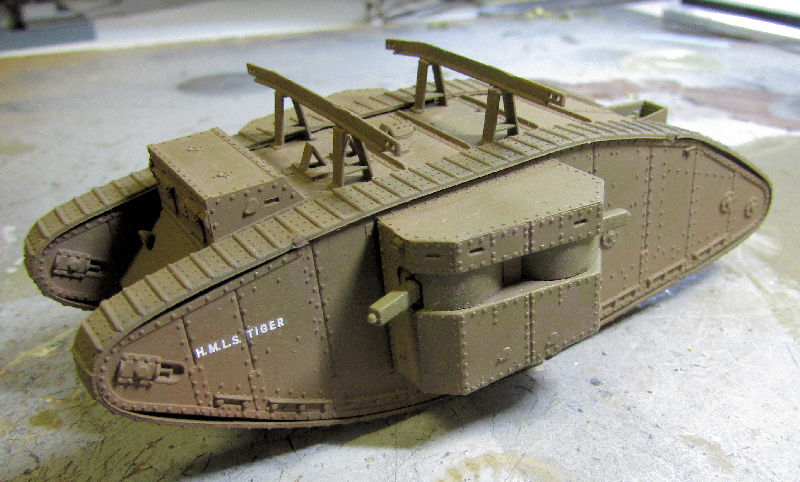
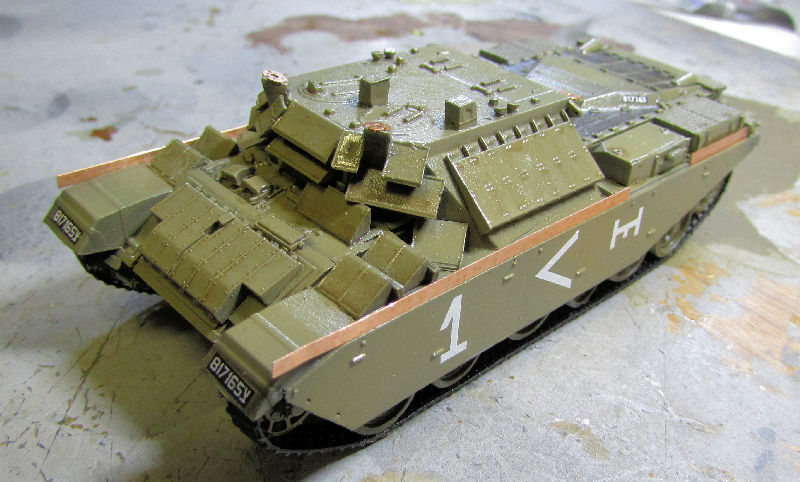
Now, we'll check in on the WWI female tank. This one got the decals on it and some dusting. It's not done yet, despite looking so close. I expect this will be in the completed models section soon:
Now we move on to the Israeli Nagmasho't. Ace has you bend four tiny pieces of P/E into ammunition box holders for the four machine guns on this. I'm so thrilled I had my Hold-n-Fold:
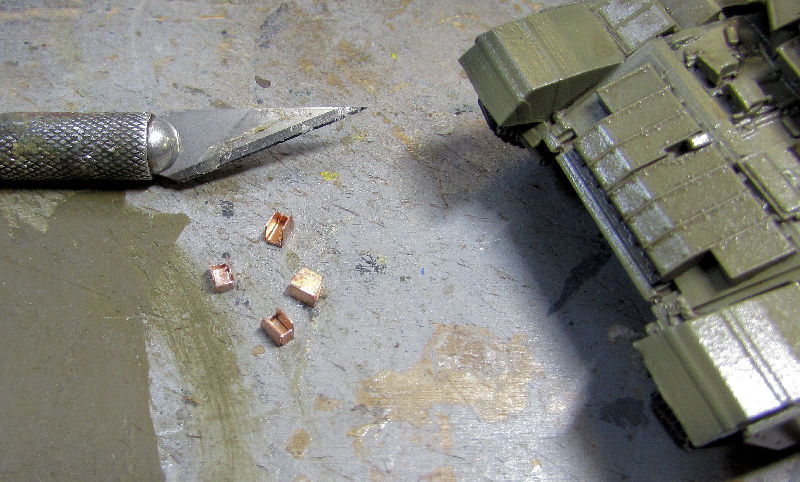
You can see the Exacto Blade in the pic for size reference. Man, I'm glad that got done! I glued each corner joint with Gator's Grip Glue.
Since I was doing photo etch on this, I added the final parts to the model:
Once they were dry, I added the decals:
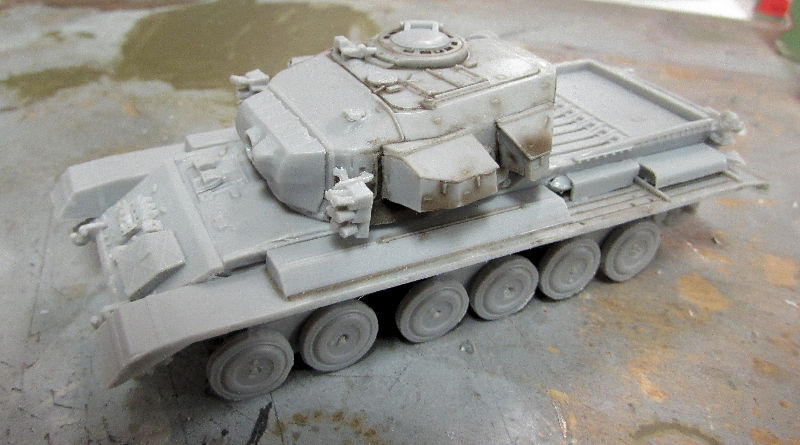
While the photo etch was drying on the Nagmasho't, I continued to work on the Sho't Meteor tank.
First I completed the details on the hull:
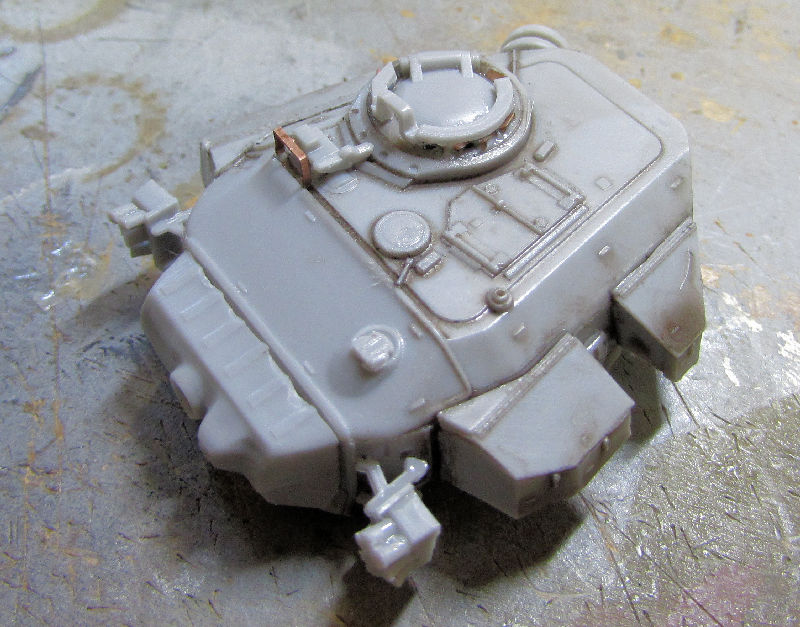
Next I started adding the details to the turret to bring it closer to finishing:
Here they both are mocked up with all the details I added:
Next came all the photo etch. First I did the turret; I needed to bend all the vision block shields and add them to the turret. Later I added the remaining parts to the turret and hull:
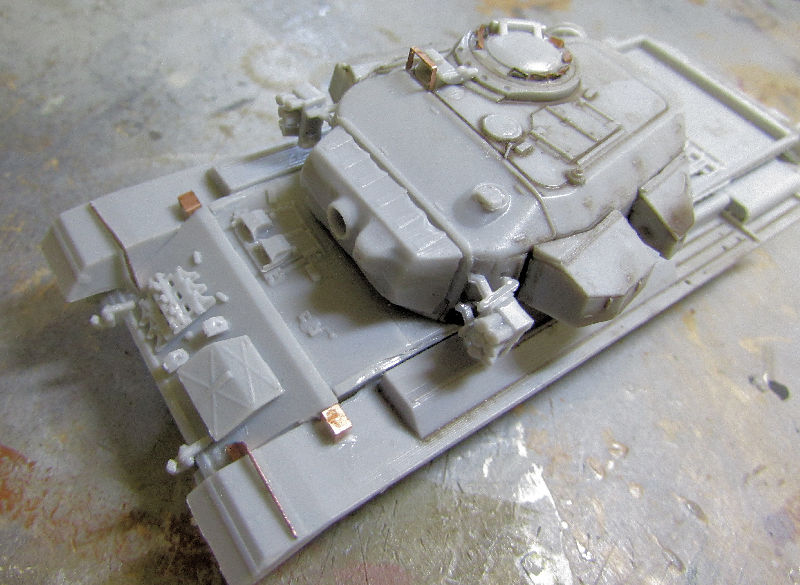
Later I added the hatch ring to the commanders hatch over the top of all those vision blocks:
Now this is so much closer to being finished. I should be able to paint this within the week.
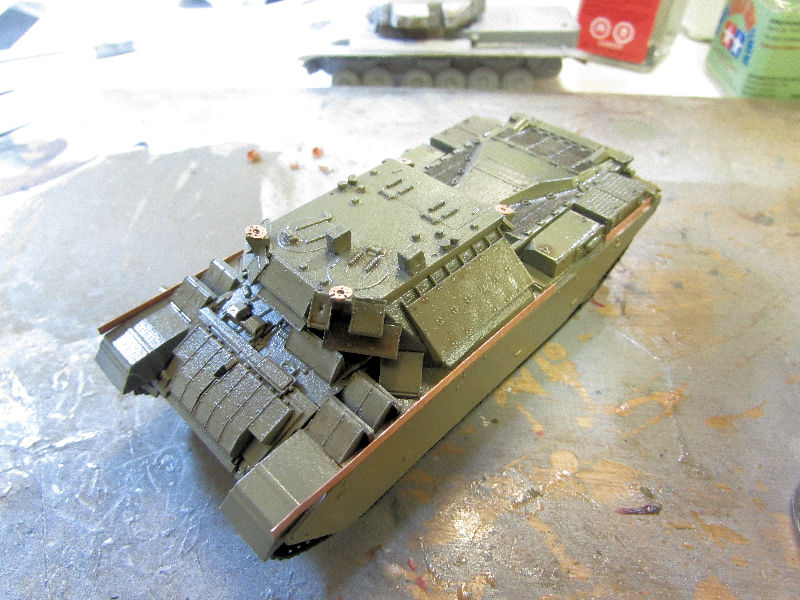
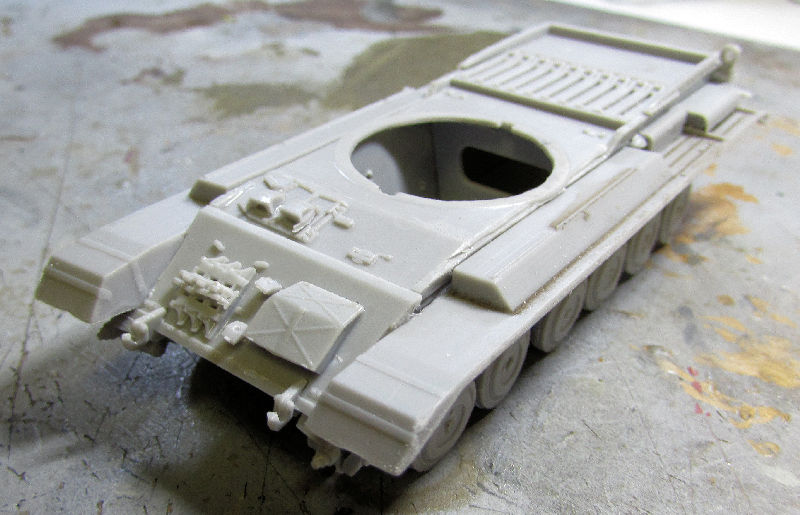
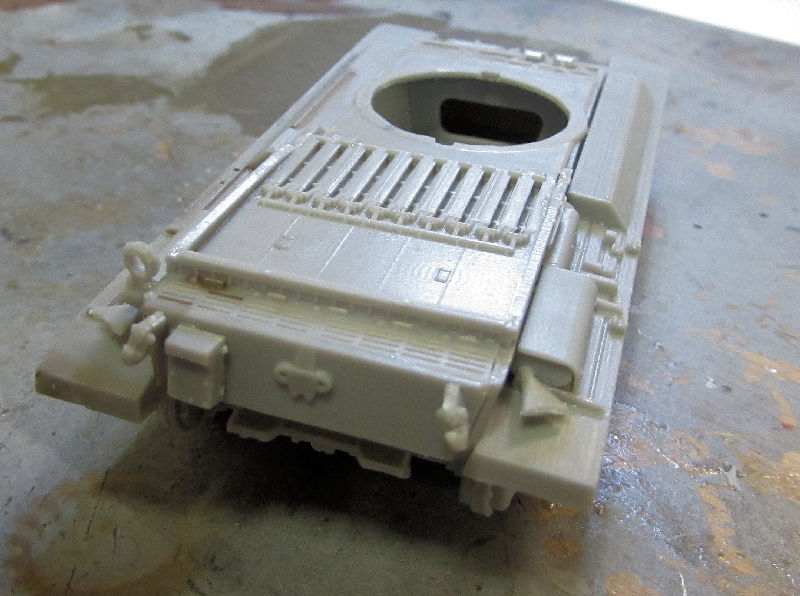
Finally, I got tired of the M-41 taking up space. I pulled it out and added the fenders, the photo etch braces and the fender boxes to this:

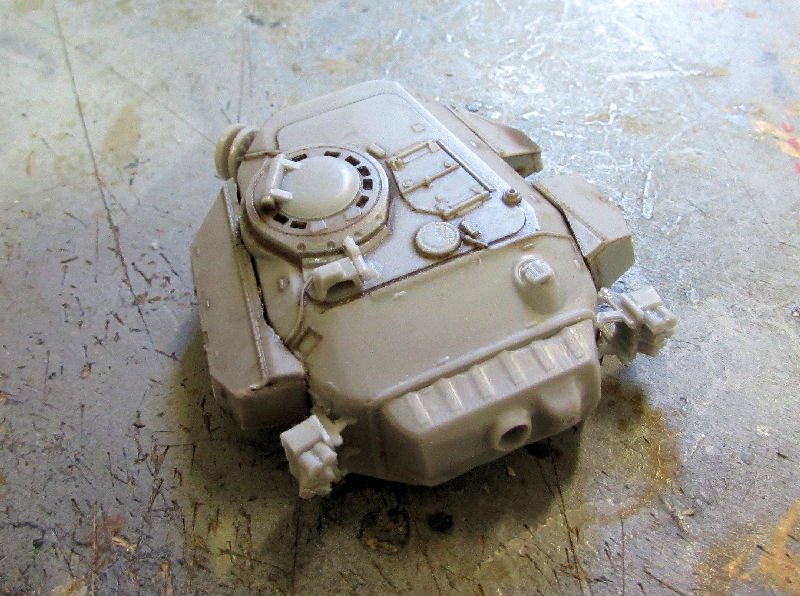
Next I did final bits to the turret. This is getting closer to paint, but I still have so much more to do with it. I did add the idler wheels and the rear halves of the roadwheels to the suspension but didn't take any pics. Too much frustration with the roadwheels not lining up at all. Maybe you'll see that in the next tour.
That completes the latest tour of Maddog Manufacturing, I hope you enjoyed it. Thanks all for looking in, comments are welcome.


 .
.


 , some fabulous work with the camo i have to say


