Thank you John. I'm not pleased with the quality of the pics from my phone so I am still trying to find the camera. I know it is on one of two rooms; the SD card is still outside so I never would have taken the camera anywhere else since that camera won't take pics without an SD card inside.
Anyway, on to my update....
Well, it has been a good long time since I posted anything here. Despite being super busy these past three weeks, I've kept production going at Maddog Manufacturing. In fact, I'm surprised we got this much done!
Note: My camera has gone missing, it is somewhere in the house. I apologize in advance; these pics were all taken on my Iphone and are not up to the quality I'm used to. In a number of cases, you cannot see the variations in some of the camouflage patterns.
This will be a long tour; I might even have to split it in two. So, all aboard the trams and remember to keep hands and feet inside at all times.
The first stop: the Hangar
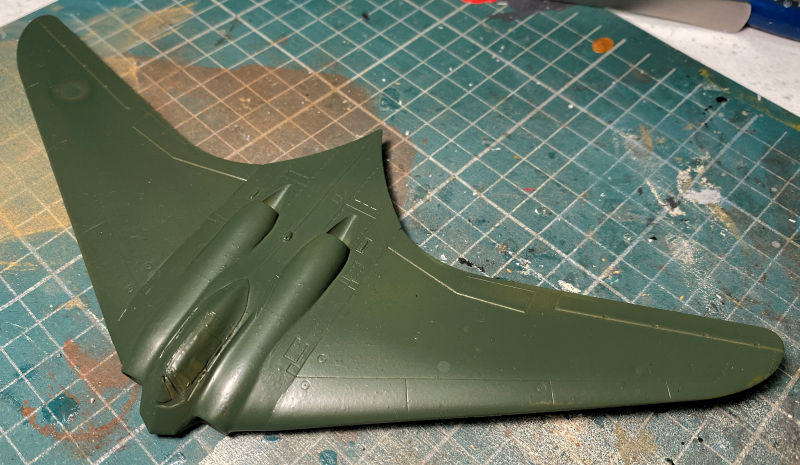
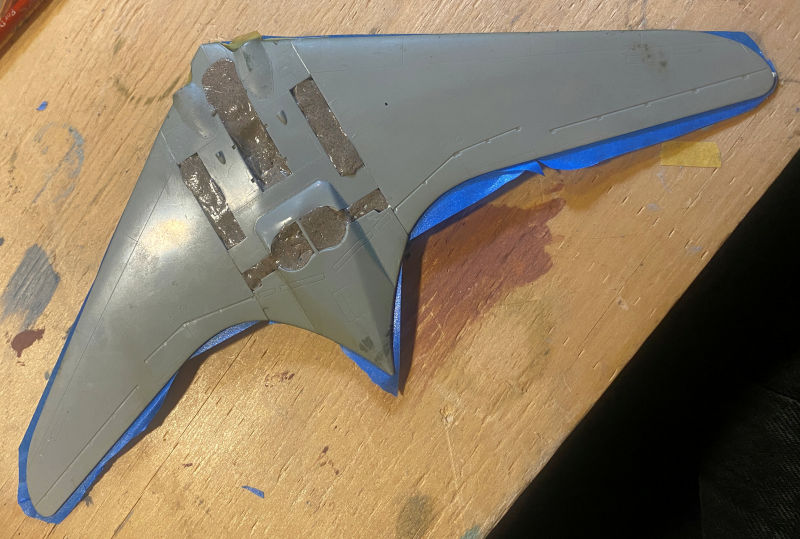
On this Horten, I wanted a more deep green, especially since I didn't think we could replicate the splotchy look from before with the second camouflage color:
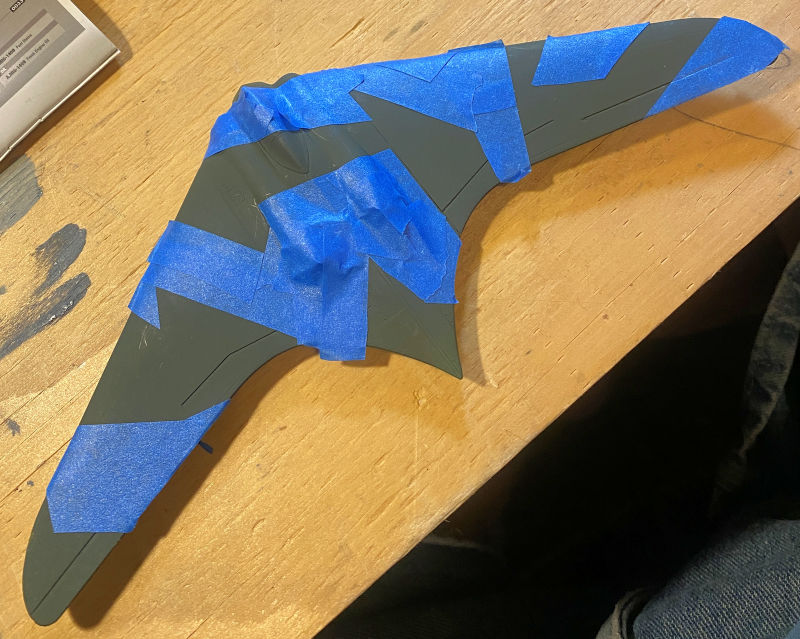
Next came the masking...
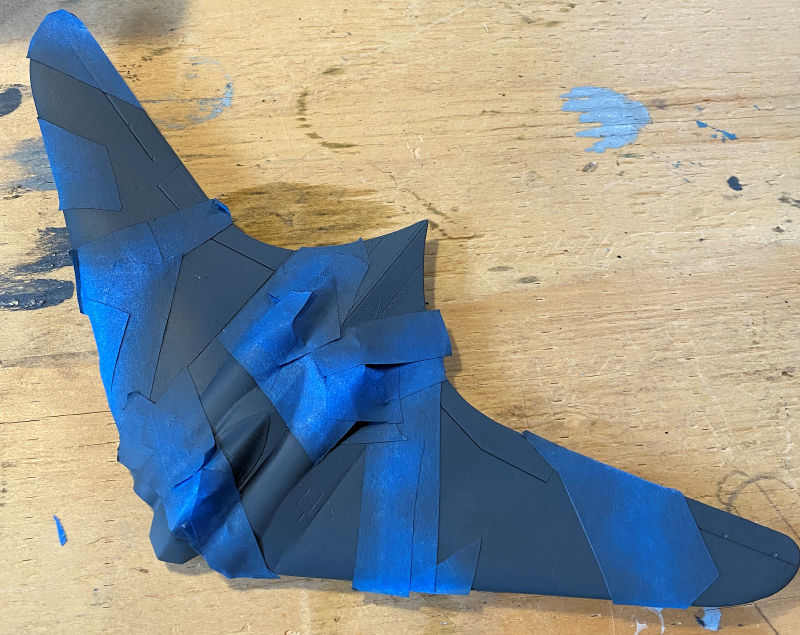
Then the painting of the second color. I know it is not the "correct" shade of grey, but it is a German grey and I'm making sure this gets finished instead of waiting for the right 'shade' of grey:
Off came the masking to see how well it looks:
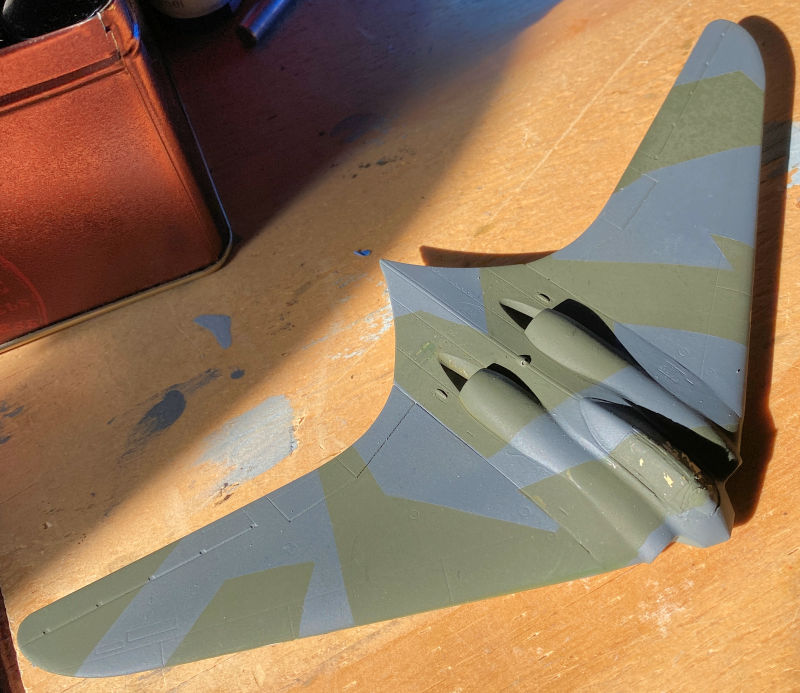
It may not be 'accurate' but it's mine and I like it!
Finally, we masked off the landing gear bays and the top to shoot the bottom color:
That will come later. I found a nice "Helblau" in my Model Master collection; this is the perfect time and model to use it.
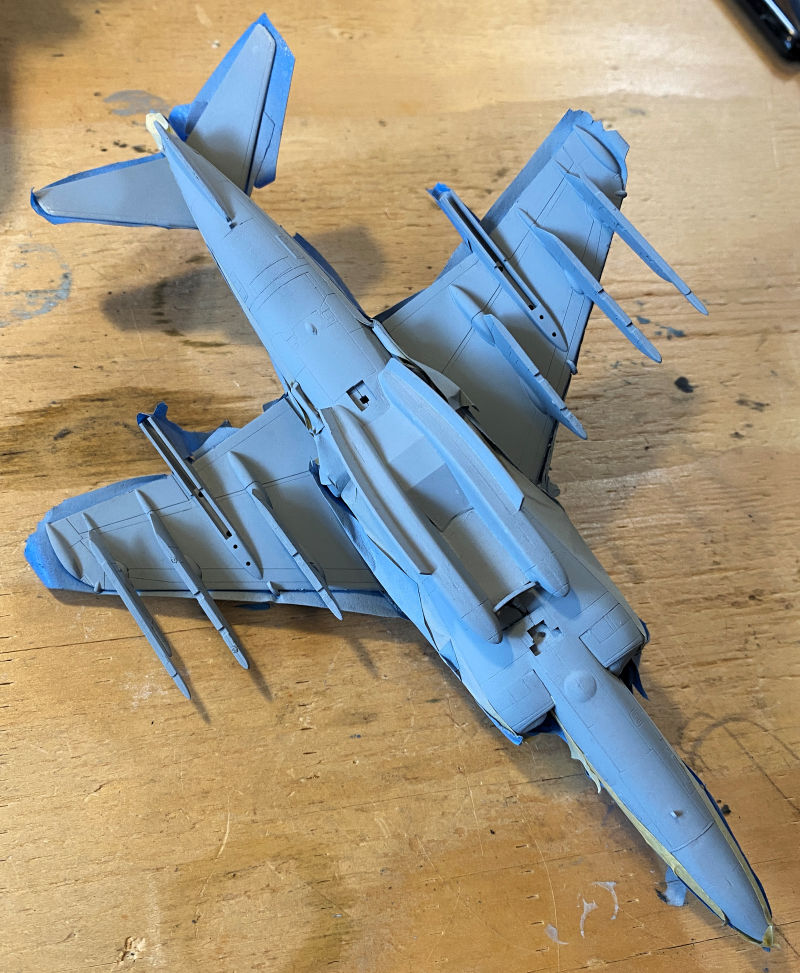
Moving on to the next aircraft, we find that work as resumed on the Marine Harrier. It had been shot with two colors of grey on the topside already, so all that was needed was a shot of the final grey on the underside
All masking was then removed when it was dry and I am pleased with these results:
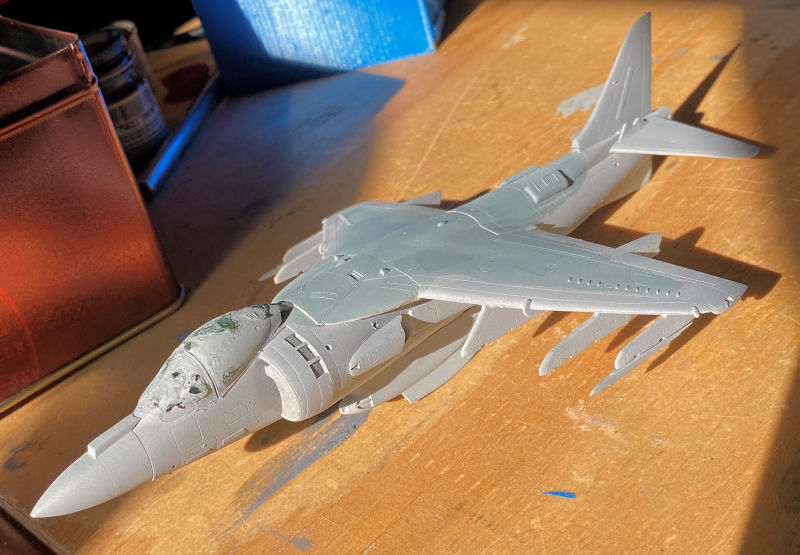
I know it's tough to see in these pics, my phone camera doesn't pic them up as well, even after I have edited these.
Nest we shot a gloss clear over it to prepare for the decals. All coating went on fine on the fuselage, but the upper wings wrinkled and peeled. It's a good thing we didn't cement the wings down on this, we got it masked and now the fix will be easier:
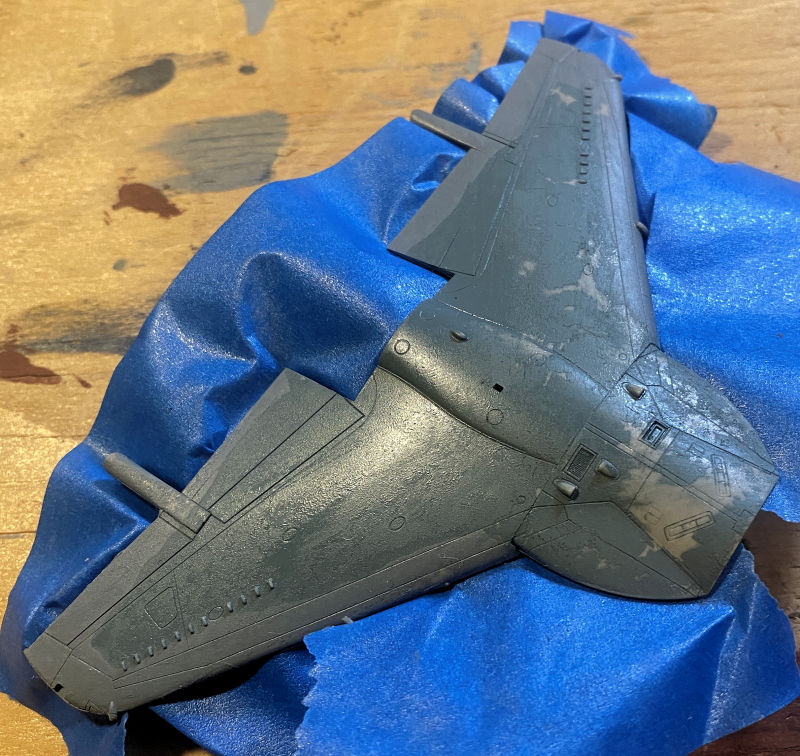
That's where this sits now. Lets move on to the next aircraft.
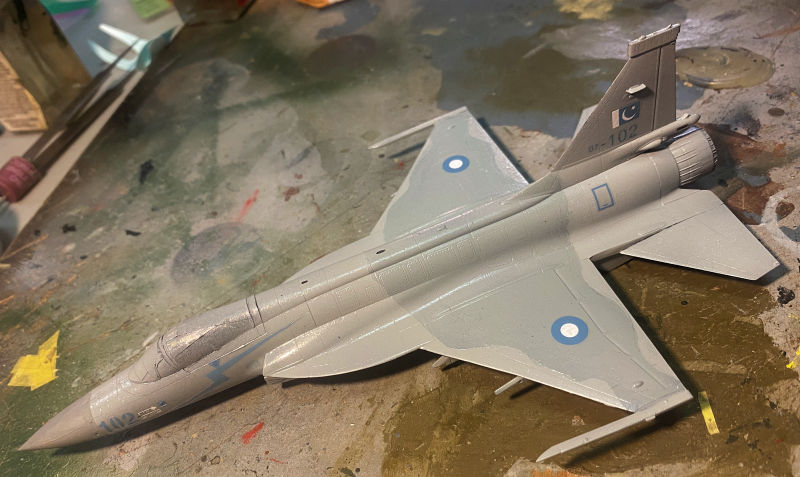
Here is the Pakistani, FC-1 Fierce Dragon. It had already been primed black, so the first of the two colors went on, top and bottom:
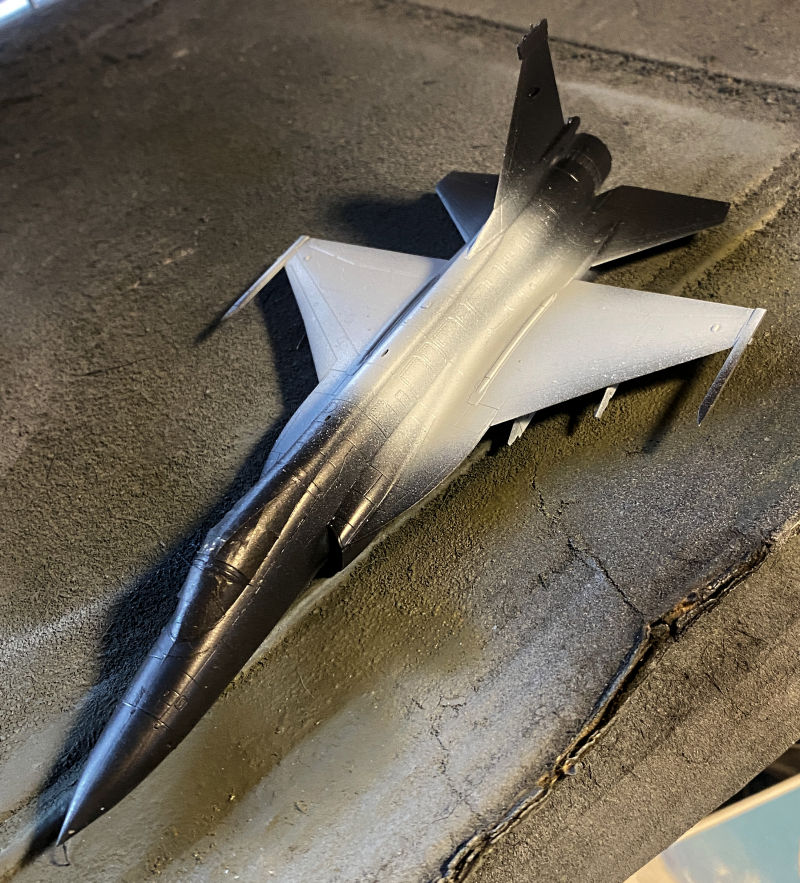
Since this color has wavy borders, we applied the Silly Putty to the top and bottom:
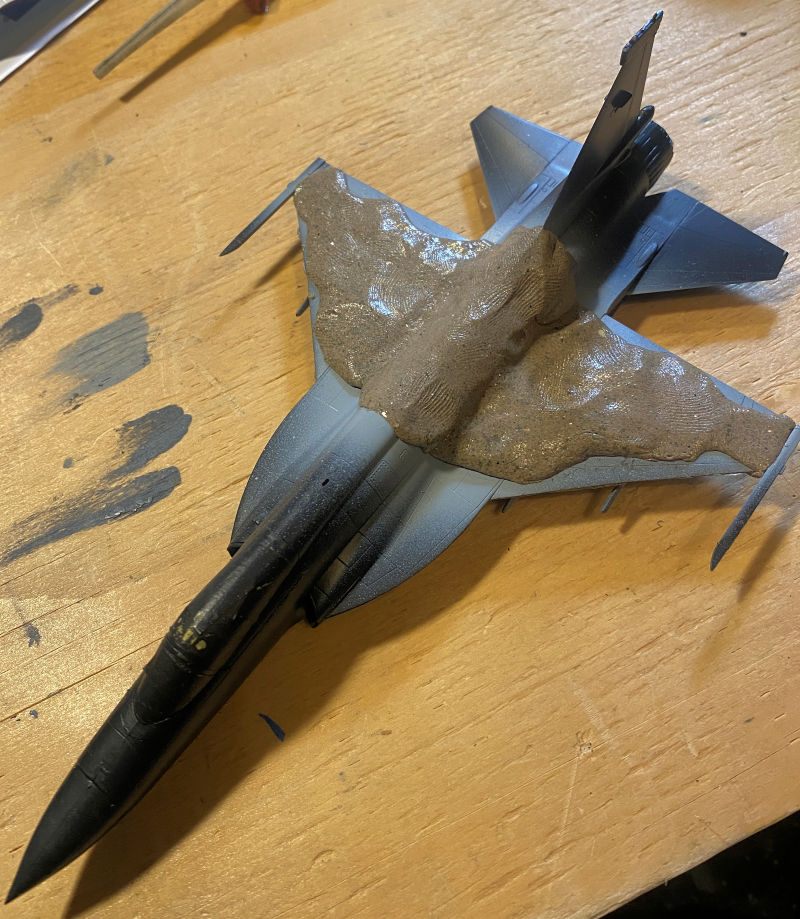
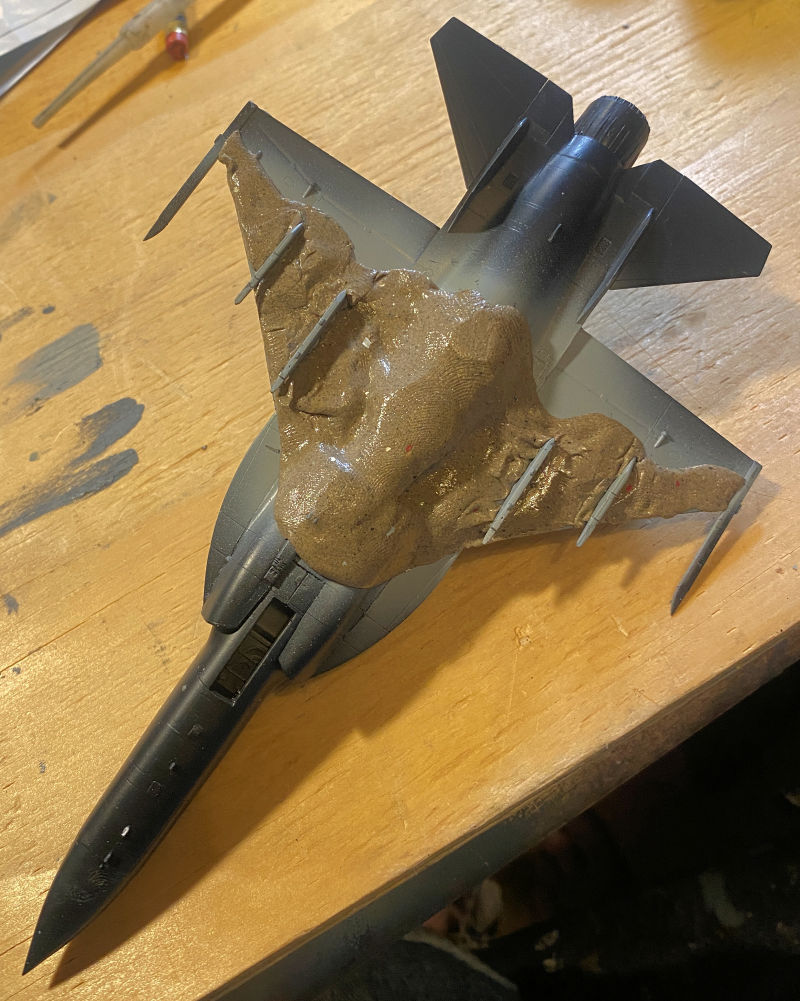
The second lighter grey was shot next:
Again, despite my best efforts on the editing software, this color doesn't look the correct shade.
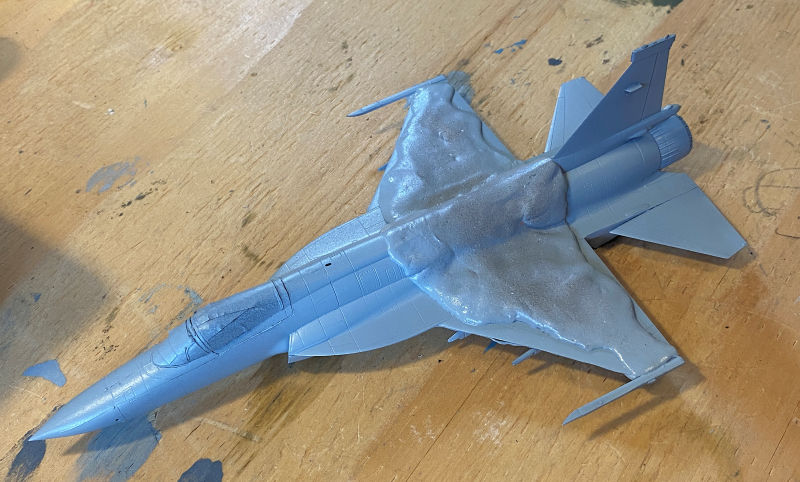
Once dry, the masks were removed. It did need a bit of touch up, but this was a great application in my opinion:

Later it was glossed and then the decals went on. Most of the stencils did not go on as they were too small to apply and looked like specks or blemishes more than stencils:
Next we find the Russian Ka-29 is finally back on the production queue. This got a third basecoat of blue since I was not happy with the previous color again. Then we started masking the darker blue grey for the second, lighter color:
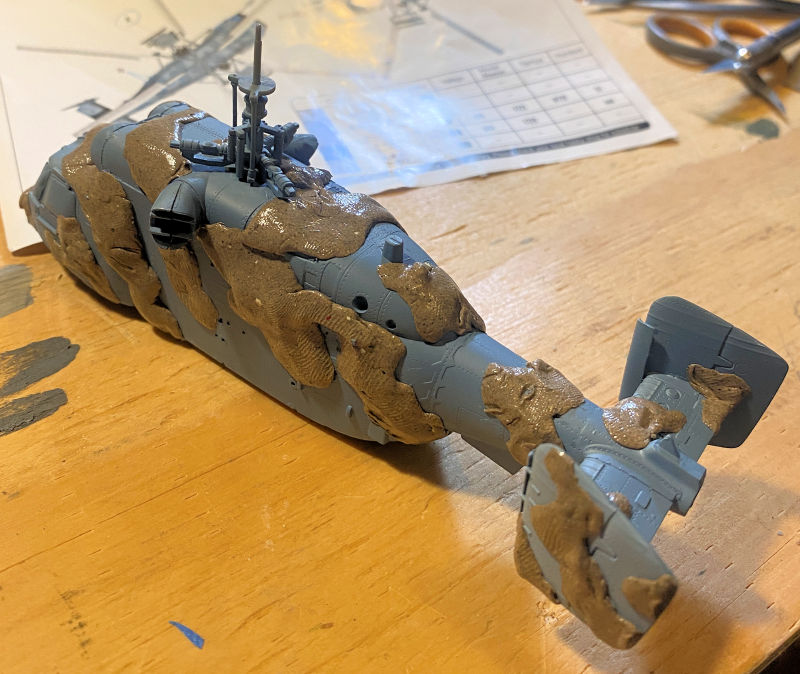
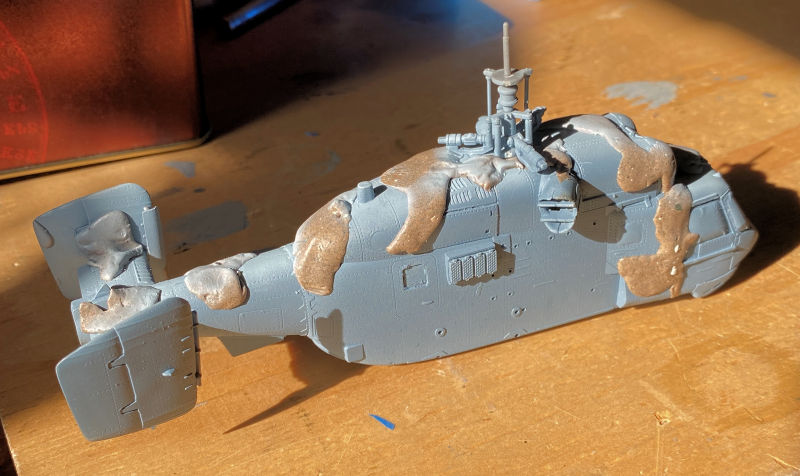
I had called a halt to the Silly Putty masking because anytime we turned this one on it's side, the Silly Putty would catch on something and peel off. So, the top, the bottom and one side were masked and shot with the lighter blue:
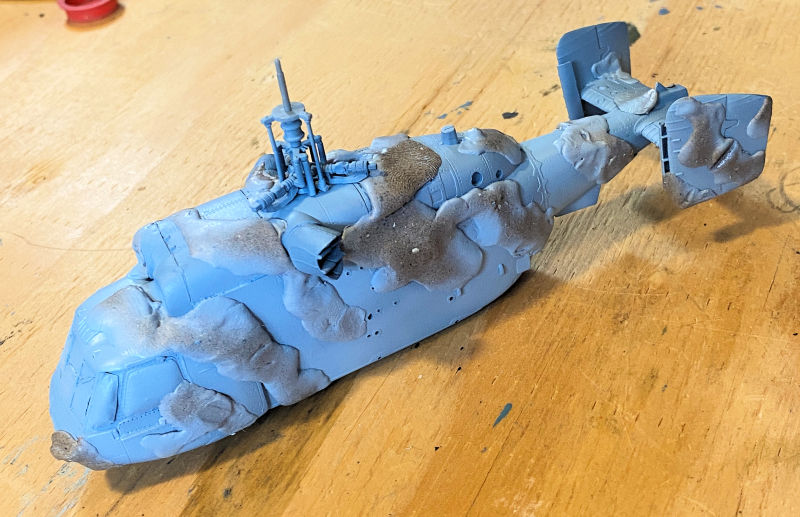
Later when this dries, we will continue the masking on this side and shot the color again:
That completes the tour of the Hangar, now we can move on to the Shipyards....
Recently I acquired an old Airfix 1/72 scale Vospers MBT and couldn't wait to get started. The hull was laid down already. This hull comes in three pieces, two sides and the bottom:
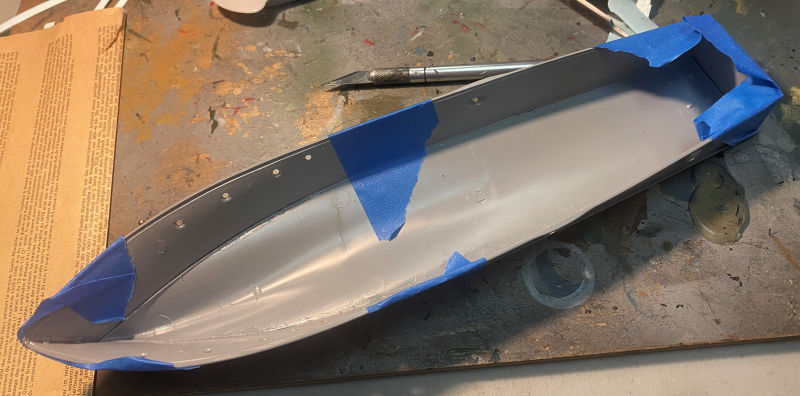
That's as far as we got with that. However, my other small boat got a lot of work completed. First, masking was added to the upper superstructure and the hull which had already been painted:
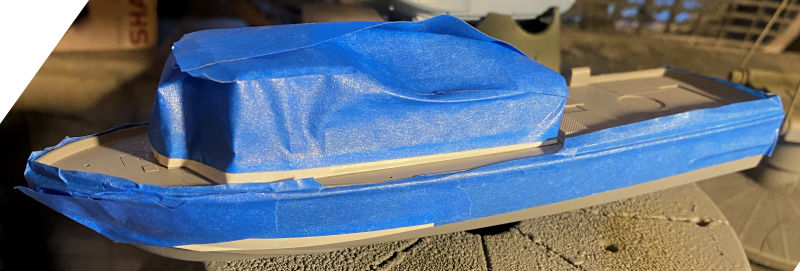
The deck was then painted, followed by the bottom of the hull. I didn't get pics of the bottom paint though:
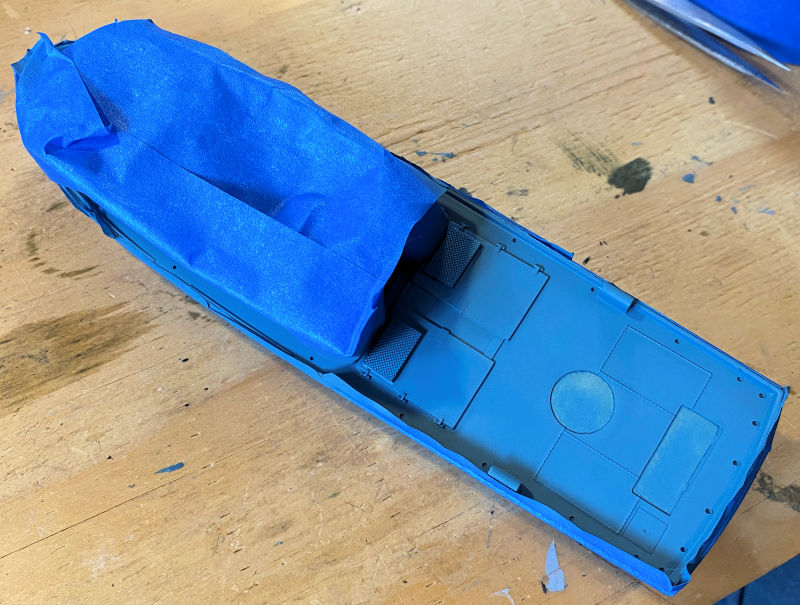
It called for Navy Blue Grey and it just so happened I had that exact color in my Model Master collection, so that is what I used.
Masking came off and we had near perfect results, certainly better than I expected!
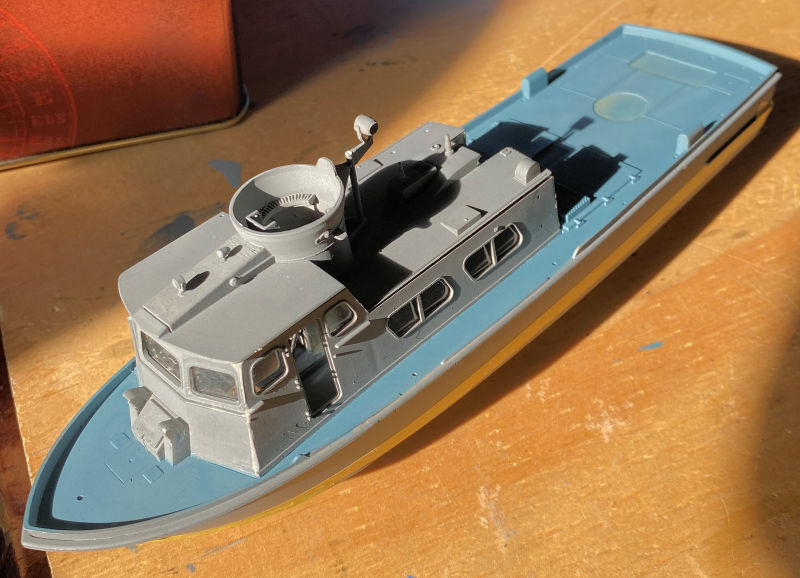
Later on after a gloss coat, the decals went on. That includes the boot stripe:
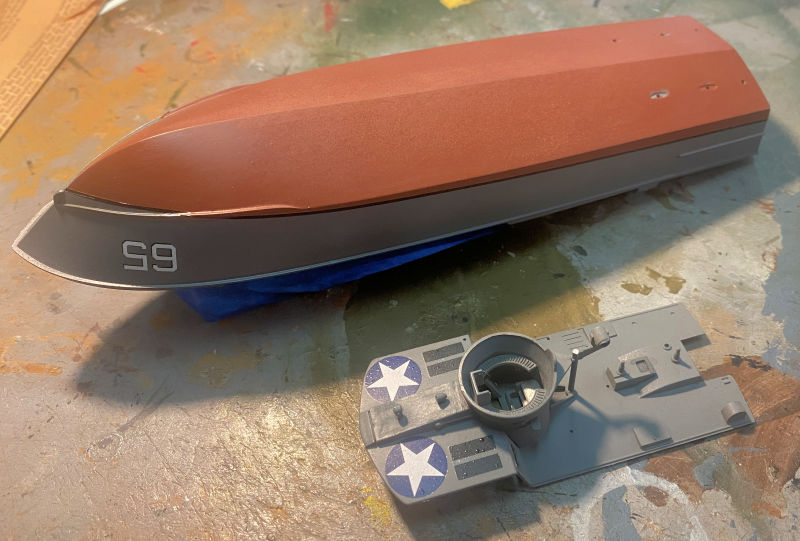
It's beginning to look like we'll be able to launch this one soon, time permitting!
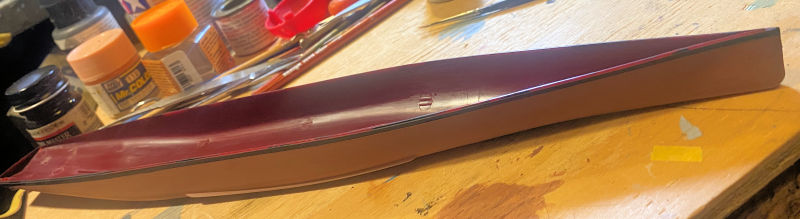
Finally, we move on to see the USS Sacramento. We painted a wide boot stripe on top of the lower hull and then masked it to make a boot stripe the thickness I wanted:
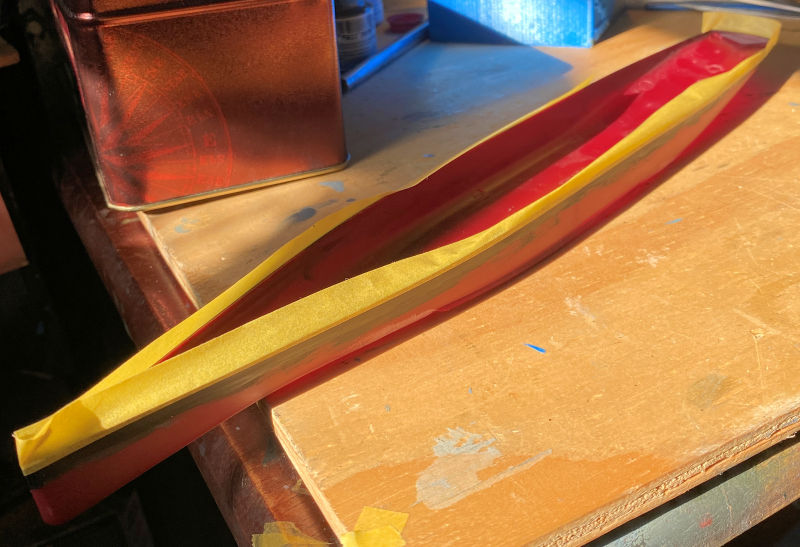
Definitely pleasing to me:
That completes the tour of the Shipyards, now on to the Motor Pool.....
In the Motor Pool this week, we continued on with a commission build for a friend who asked for this some time ago after a PzII was completed for him. This is his 1/35th scale Polish TKS, complete with a full interior which has not been completely added at this time:
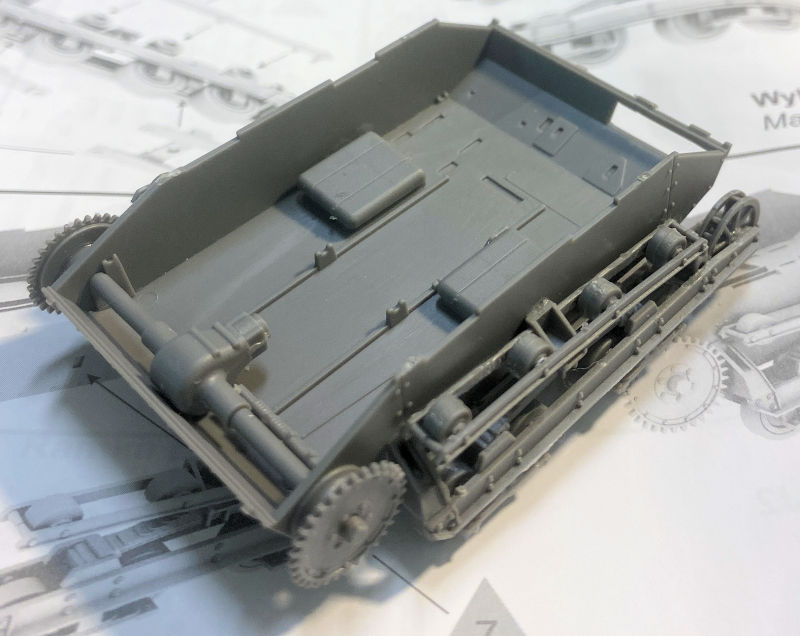
Later we completed the interior. And just to show you how tiny this beastie really is, I built the officer (sans binoculars) and stood him next to the lower hull:
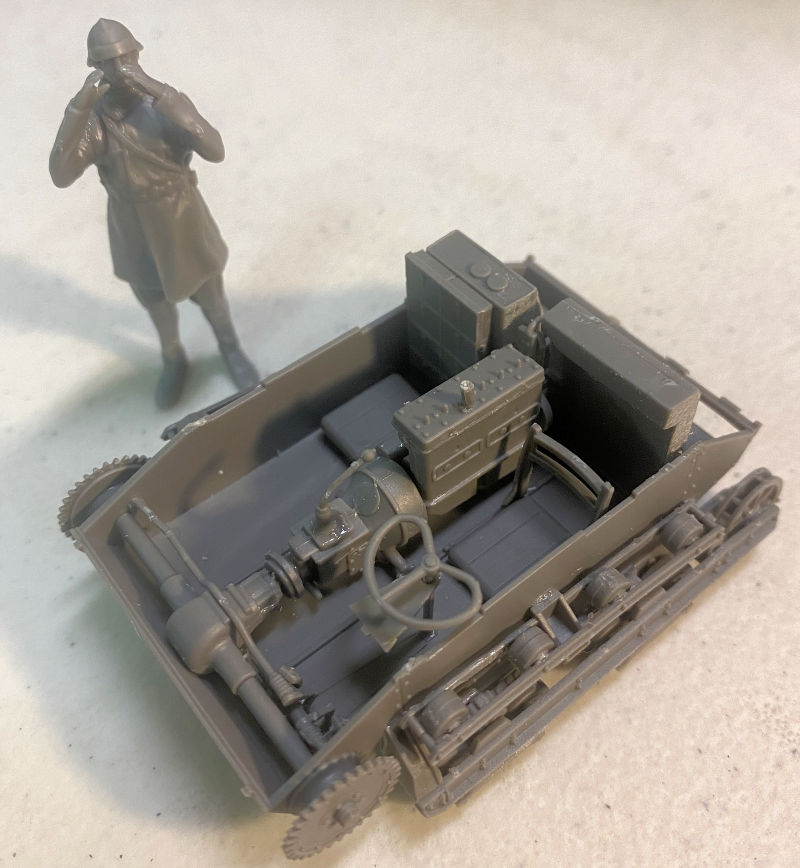
I don't know that I would want to go into combat in that little thing!
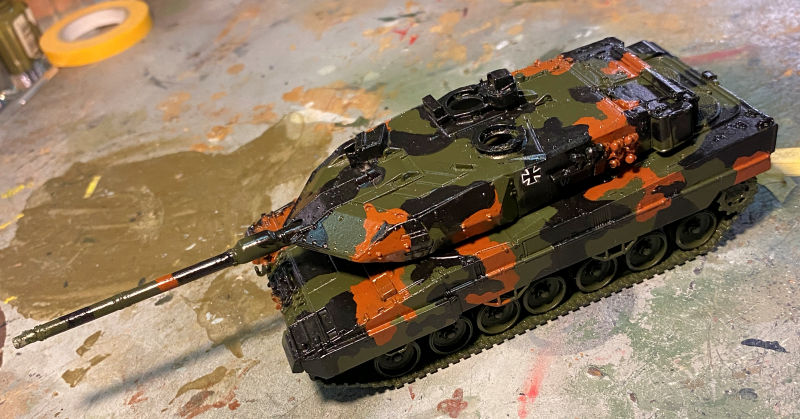
Moving on to my own subjects, we stop at this bay where the Leopard 2A7 is being worked on. As you might remember; I wasn't happy with this shade of green, nor the inconsistency of coverage:
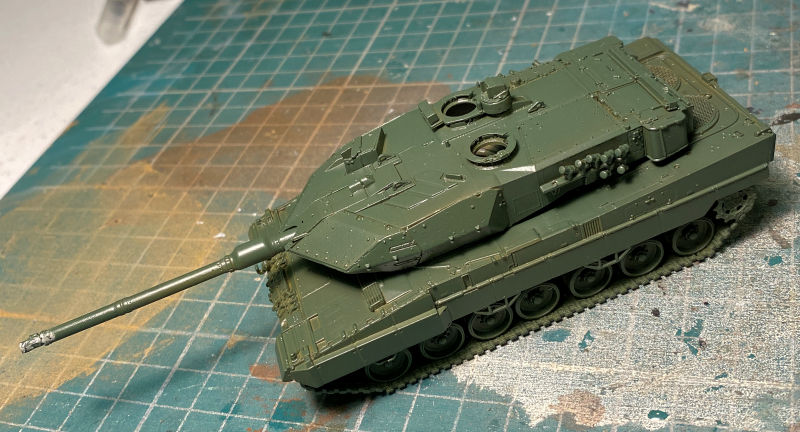
We then went with the Mission Models Dark Green instead and got a better result:
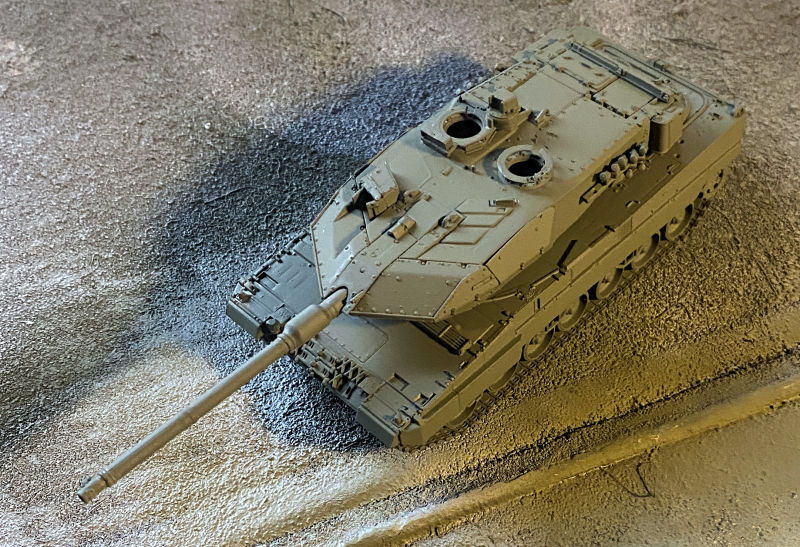
Later on the other two camouflage colors were added:
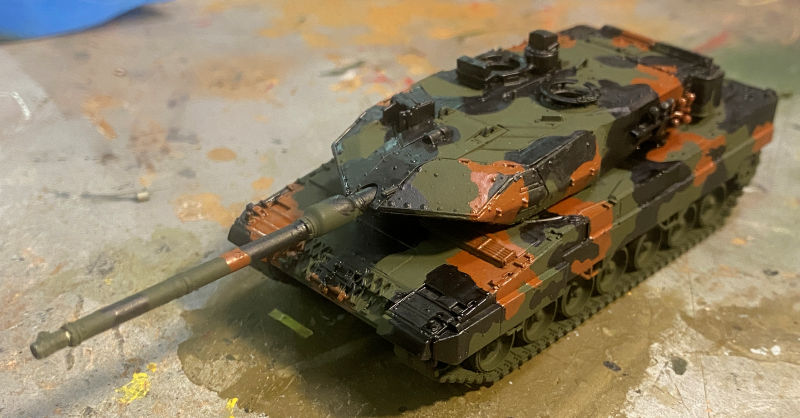
...followed by a coat of clear gloss:
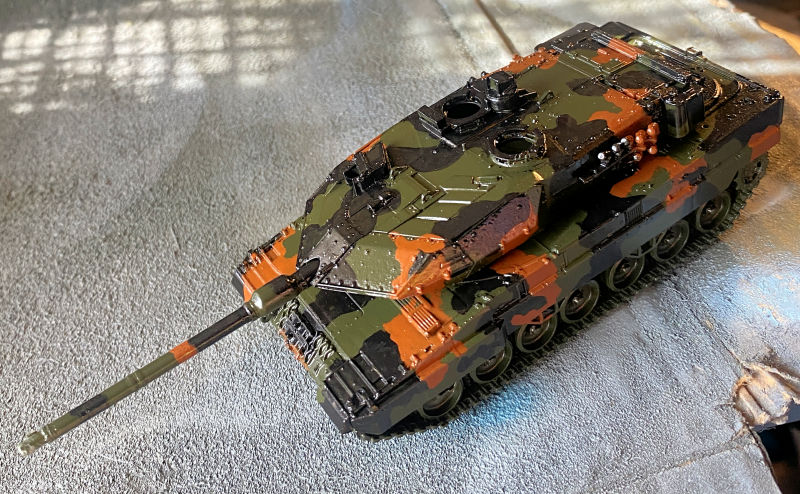
And finally the markings went on:
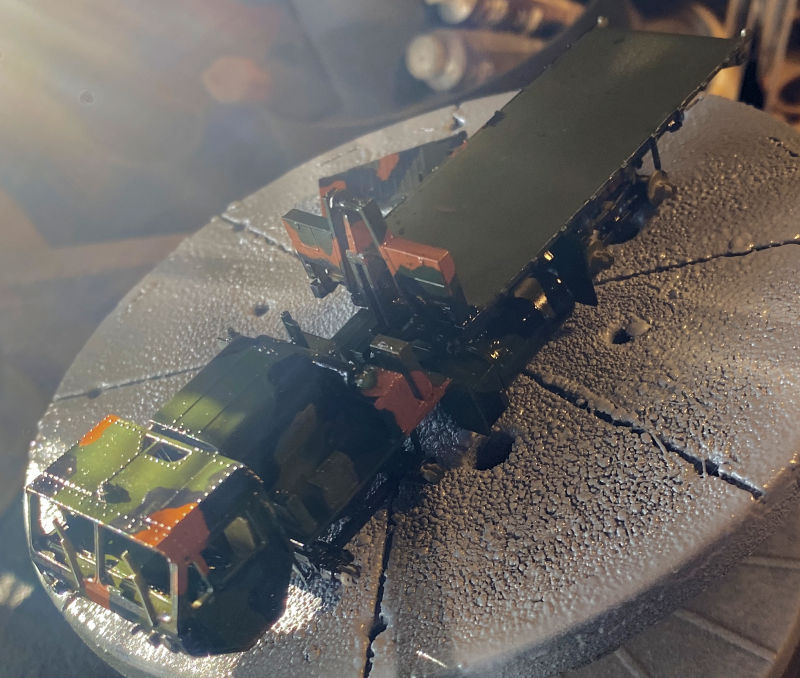
While that was being painted, the same process was done on the HEMMT LHS which was still in pieces to facilitate things better, at least for me:
First the basecoat:

Then the second and third colors:
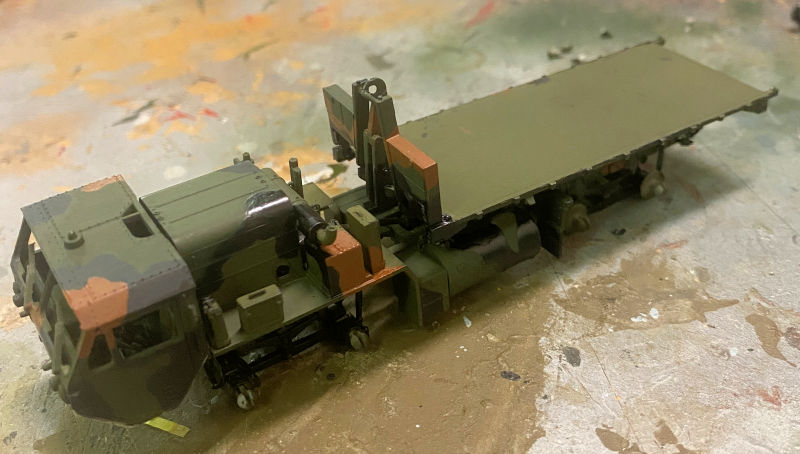
We didn't forget the lower front of the cab:
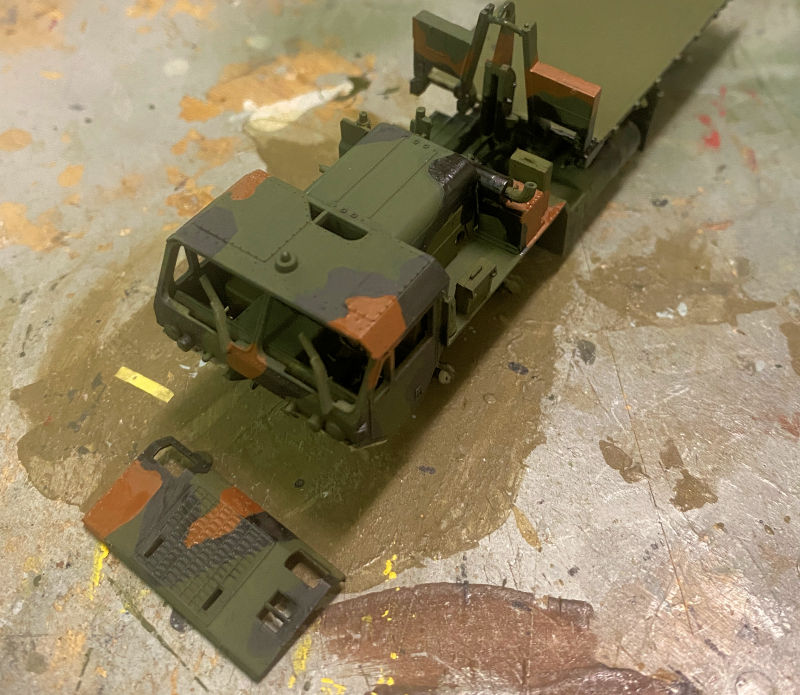
There was surprisingly little additional patches to paint on this. Maybe it was because of all the colors on the Leopard.
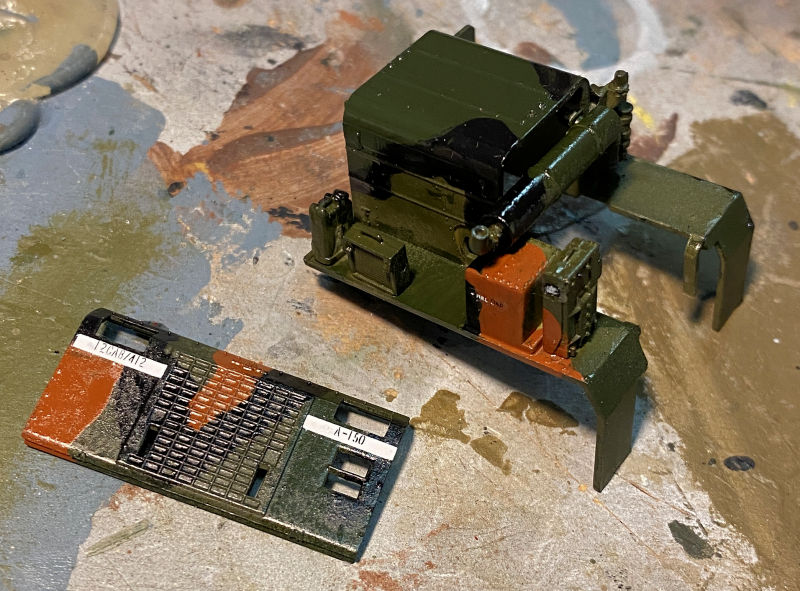
Gloss coat was sprayed on the dry-fit parts next: again, sorry for the poor photo:
Decals followed. This should be ready for full assembly very soon...
That completes the tour of the Motor Pool, you may disembark from the trams now and thank you all for coming in! Comments are always welcome.


 .
.
