Despite more issues happening, we managed to get more progress done. The next tour of Maddog Manufacturing is preparing to start. All aboard the trams for this next trip through Maddog Manufacturing. remember to keep hands and feet inside the trams at all times.
Once again, we'll start in the Hangar.
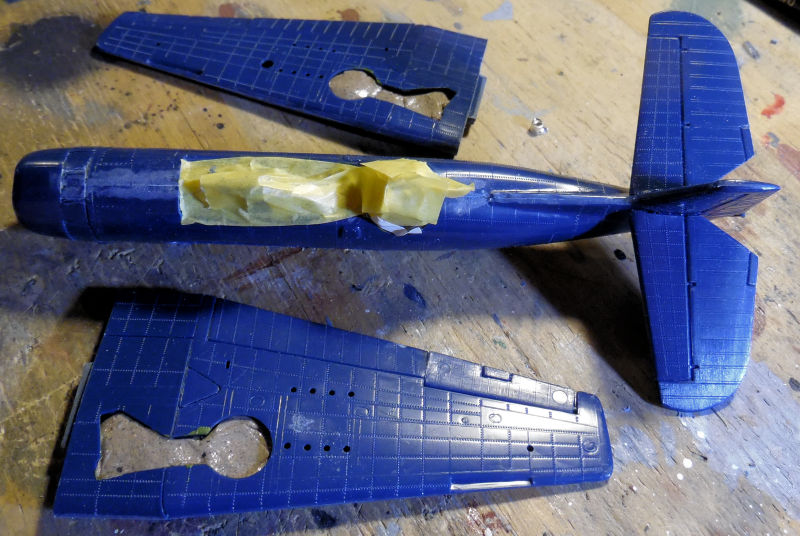
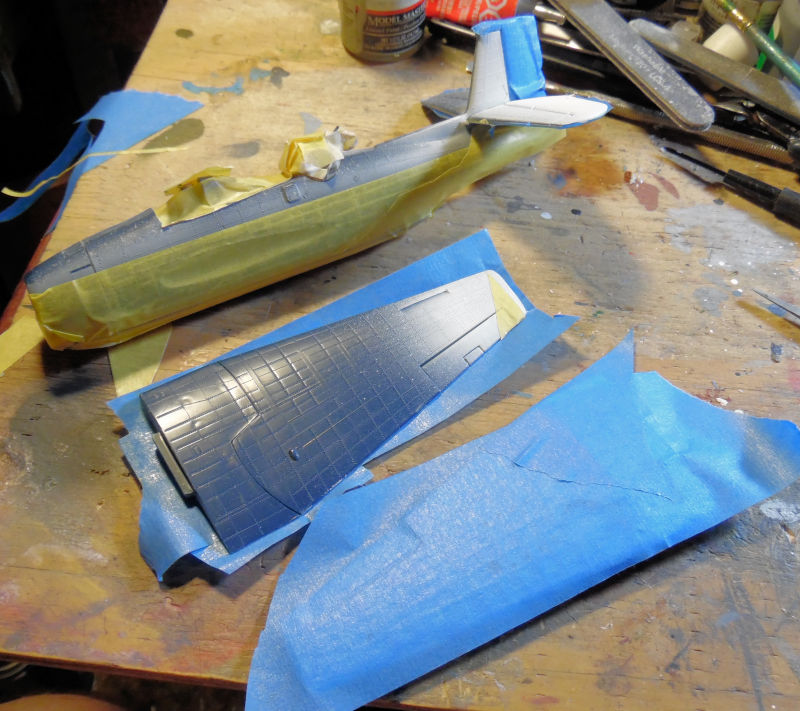
Some time before, knowing that the weather was going to improve, we masked off the various aircraft that we planned to paint. The Hellcat got Silly Putty in the cockpit and wheel wells:
The Avenger was masked off the same, with tape and Silly Putty:
With the weather more amenable to airbrushing a couple days later, some of these finally got their first paint.
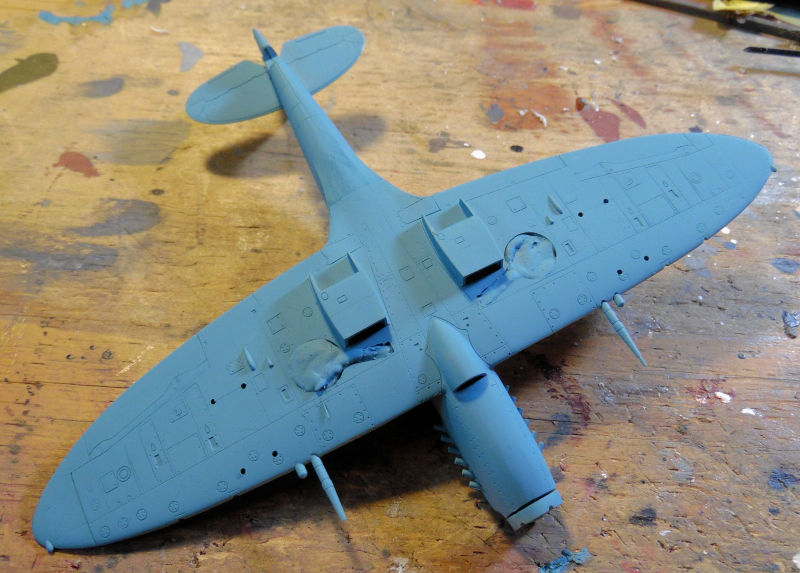
The two Spitfires got their undercoat:
[IMGhttps://modelersalliance.org/galleries/wip-british-spitfire-mk-ix-a-jpg.129969/full[/IMG]
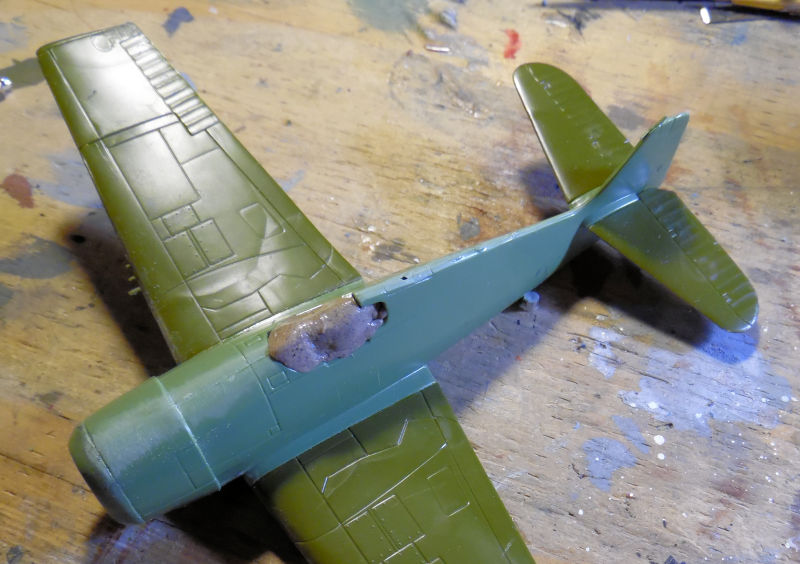
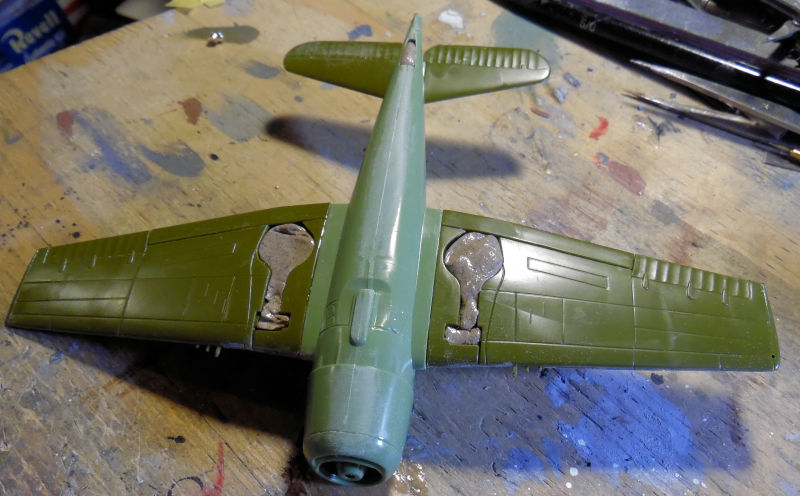
Followed by the Russian Il-2M3 Shtormovik:
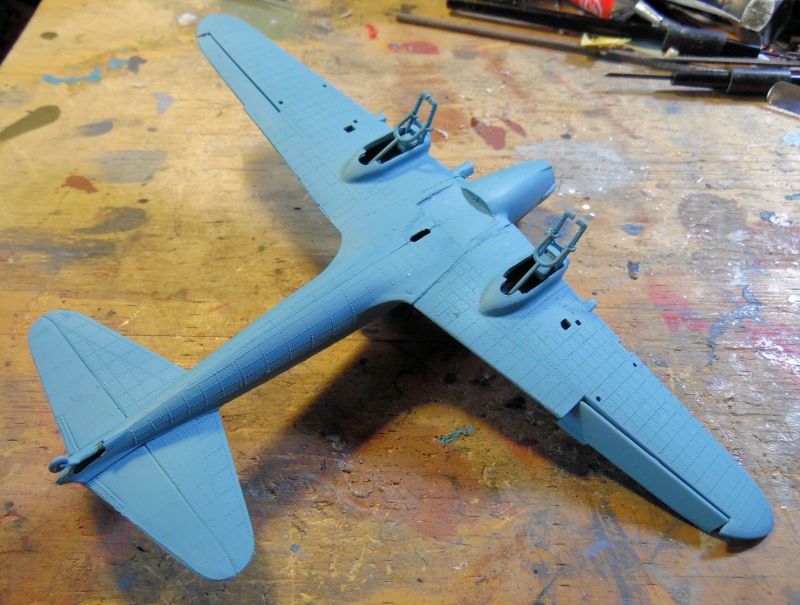
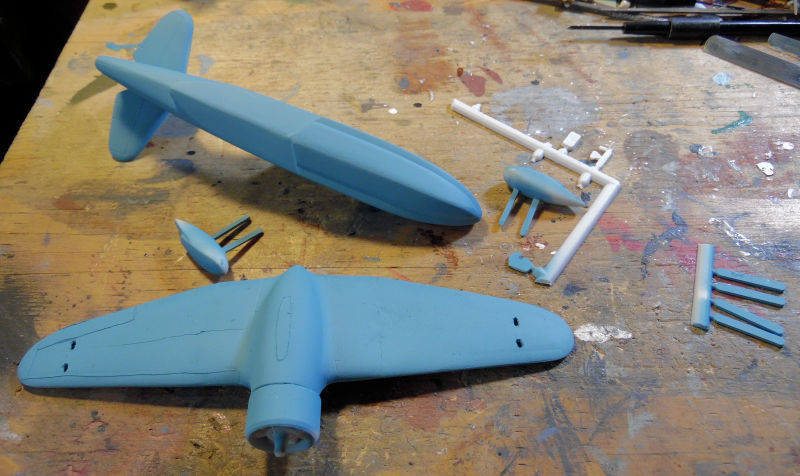
Then we shot the blue on the Russian Be-4 flying boat:
Followed by the white underneath the Avenger:

Once the paint dried sufficiently on the Avenger, more masking was applied for the second color:
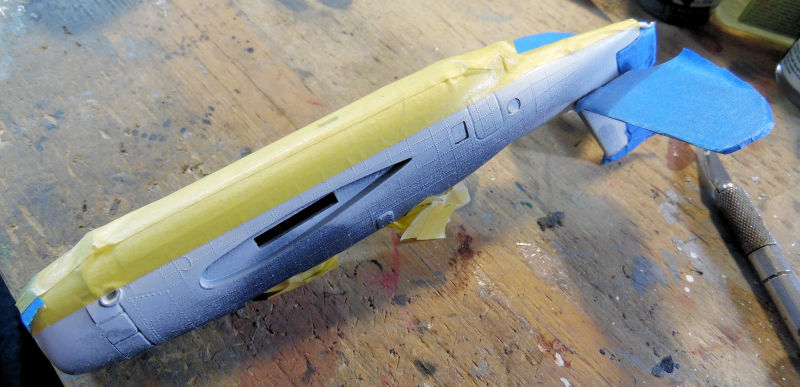
I masked the tail wrong; it was supposed to be an angled white section; I masked the entire moveable part. That's how it's gonna stay. The intermediate blue went on next:
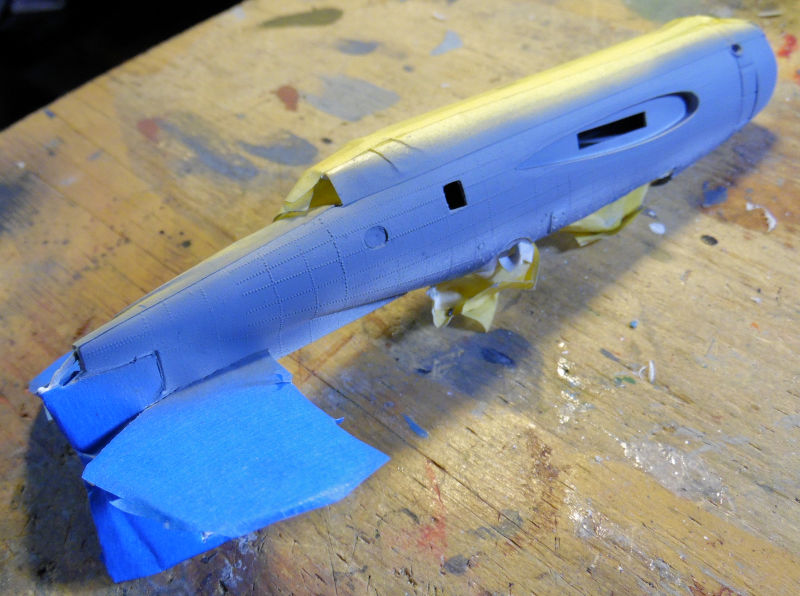
Finally, when the intermediate blue was dry, we masked off the blue for the final color which will hopefully go on later this weekend or next week:
That finishes the tour of the Hangar, now on to the Shipyards....
This next one was a kit I got in a Distressed Kit Auction; I had thought it was a 1/72 scale boat. So we got started on it, getting the hull and some major parts assembled:

That took all of five minutes. Another fifteen to twenty minutes later, it looked like this:
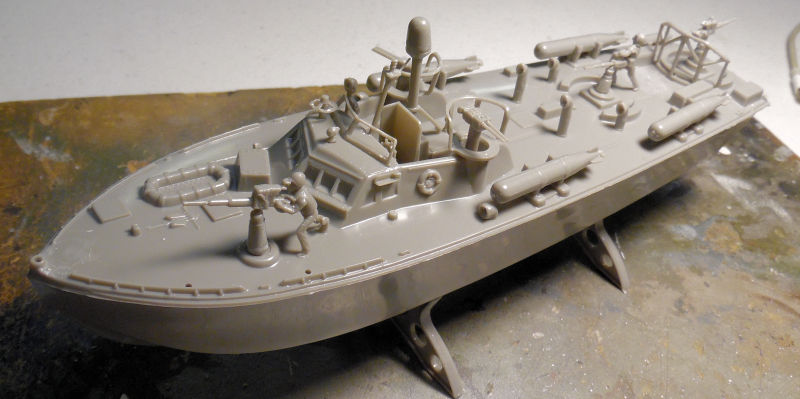
That's when I realized this is actually more like 1/96 scale, The crewmen and stubby torpedoes kinda gave it away. Oh well, it is all finished assembly and ready for paint so I will finish it and leave it on the shelf.
That's all that was done in the Shipyards, so on to the Motor Pool....
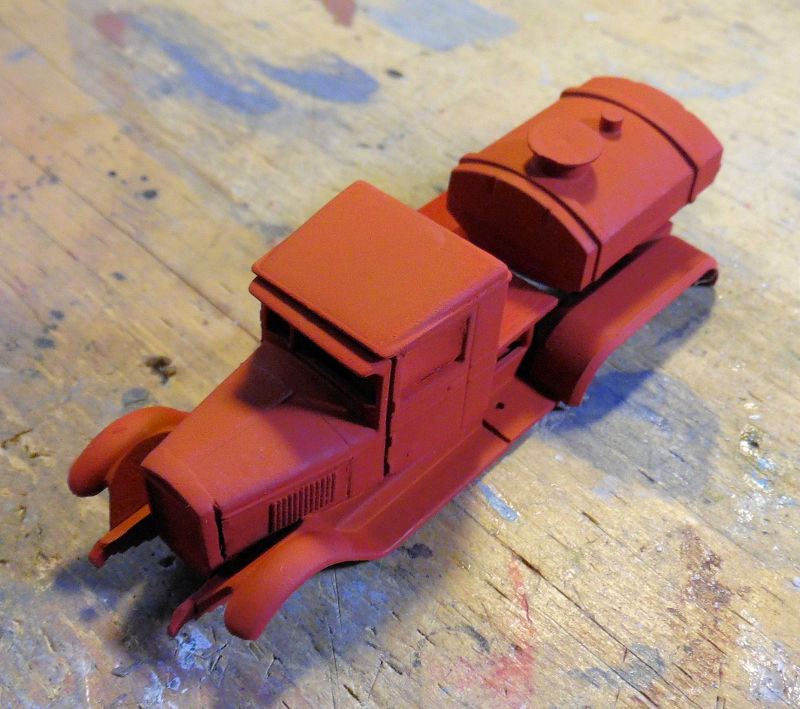
Here in the Motor Pool, things have moved on better. First off, the little Russian fire truck got a better coat of red paint on it, prior to moving forward on the finishing:
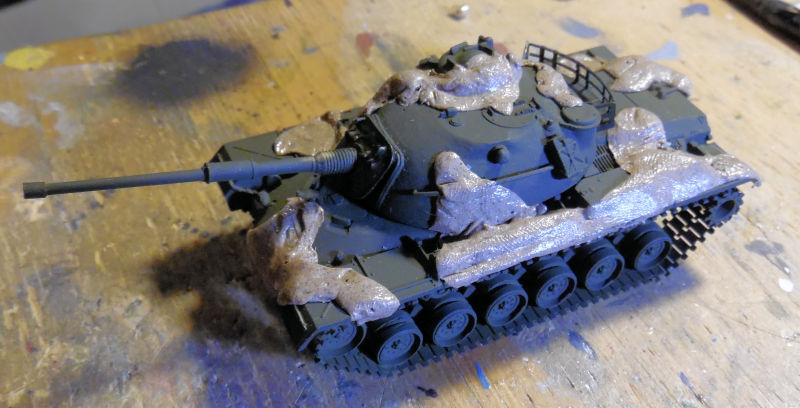
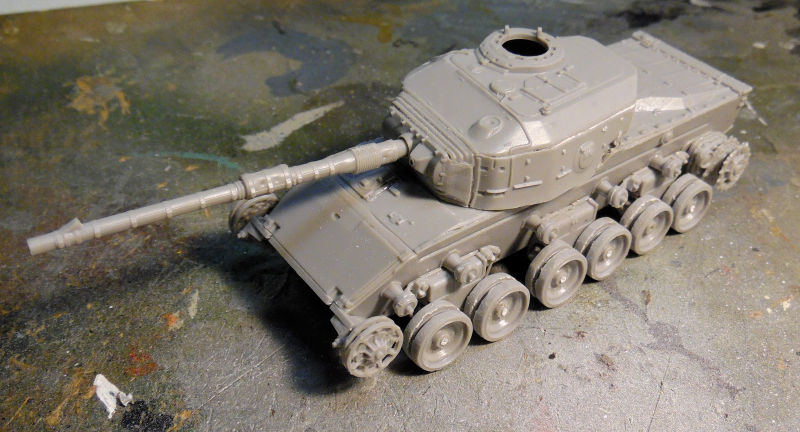
The M48-A5 has been finally masked with Silly Putty for the second of three (or four) colors on the camouflage:
Meanwhile, further progress was made building the detail parts and sub-assemblies for the Russian 280mm tracked artillery piece:
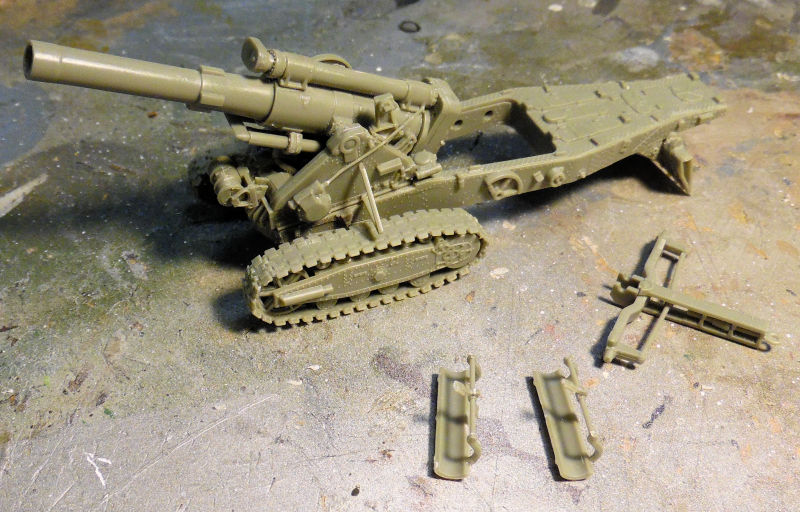
Still a lot more pieces and sub-assemblies to do for that little gun. I feel like it's taking forever, but at least I can see progress every time I take more pics.
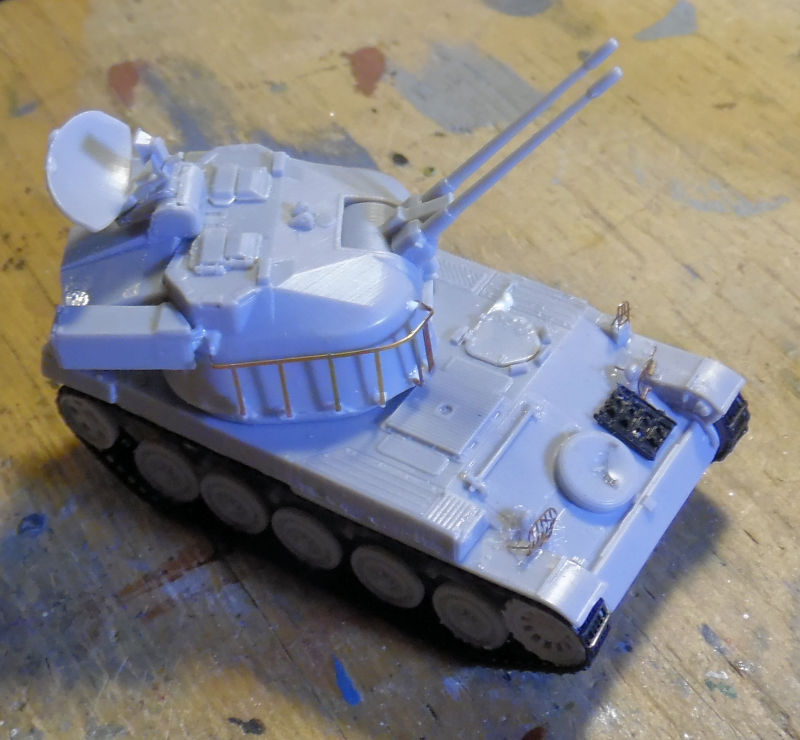
Moving on to the next bay we have the French DCA getting it's tracks on:
Later on we added almost all the photo etch to this. I wanted to let the turret P/E dry before adding the last P/E part on the other side of the turret:
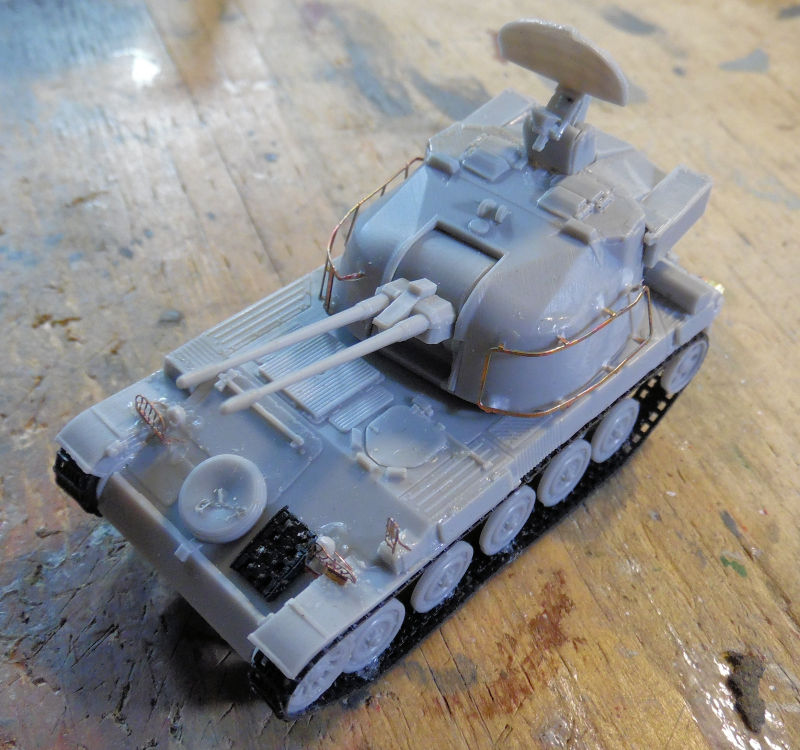
Finally everything dried enough to add the final piece of Photo Etch.This one is now ready for paint:
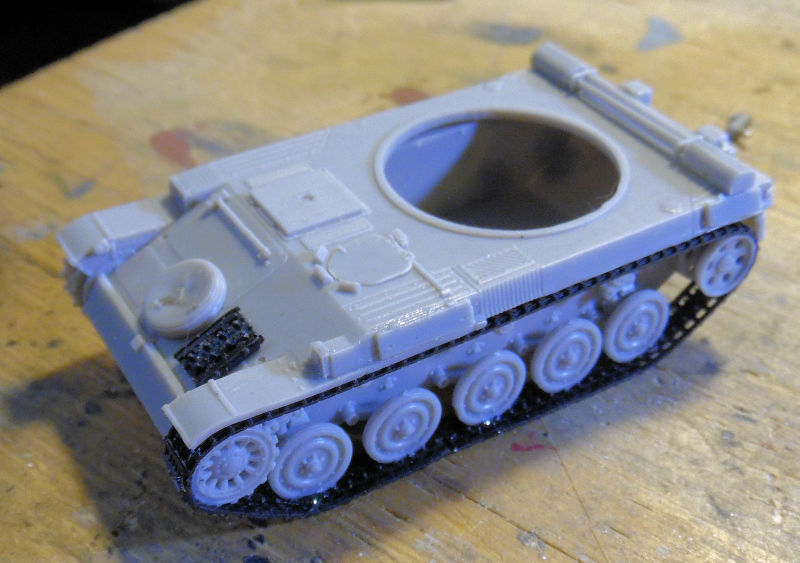
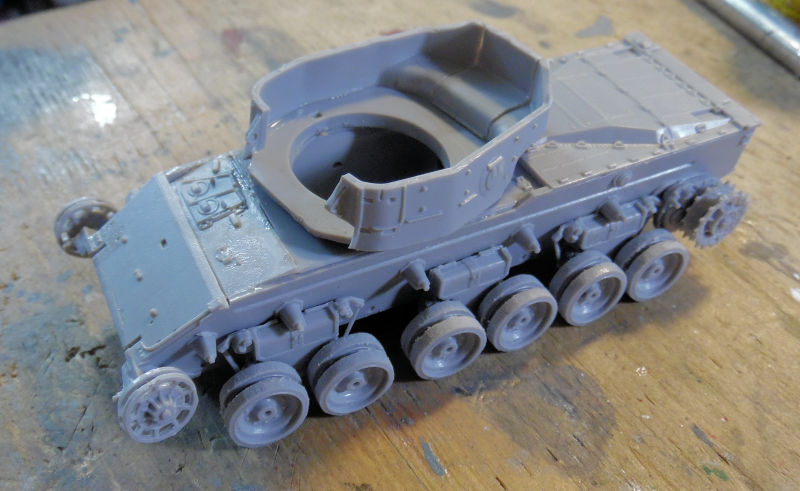
Moving to the next bin, rapid progress was made on the Israeli Sho't Kal Gimmel. The upper hull plates went on, the wheels went on, and the basic turret was assembled. Then I noticed we put more than half the wheels on backward and had to pull them off and re-install them properly:
Later we tried to get the next Israeli Sho't Kal Dalet caught up but only got the upper hull plates on, the wheels installed (correctly!) and half the turret assembled:
Hopefully further progress can be made soon. I want to get these both in the spray booth at the same time.
Finally, in our separate Assembly Yard, we have progress done on a couple of unique and different models. First is the Packard in 1/24 scale. This beastie has been causing so many problems. First off, the instructions say to place the engine cover on and then glue the radiator assembly on since the engine cover is supposed to come off to show the engine itself. After adding the fire wall, we did just that, making sure it would dry right with tape:
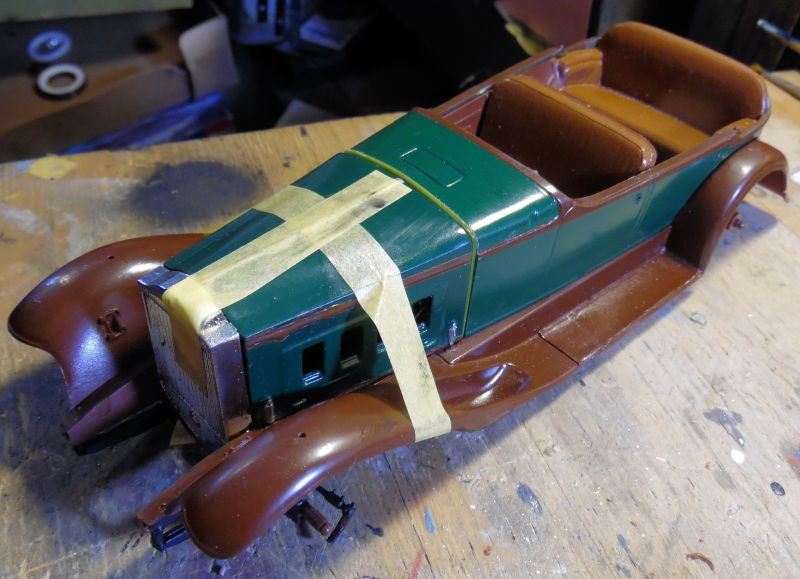
You can see it didn't quite make it. That is mostly because the engine cover itself wasn't seated properly. While it was drying, we added half of the parts to the rear of the car. Some parts were missing, so I just need to find them somewhere in the hobby room to finish this part:
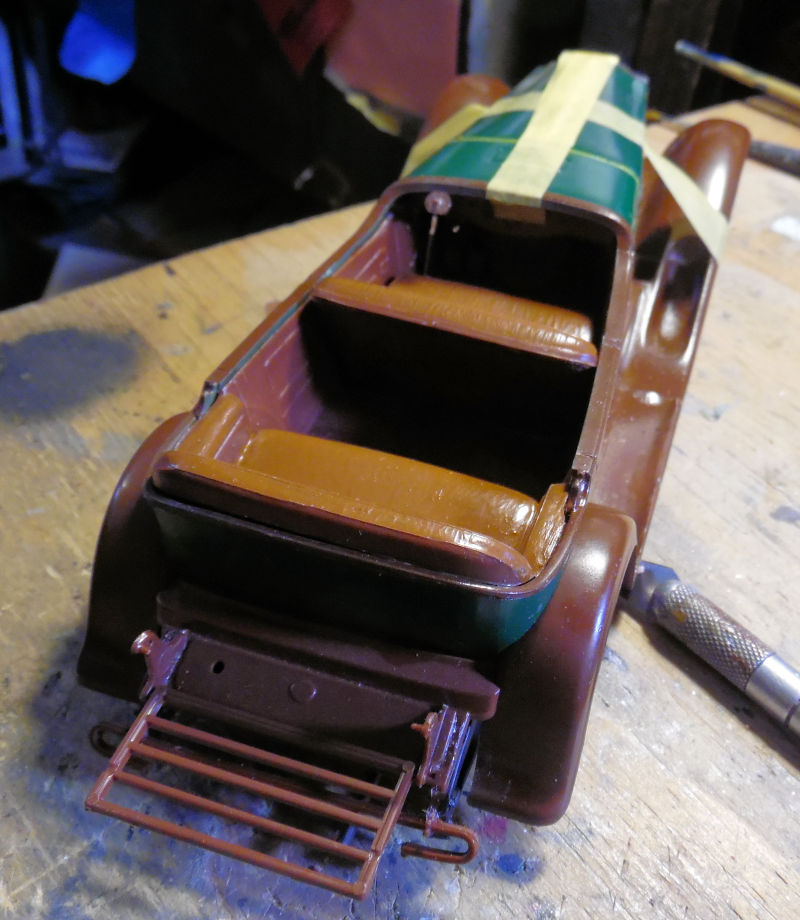
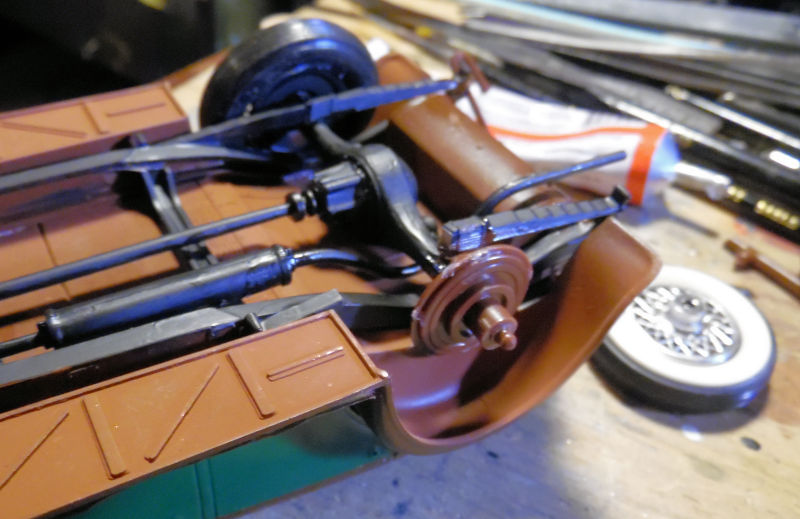
Naturally I wanted to see how well the wheels lined up and touched the ground. What I found was disappointing to say the least. This rear wheel was so misaligned that the car looked like it was lifting the back wheel to water a fire hydrant! Our attempts to fix it resulted in a shattered leaf spring , some of which was re-glued on:
Then I thought we should build the canvas top, and found this issue when we did:
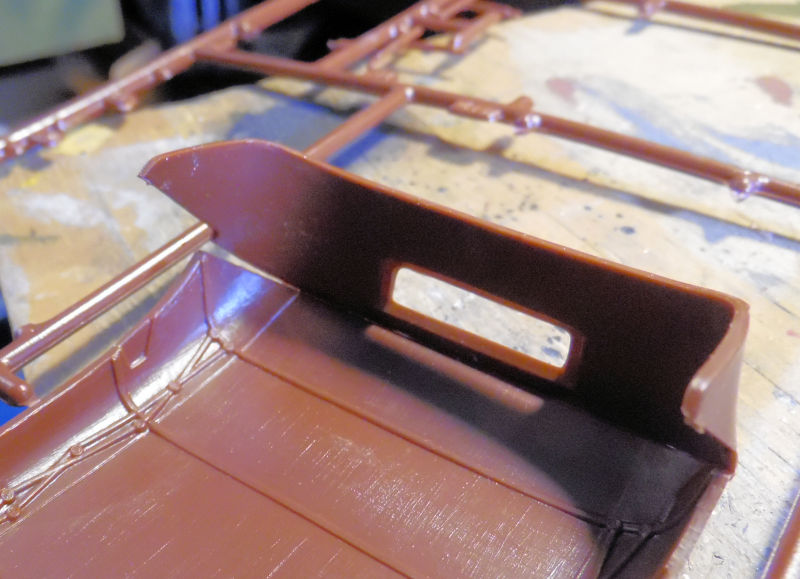
Look on the left and you'll see how warped this was. Just like everything else on this warped brittle model, it was one more thing that made me box this up and stick it back on the shelf for now.
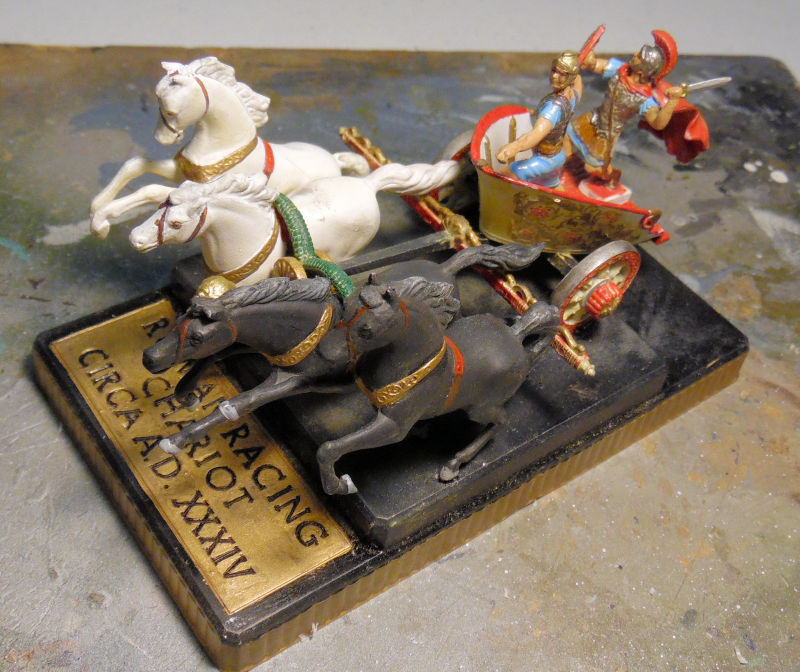
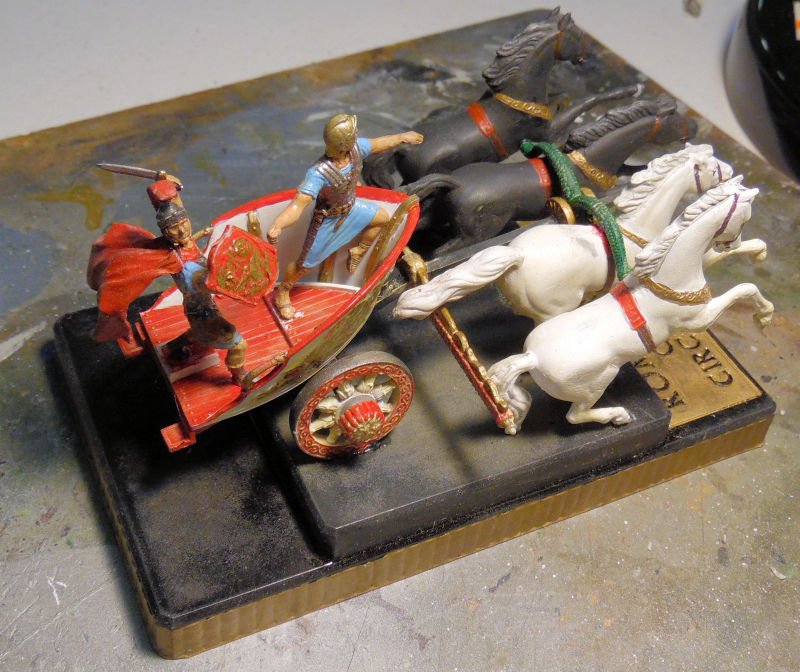
Finally, we did make some progress on the last fun little project. The horses and chariot are now glued together and mounted on the base. Now all that is needed is the reins and whip and we can call this done:
And that now concludes this latest tour of Maddog Manufacturing. Thank you all for stopping in and taking the tour, it's a pleasure to have you aboard. As always, comments are welcome.


 .
.


