|
|
Post by Paul B on Jan 13, 2018 18:19:11 GMT
Sorry for being away for a while  , but I have had the ferkin man-lurgy since last Sunday  . I felt a tad better today and straight to the bench, here's todays engine bay additions  . Air filters and hoses, coolant tank, fan drive, fan 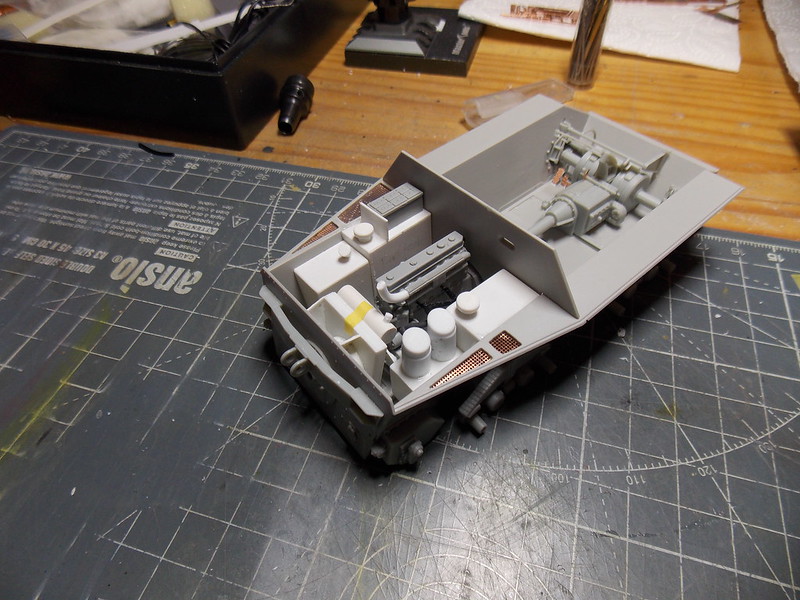 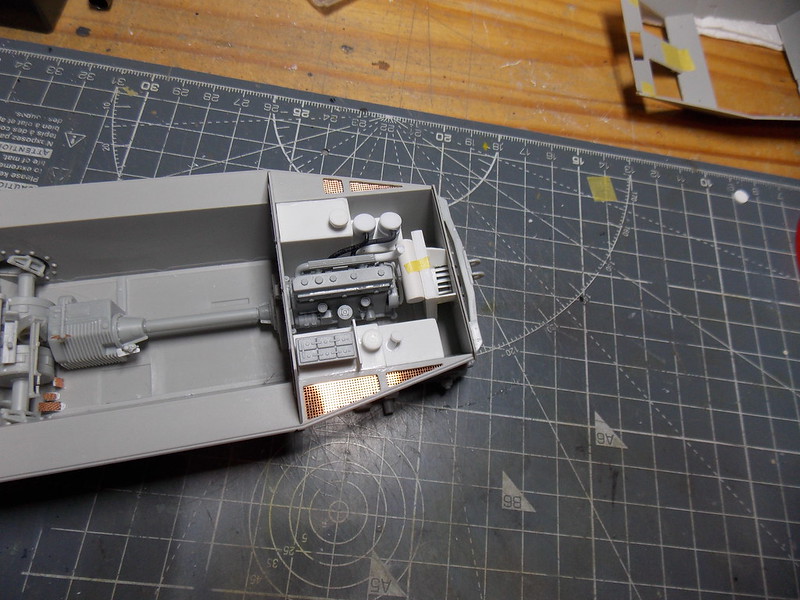 Feelin' ferkin' tired again now, hope to get some more in tomoz . |
|
|
|
Post by The Kernel on Jan 13, 2018 18:43:46 GMT
brilliant job Paul, shame about the engine, good job you had a spare  bill |
|
|
|
Post by Boots on Jan 13, 2018 19:26:17 GMT
Nice work mucker  ..........that lurgy is a ferkin` nightmare, had mine for nearly weeks in the end  , medicinal scotches needed in vast quantities |
|
NEMO
Plastic Connoisseur  Scratcherist
Posts: 1,033
Mini profile background: {"image":"","color":"c788f6"}
|
Post by NEMO on Jan 13, 2018 19:46:35 GMT
Wow!! Nice start here Paul - lookin' very good with the additions! Oh and BTW I LOVE Hetzers!!!  |
|
|
|
Post by Armorguy on Jan 13, 2018 20:34:59 GMT
Goodies piled up and well built in the belly of the beast !
|
|
|
|
Post by JEFF on Jan 14, 2018 20:54:42 GMT
Hang in there,Paul. Your build is looking great, Bub.  |
|
|
|
Post by Marco on Jan 16, 2018 9:21:27 GMT
Amazing white work Mr. B!
|
|
|
|
Post by Paul B on Jan 16, 2018 17:41:29 GMT
Cheers Bill, the engine is in fact from a Panzer 38t and needed some changes to look half right for this . Boots cheers mucker , I tried the scotch Friday but didn't get past smelling the bottle . Dicky many thanks sir , I'll forgive ya for loving Hetzers too Guy, your words are a pleasure to read my dear neighbour . Jeff many thanks me ole north american snow man . Marco cheers also com padre . Feeling a lot better today, so I got on with crew compartment . Not much, just the handbrake and a worn out drivers seat . 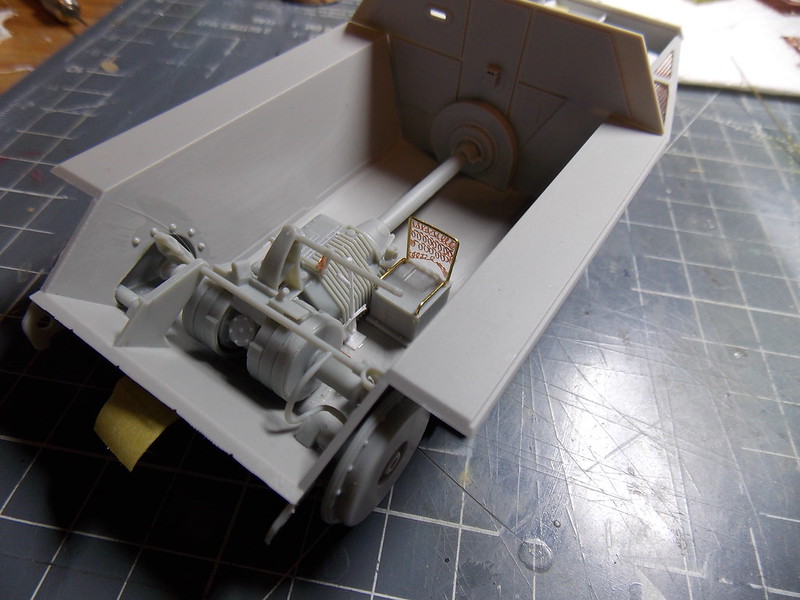 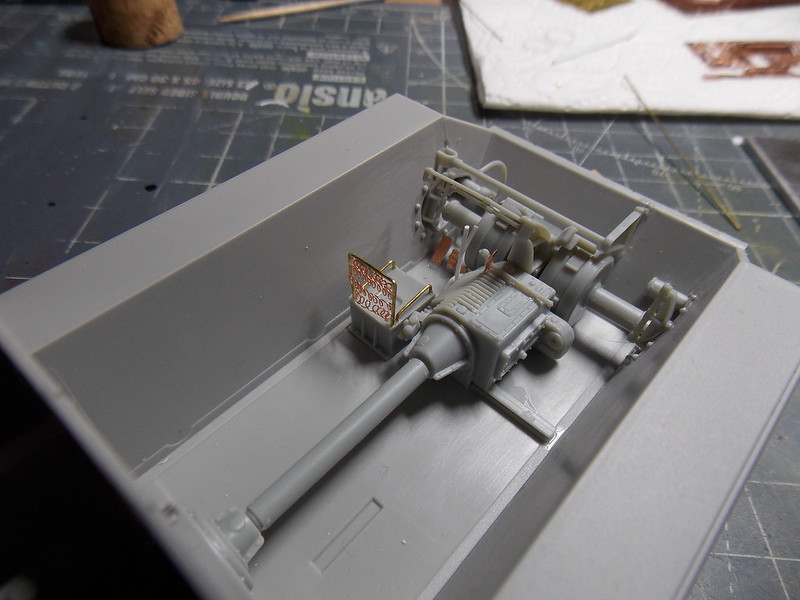 Still need some canvas tatters on the lower seat , those I should get in tomoz |
|
|
|
Post by Armorguy on Jan 16, 2018 18:37:18 GMT
Hey Paul, did you scratch the back of that seat ? Looks good !
|
|
|
|
Post by Robbo on Jan 16, 2018 19:18:23 GMT
Wow, lovely work Paul
|
|
|
|
Post by Marco on Jan 17, 2018 9:52:40 GMT
Nice work Paul. looks like the real one!
|
|
|
|
Post by JEFF on Jan 17, 2018 11:28:29 GMT
Well, will you look at that.  |
|
McB
Sprue Cutter  Mojo - Found It
Posts: 75
Mini profile Name colour: da0f23
Mini profile background: {"image":"","color":"665c5d"}
|
Post by McB on Jan 17, 2018 16:36:01 GMT
Dang Paul, thats fabulous work right there. Thats the stuff i need to tickle my mojo! |
|
NEMO
Plastic Connoisseur
Scratcherist
Posts: 1,033
Mini profile background: {"image":"","color":"c788f6"}
|
Post by NEMO on Jan 17, 2018 19:08:16 GMT
SWEEEEEEEEEEEEEEEEEEET!!! |
|
|
|
Post by jkb on Jan 17, 2018 20:51:23 GMT
Where the ferk did you find this one? Certainly not an often modelled subject! Excellent work and rather clea. This thing is small for what you are doing in the interior!  Will be watching you..... |
|
des
Sprue Cutter
lock down builds
Posts: 130
|
Post by des on Jan 17, 2018 22:44:42 GMT
That seat looks fantastic mate as with the rest of the build
|
|
|
|
Post by Paul B on Jan 19, 2018 19:54:16 GMT
Guy yes mate, it's 0.5mm brass rod and copper wire. The wire was wrapped around a 1.2mm piece of rod, this formed a spring shape which was pressed flat . Ian, many thanks sir Marco, cheers mucker . But the real springs do actually look a little different  . Gary, I hope I can help you along sir . Many thanks for the praise too mucker Dicky, that'll do for me . John, cheers fella . I picked this one up in Belgium last October, but I reckon this is my first and last Thunder kit  . Des, many thanks indeed mein bester . Okay fellas, here's todays long overdue update . Seat is finished, I used a piece of old jeans pocket which got attacked with scalpel blade . I aslo some conduit, and some stowage compartments. As there are no pics of the inside of this vehicle, I took the idea from the Bergepanther. 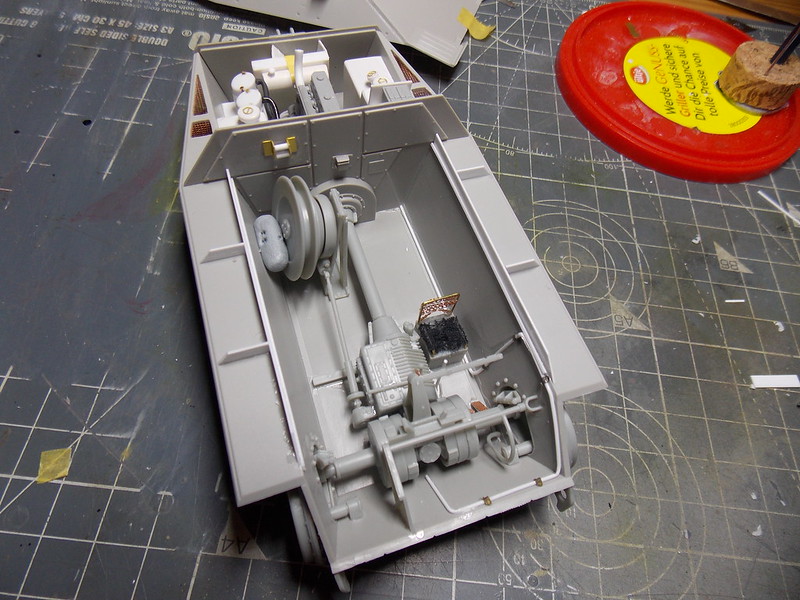 I used some bits of left over PE to add a little more to the fuel caps and filters 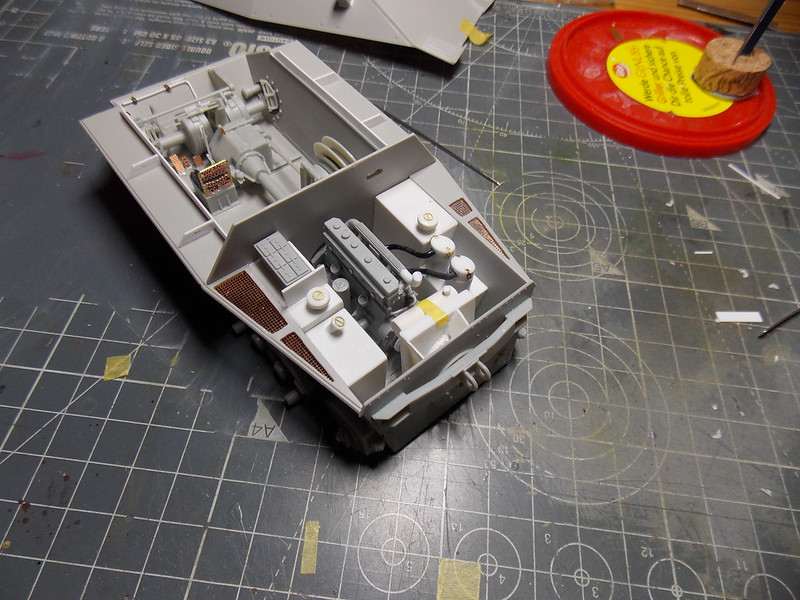 The inner top hull, I added a box made from scrap PE (frame for the kits PE) and some welds for the Jib holders 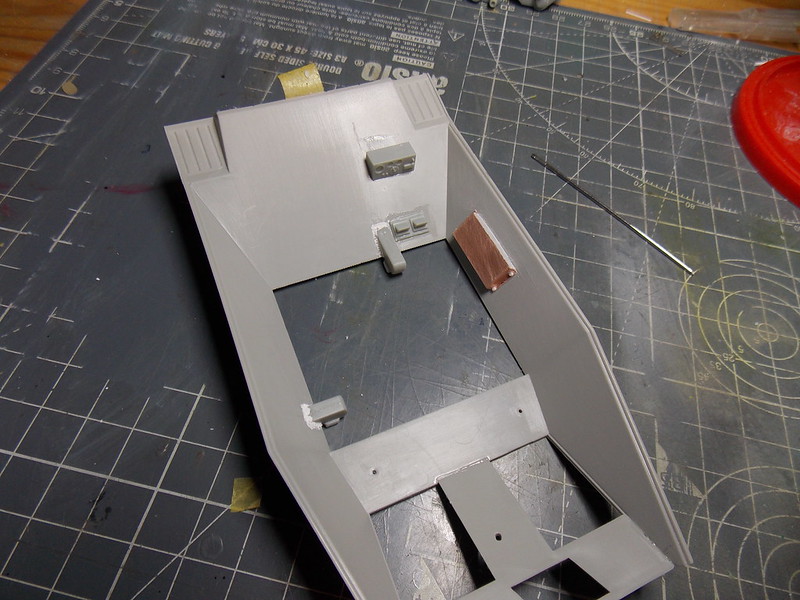 The jib holders were also modified a tad. They only had round bits on the top, so I took the same approach with these as the Bergepanther. So whiteage squares with bolt heads and pivot points were added. Oh yes weld beads too, which need tidying up and improving. 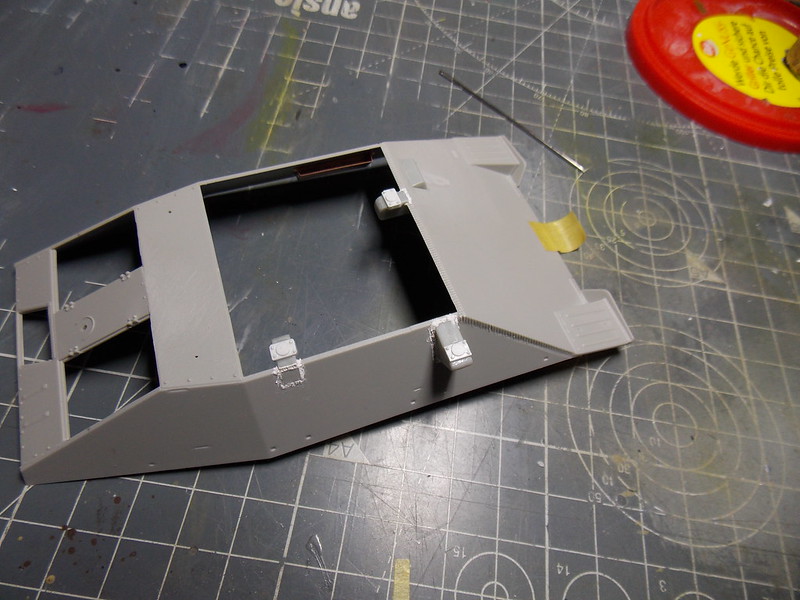 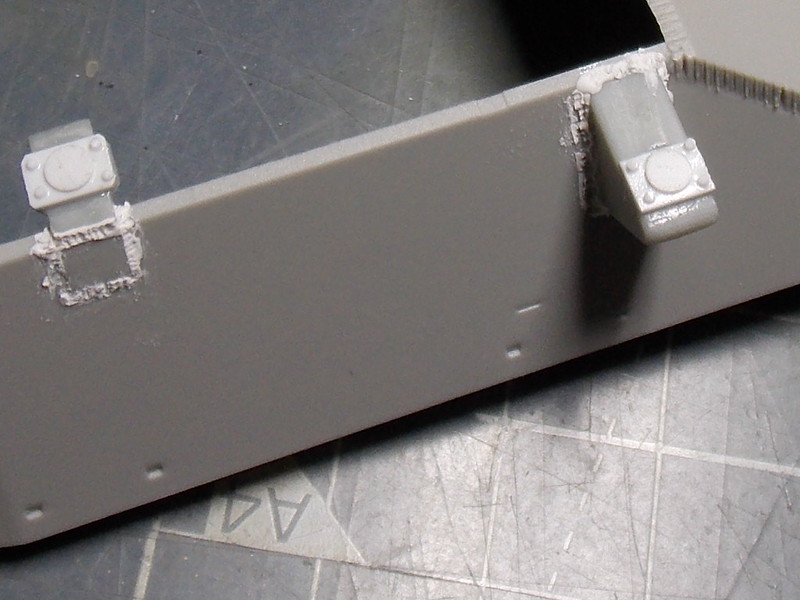 Lid on, not much to see now  . 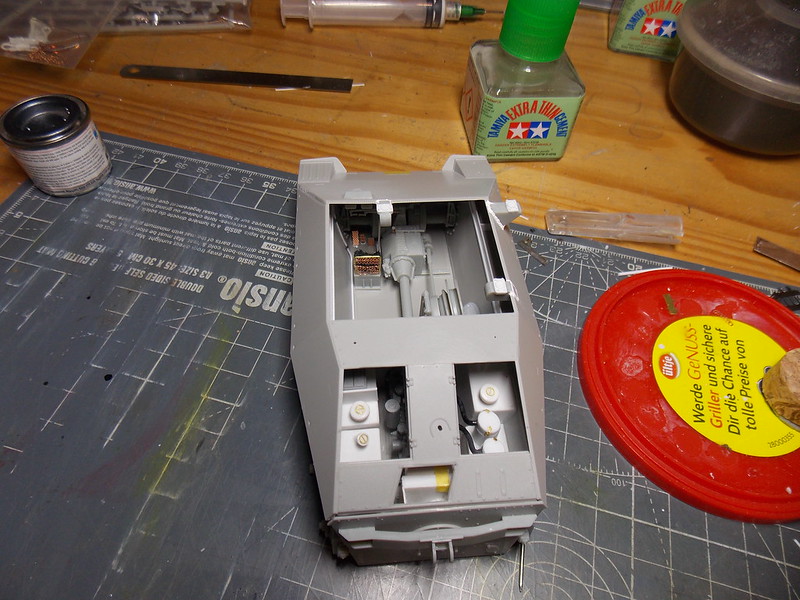 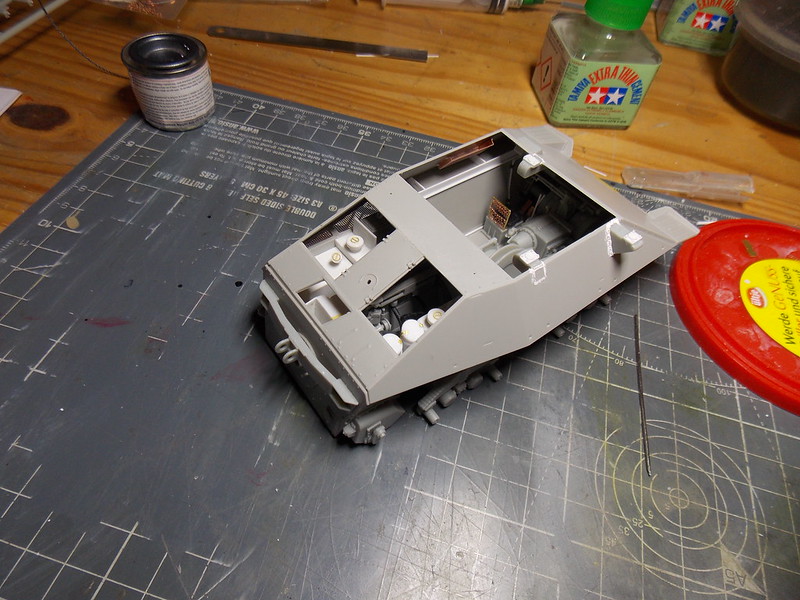 I'll have a good look at this tomoz, but I reckon I am ready for priming the inside now . ACW muckeroonies |
|
|
|
Post by Armorguy on Jan 19, 2018 20:04:01 GMT
The interior looks superb Paul, great scratchwork too. I hope uoy'll leave the hatches open and show the eyecandy inside.
|
|
|
|
Post by Paul B on Jan 19, 2018 20:12:48 GMT
Guy don't worry mate , this going to stay as open as it can get . I intend to do a rusting vehicle in a farmers back yard with this one  . |
|
|
|
Post by Armorguy on Jan 19, 2018 20:16:16 GMT
That's right down my street then !
|
|


 , but I have had the ferkin man-lurgy since last Sunday
  .
. .
.


 , medicinal scotches needed in vast quantities


 .
.  .
. .
. .
.