Welcome to another week of progress by the Duke.
This week I finally got to airbrush! Wow, it felt great to make significant progress for once! Maddog Manufacturing has been in full production mode. All aboard the trams for the latest tour!
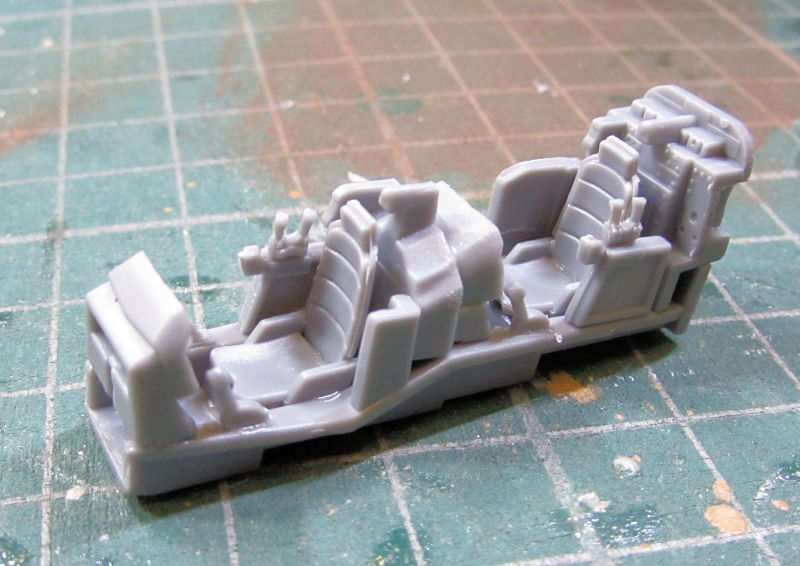
We'll start in the Hangar again where a little bit has been happening. I did start a new helicopter, this is one I've been wanting for quite some time.
This is the cockpit I started for the AH-1Z Cobra, all ready for paint:
The next thing I did was to touch up the paint on the bottom of the Japanese U-125. First I masked off and sprayed the specific damage with my Sotar 20/20:
Later the mask came off. This looks so much better now so I can move forward once again:
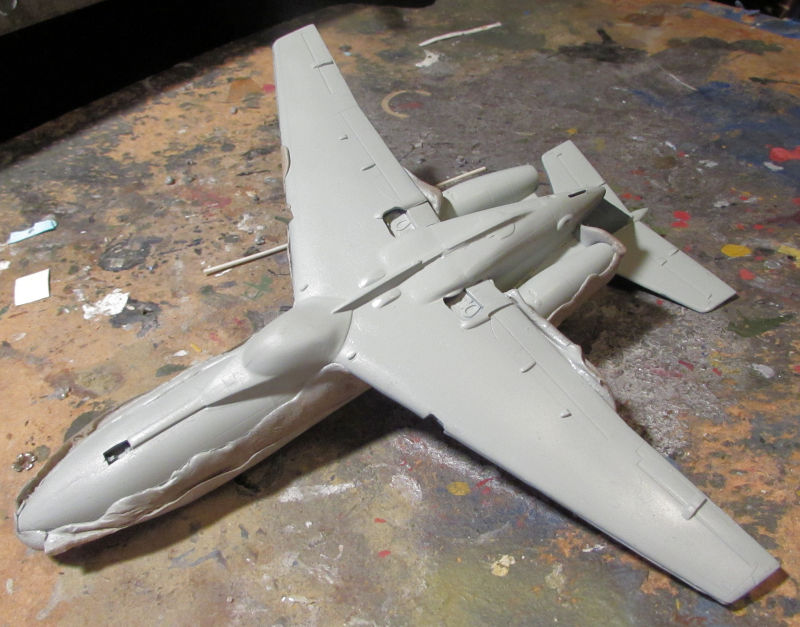
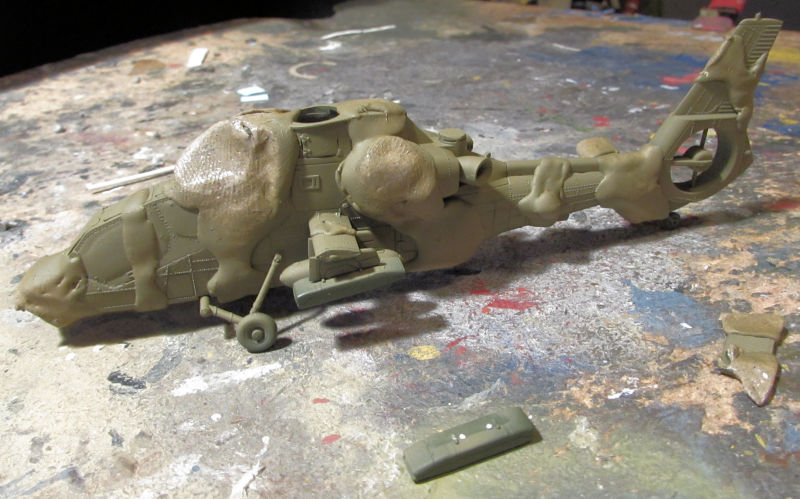
Speaking of masking and spraying, I started by adding the Silly Putty to my Japanese OH-1 helicopter; now that the base coat is on:
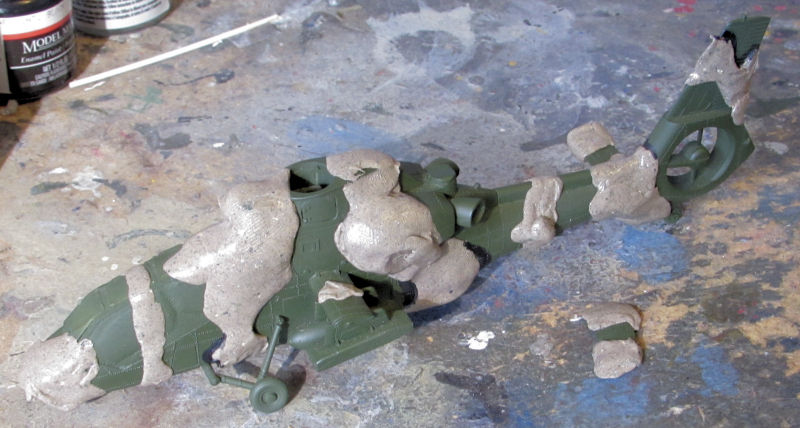
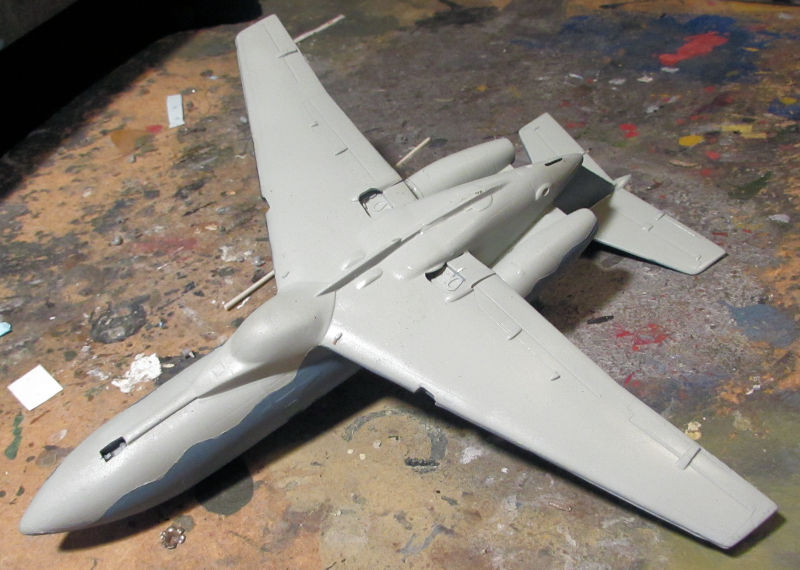
You'll notice that I broke off one of the horizontal stabilizers as I expected. Oh well, I still got it masked for spraying. I then shot the second color on this helicopter:
Again, another part broken from handling. That thing is small; no place to really hold it when shooting paint.
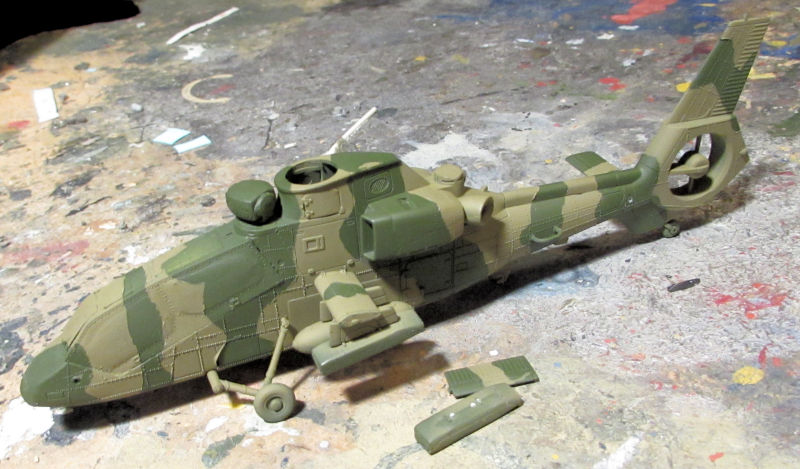
Finally the masking came off. I can now clearcoat this and start the decals:
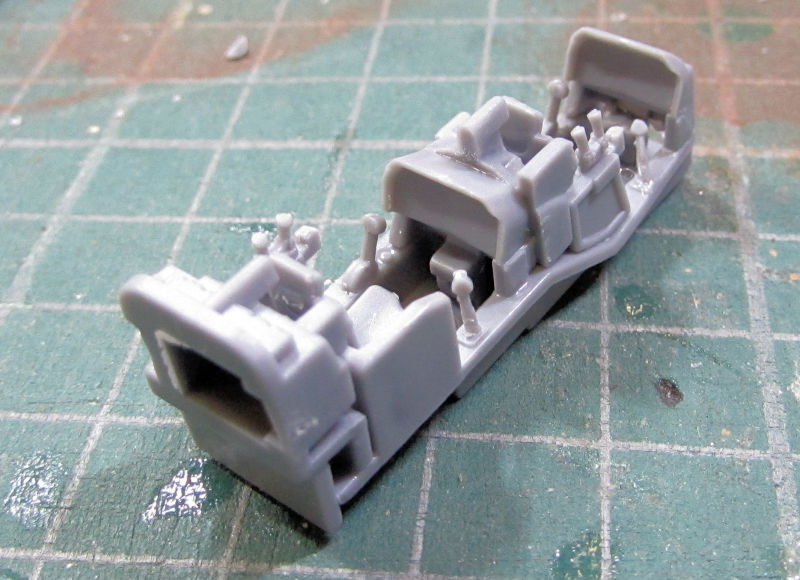
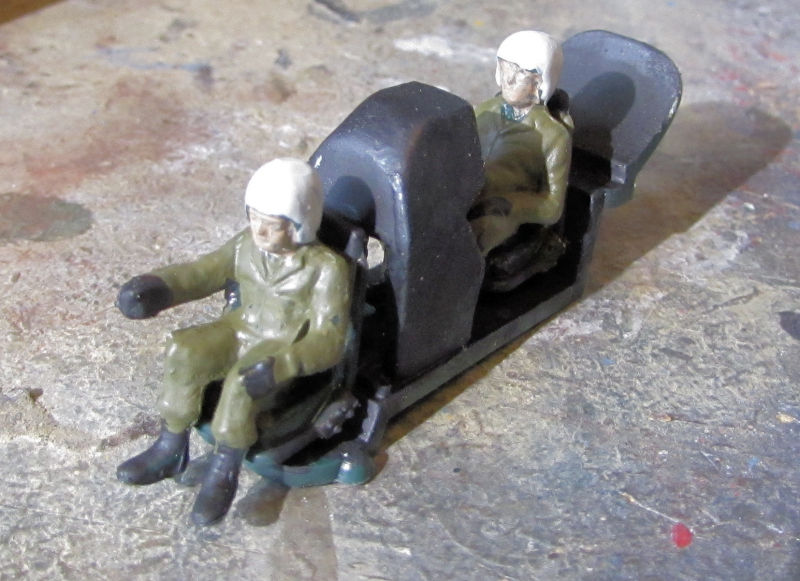
Finally, the third helicopter I'm building; the AH-56 Cheyenne, got some small progress done too. I painted the cockpit and pilots for the time I can add them to this model:
I then went to shoot paint on the helicopter itself, but realized I had a lot of seam work to take care of first, so no more pics of this for now.
That's all that's happened in the Hangar, now on to see what's coming down the slipways in the Shipyards.
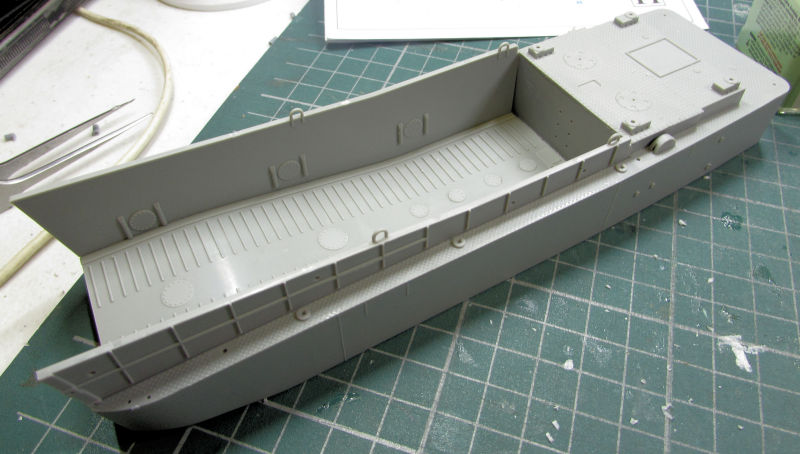
Now, you may be thinking that you've seen this before, but this is a new LCM-3 that came with the Dragon LCM and Sherman combo kit.
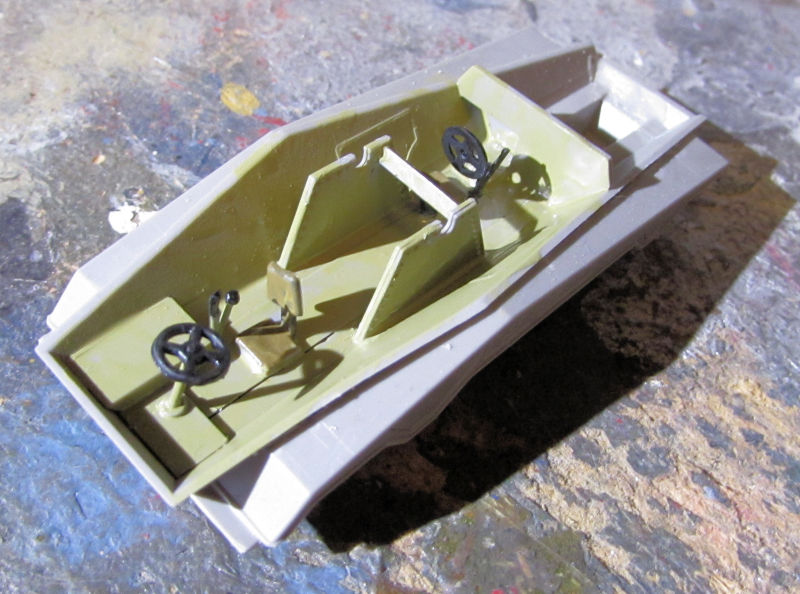
I started with the basic construction:
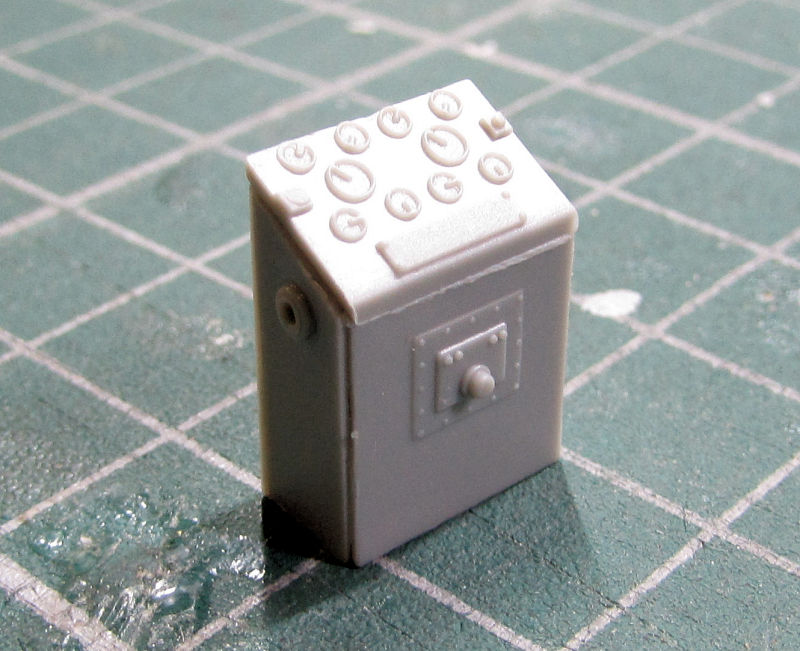
Here's the fiddly little control box used by the driver:
The main difference between this one and the other LCM-3 I started some time back (besides the manufacturer), is this one does not have any propellers or rudder underneath. In fact, it has an even shallower hull. This is why Dragon included a clear base piece to place this on so it can be displayed deploying the Sherman in a mini dio:
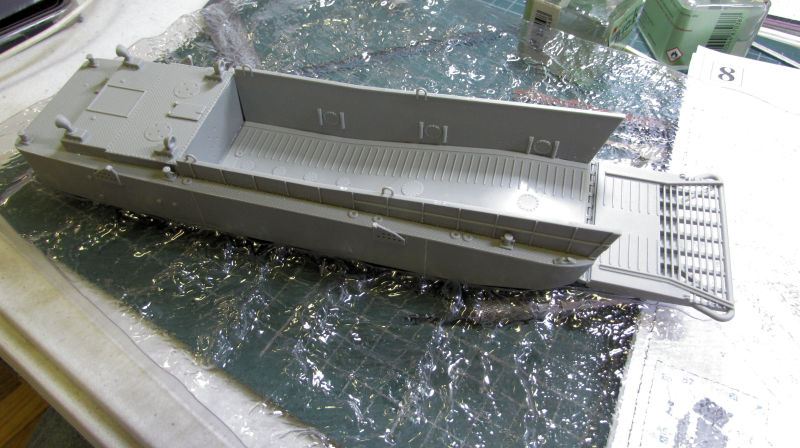
I plan on pulling out the other LCM to see if I can finish it in tandem with this one.
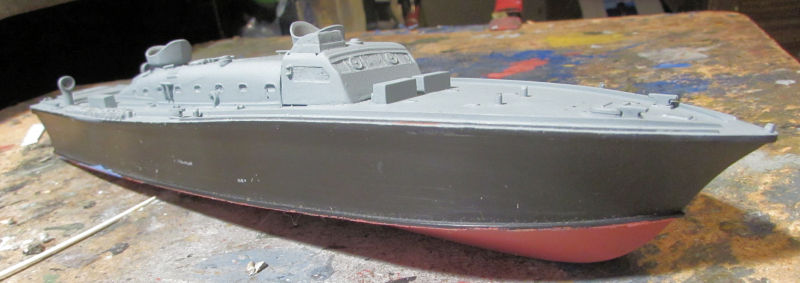
After this, I pulled out an old Shelf Queen, the old RAF Rescue Launch from Airfix, circa 1970's. I almost feel like I started it back then too! This has actually been on the Shelf of Doom for five to seven years; it's time to get it finished. I'd shot the sides of the hull way back when, and then recently masked off the sides. I then shot the hull red on the bottom and after that dried, I shot the grey over the whole upper deck and superstructure:
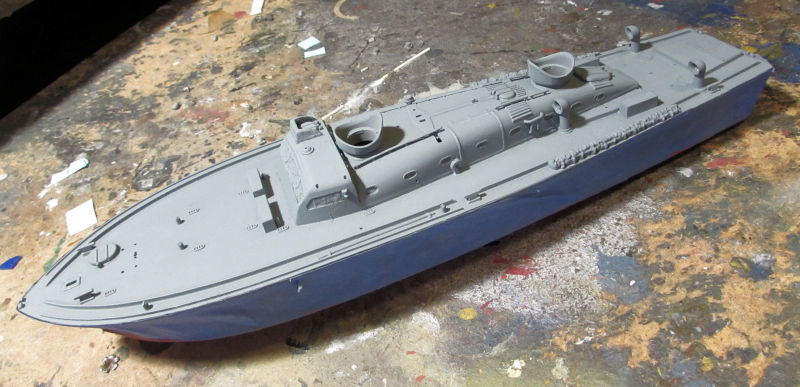
Later I pulled the masking off to see how this looks:
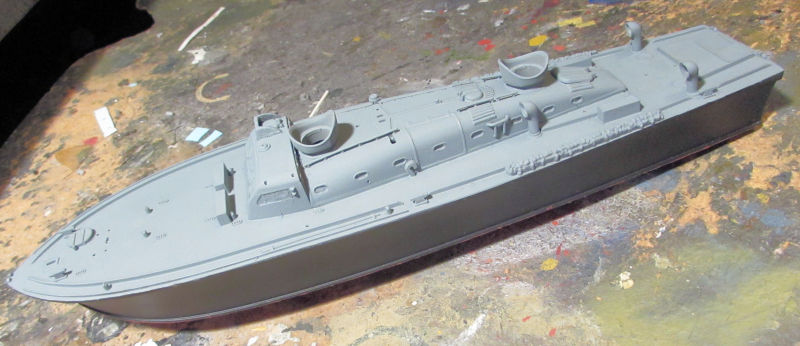
Looks good on this side. When I turned it around to check on the other side I found that the tape had pulled a bit of the black off the sides. Looks like I also left a bit of tape on it. Easy fix with my Sotar 20/20 and tweezers for the tape.
In this pic, you can also barely see the red bottom hull:
Sweet! Now to get the touch up done and the demarcation lines cleaned up and I can see what else I can do with this.
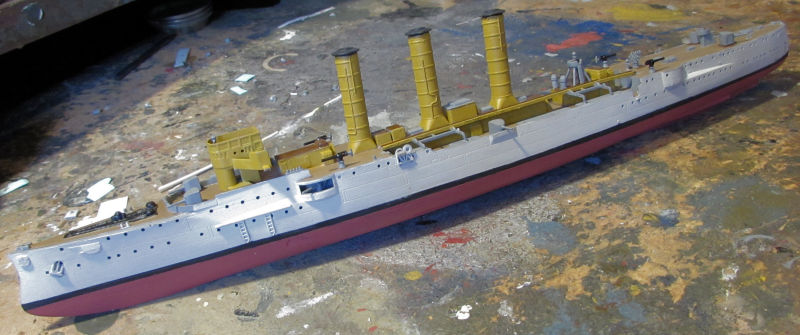
Moving on, I continued work on this SMS Emden commission build. First off, I removed the masking on the hull to see how well the boot stripe looks. Not bad on this side:
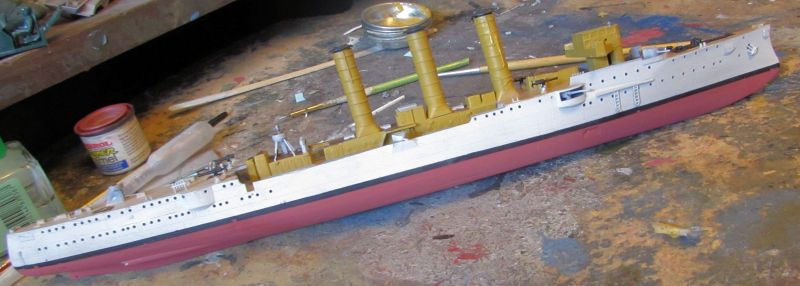
Needed improvement on this side:
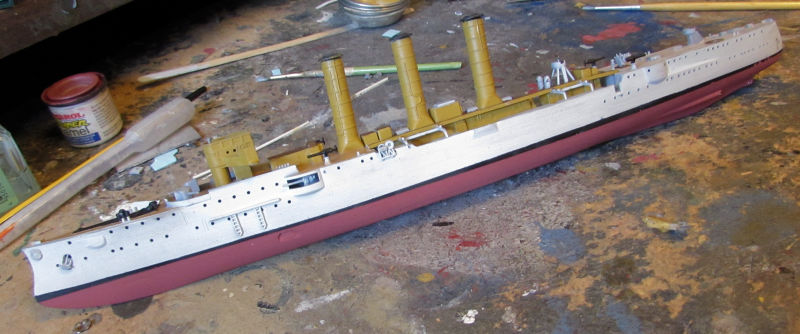
I took some time to fix that hull stripe to make it look more consistent, then I painted all the upper grey parts grey as indicated on the paint scheme. I also did a bit more touch-ups on the other colors too:
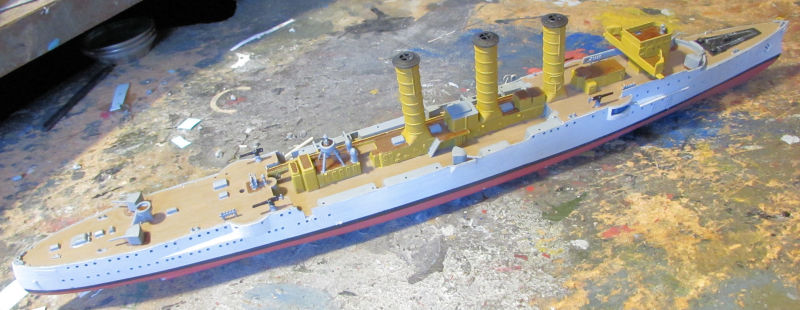
You'll also notice that all the main gun turrets are back on this. Before, when I painted the deck, three of them got stuck and wouldn't rotate. When I tried to loosen them, they snapped right off. After painting the grey, I went to work fixing these turrets so they could be added back on and rotate like they did before. First I drilled some holes in the bottom of the turrets and cemented in a length of styrene rod right where the broken ones used to be:
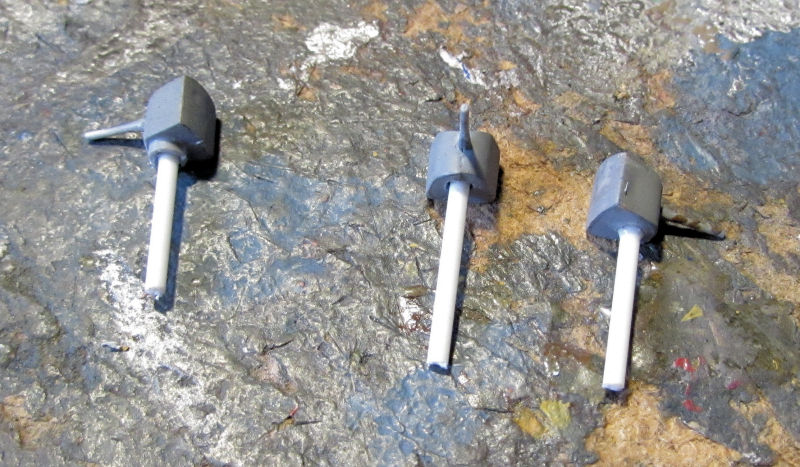
After drilling out the holes in the deck I just slipped these right in. After all that was done, I decided to paint the masts, boats, davits and searchlights and all other extra parts that need to go on:

Now I should be able to get this finished fairly quickly. I'm hoping I can deliver this to him at the next Hobby Day. I gotta clear that slip for another naval project I want to get to.
Now that we're done at the Shipyards, lets move on to the Motor Pool where quite a bit has been done...
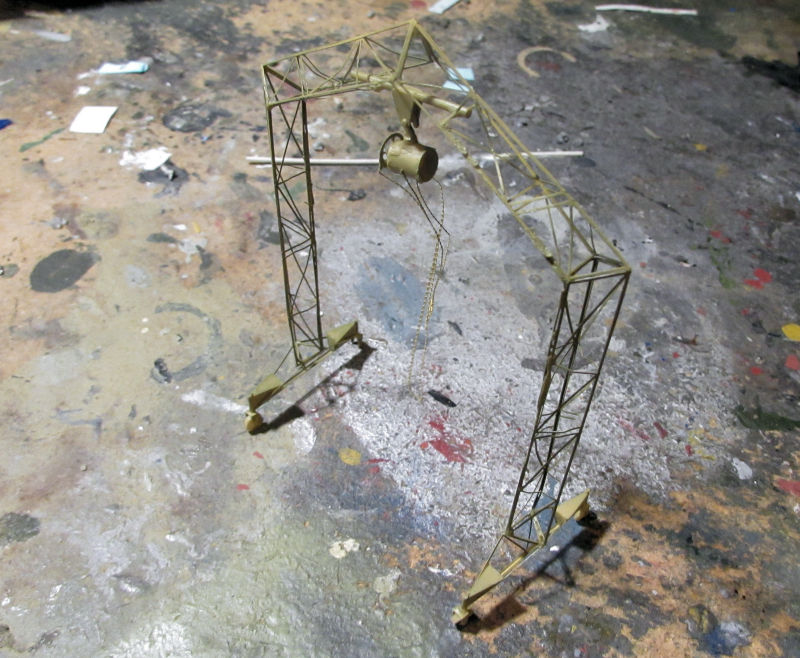
The first thing we'll look at is the gantry crane. I shot some panzer dunklegelb over the whole thing, hopefully covering all that brass. Not sure if I did. I still need to find that tiny wheel that broke off and get it replaced:
While I had the panzer dunklegelb out, I painted the interior of my Sd Kfz 234 Pakwagen and then did the details:
I also painted the inside of the gun shield and the back part of the gun:
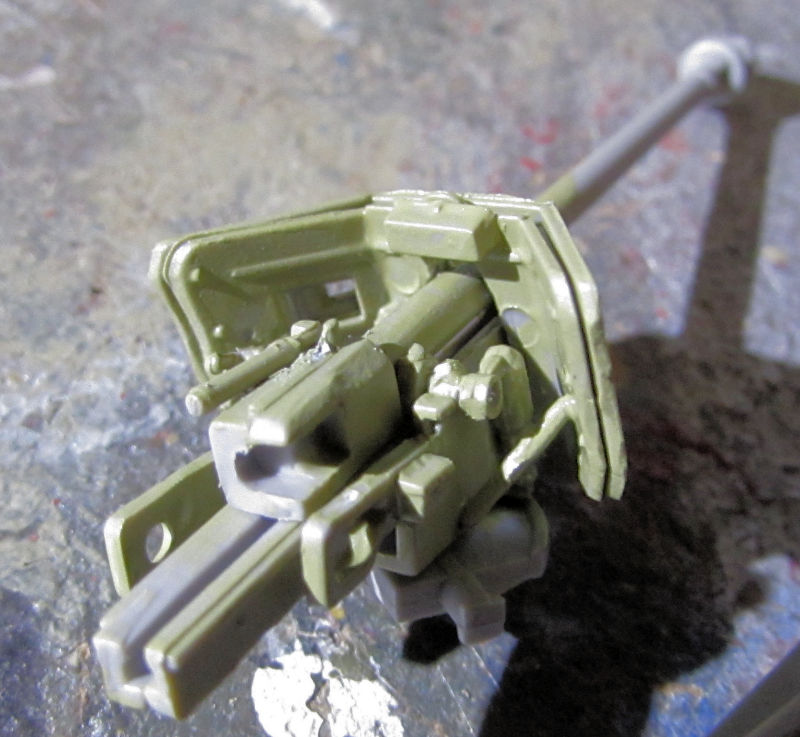
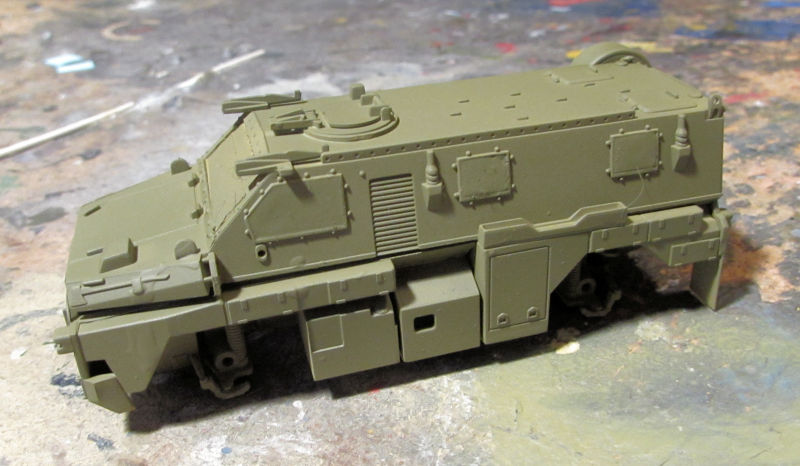
I'm gonna do a bit more detailing there before I go on. While I was shooting paint, I shot the Australian Bushmaster with a coat of Olive Drab:
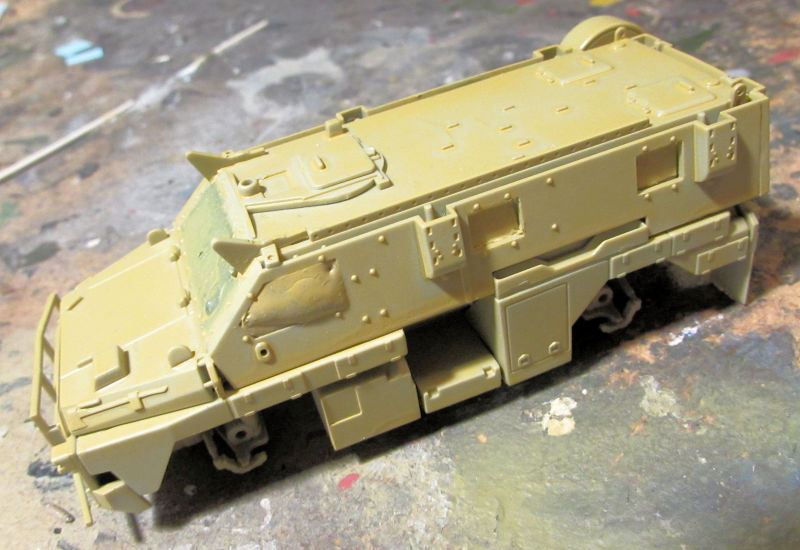
While that was drying, I shot British Gulf War Sand over the British Bushmaster. I thinned it a bit to much so this will need another coat:
The final thing I did was to shoot the green basecoat on the Russian vehicle I'm building, but this won't be shown here.
And that concludes our tour of Maddog Manufacturing for now. Thank you all for joining me on this trip; comments are always welcome.


 .
.


